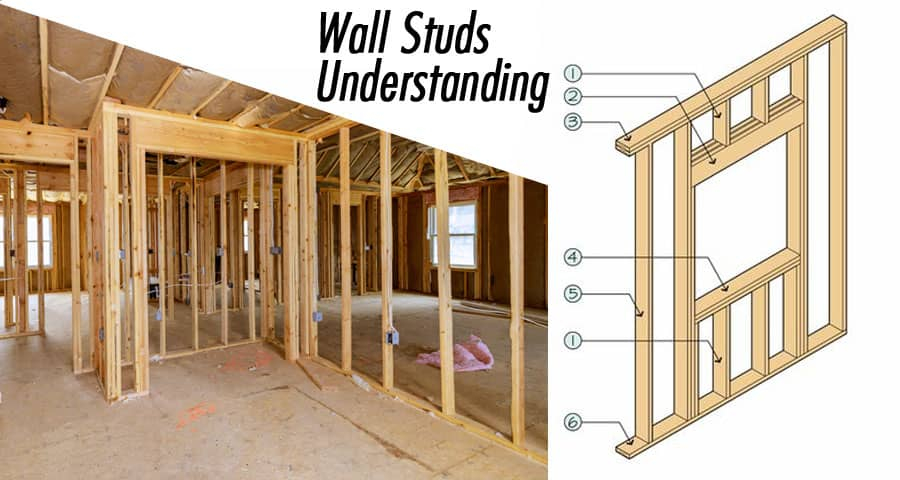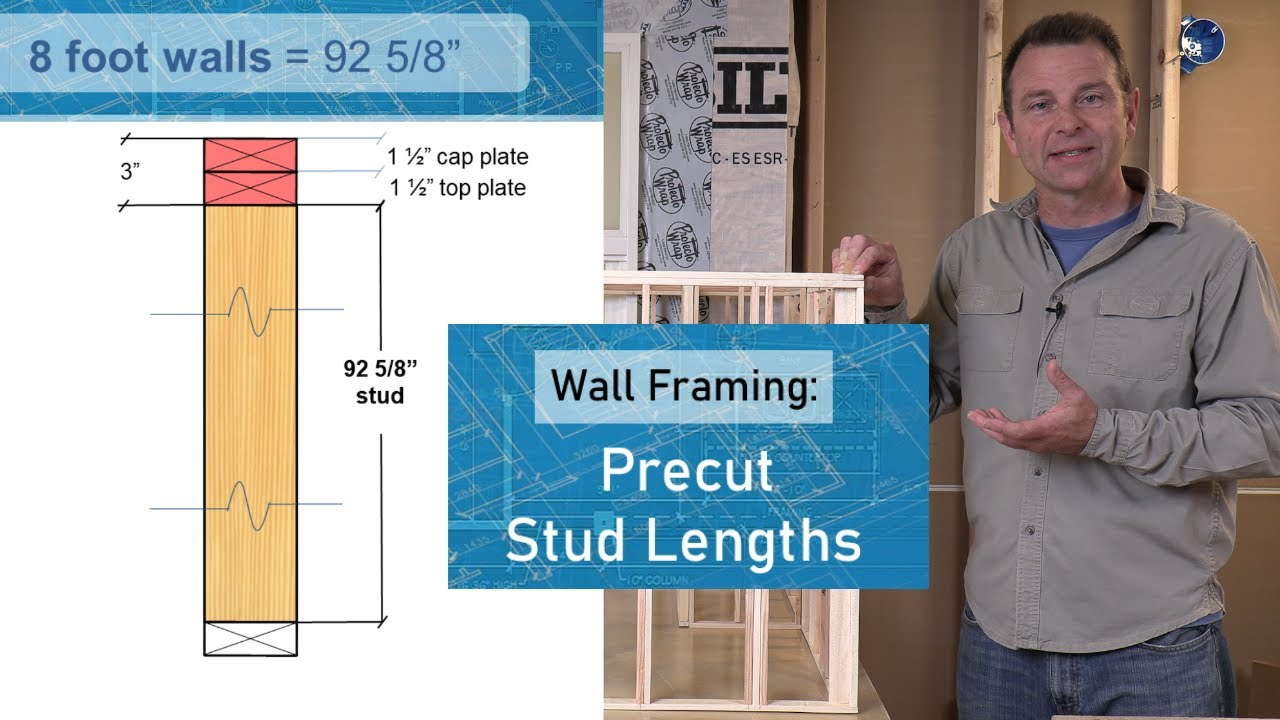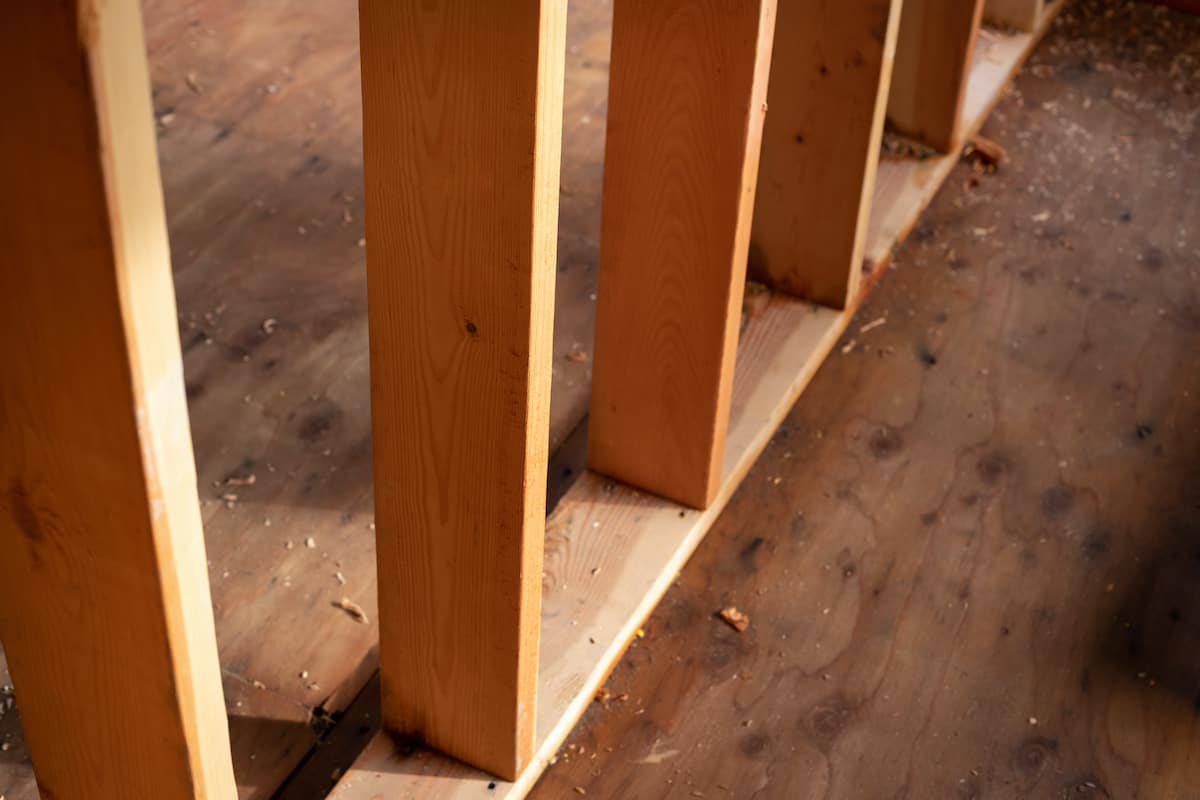
Have you ever stood in your living room holding a heavy mirror, staring at a blank wall and wondering where on earth the wooden skeleton actually hides. It happens to the best of us. You just want to hang up your favorite picture and suddenly you feel like an archaeological explorer.
Finding the hidden wood beams behind drywall can feel tricky when you do not own a fancy electronic gadget. Luckily, you do not need expensive gear to get the job done right. People have been hanging things securely for generations using clever tricks and everyday items.
Look at the Trim and Baseboards
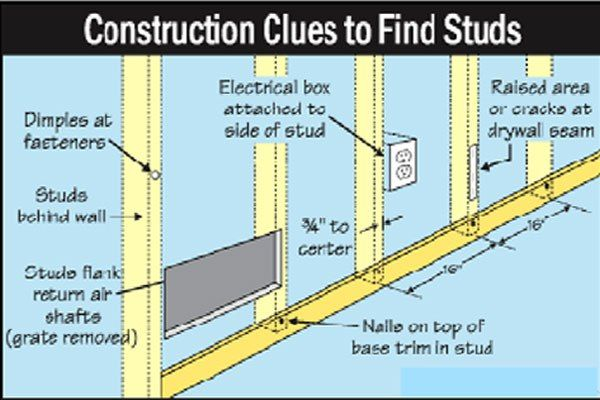
Your room actually gives you visual clues if you know where to look. Carpenters usually nail baseboards and crown molding directly into the vertical support beams. If you look closely near the floor, you might spot tiny nail holes or slight indentations where the finisher filled them in.
Another great trick involves measuring tape. Standard construction practices mean that vertical beams are usually spaced sixteen inches apart from center to center. Once you find your very first anchor point, you can measure out sixteen inches in either direction to find the next one.
The Good Old Knock Test
Sometimes the simplest method works best. Tap gently on the wall with your knuckle while moving across the surface. An empty space sounds hollow, but a spot with wood behind it produces a much higher pitched and solid thud.
Your ears are surprisingly good at catching this difference. Just tap in a horizontal line back and forth until you notice the sound change. It might take a little practice, but your hearing will quickly catch the rhythm of the hidden wood framework.
Check for Outlets and Switches
Electrical boxes are almost always attached directly to the side of a vertical support beam. If you take off the plastic cover plate carefully, you can often peek inside with a flashlight to see which side the wood is on.
Once you figure out which side the box attaches to, you can measure from there. Since electrical boxes follow standard building rules, they give you a reliable starting point for mapping out the rest of the room.
Use a Strong Magnet
Even if you lack an electronic scanner, a powerful little rare earth magnet can work wonders. Slide the magnet slowly across the surface until it catches on the hidden drywall screws. Builders use screws to attach the drywall to the wood framework, and those metal heads are magnetic.
When the magnet pulls toward the wall, you have found a screw head. Since these screws run vertically down the entire length of the support beam, finding two screws in a vertical line confirms you have located your timber.
The Finish Nail Probe
If you are feeling brave and plan to patch a tiny hole later, you can use a very thin finish nail as a probe. Push the thin nail gently through the drywall in an area that will be hidden later, like behind a piece of furniture or low down on the wall.
If the nail slides right through into empty air, pull it out and try again an inch over. When the nail hits solid wood resistance, you have successfully located your target. A little bit of spackle will easily cover the tiny mark afterward.
Sometimes the wall itself reveals its secrets under the right lighting. If you hold a flashlight flat against the surface shining sideways, the shadows can expose tiny bumps or ridges where the drywall tape covers the joints over the wood.
You can also check for settling cracks or subtle paint bulges. Houses shift over time, and the seams over the vertical supports sometimes show minor cosmetic stress that points you right toward the hidden framework.
Hanging your favorite items securely does not have to be a frustrating guessing game. With a little patience and these handy household tricks, you can tackle any home decorating project like a seasoned pro.
Just remember to take your time and double check your measurements before putting any holes in the wall. You have got all the knowledge you need right now to make your home look amazing in 2026.