Ever stare at a wall and just sigh? Maybe it’s a tiny little scratch from moving furniture, or perhaps a much bigger, more alarming hole where a picture frame used to hang. Wall damage is just a part of life, isn’t it? But it doesn’t have to be a permanent eyesore. Fixing these imperfections, whether they’re minor or quite substantial, is often much simpler than you might think. And honestly, it makes a huge difference in how your entire space feels. Let’s dive in and make those walls look pristine again!
Walls. They stand there, silent and stoic, holding up our homes and displaying our cherished memories. But they also bear the brunt of everyday life. A misplaced nail, a rambunctious pet, a clumsy move – all these things can leave their mark. These marks, from the barely-there scuff to the gaping hole, can be incredibly frustrating. They chip away at the beauty of your home, making it feel less cared for. But here’s the good news: most wall damage is totally fixable, even for the average person who isn’t a seasoned DIY pro. It’s all about understanding what you’re dealing with and having the right approach. Ready to become a wall-repair wizard?
Understanding the Enemy: Types of Wall Damage
Before you grab a spackle knife, it’s super important to know what kind of damage you’re up against. Not all wall boo-boos are created equal, and each demands its own specific remedy. Think of it like a doctor diagnosing an illness – you wouldn’t use a band-aid for a broken leg, right?
- Surface Scuffs and Minor Dings: These are the most common culprits. Think of those faint lines from furniture rubbing against the wall, or tiny dents where something lightly bumped it. Often, these are just cosmetic and haven’t actually broken through the paint or drywall paper.
- Nail and Screw Holes: Ah, the classic. Every picture ever hung leaves one behind. These are typically small, clean punctures, but they can still be an eyesore, especially when you re-arrange your decor.
- Cracks (Hairline to Structural): Cracks can be a bit more concerning. Hairline cracks are usually just in the paint or top layer of drywall compound and are often from slight settling of the house or temperature changes. Wider cracks, especially those that run diagonally or are near doors and windows, might indicate a more significant structural issue that needs a professional’s eye. But for most minor ones, you can DIY.
- Small to Medium Holes: This is where things get a bit more involved. Maybe a doorknob went through the wall, or a large anchor pulled out. These holes involve actual missing drywall material, not just a surface imperfection.
- Large Holes and Missing Sections: This is the big one. We’re talking about fist-sized holes or even bigger, where a significant chunk of drywall is gone. These require a more substantial repair, often involving cutting out a square and patching in new drywall. Don’t fret, even these are doable!
Gathering Your Arsenal: Tools and Materials
You wouldn’t go into battle without your weapons, would you? Wall repair is similar. Having the right tools and materials on hand makes the job so much smoother and less frustrating. You don’t need a huge workshop, just a few key items.
Here’s a basic kit that’ll get you through most wall repairs:
- Spackle or Drywall Compound: This is your magic potion. Spackle is great for small holes and cracks; it dries fast and is easy to sand. Drywall compound (also called joint compound or mud) comes in different varieties (lightweight, all-purpose, setting-type) and is better for larger repairs because it’s stronger and you can apply it in thicker layers.
- Putty Knife or Trowel: Essential for applying and smoothing your spackle or compound. Get a few sizes – a small one (1-2 inches) for tiny jobs and a larger one (4-6 inches) for bigger areas.
- Sanding Block or Sandpaper: For smoothing out the dried compound. Start with a medium grit (around 120-150) and finish with a finer grit (220) for a super smooth finish.
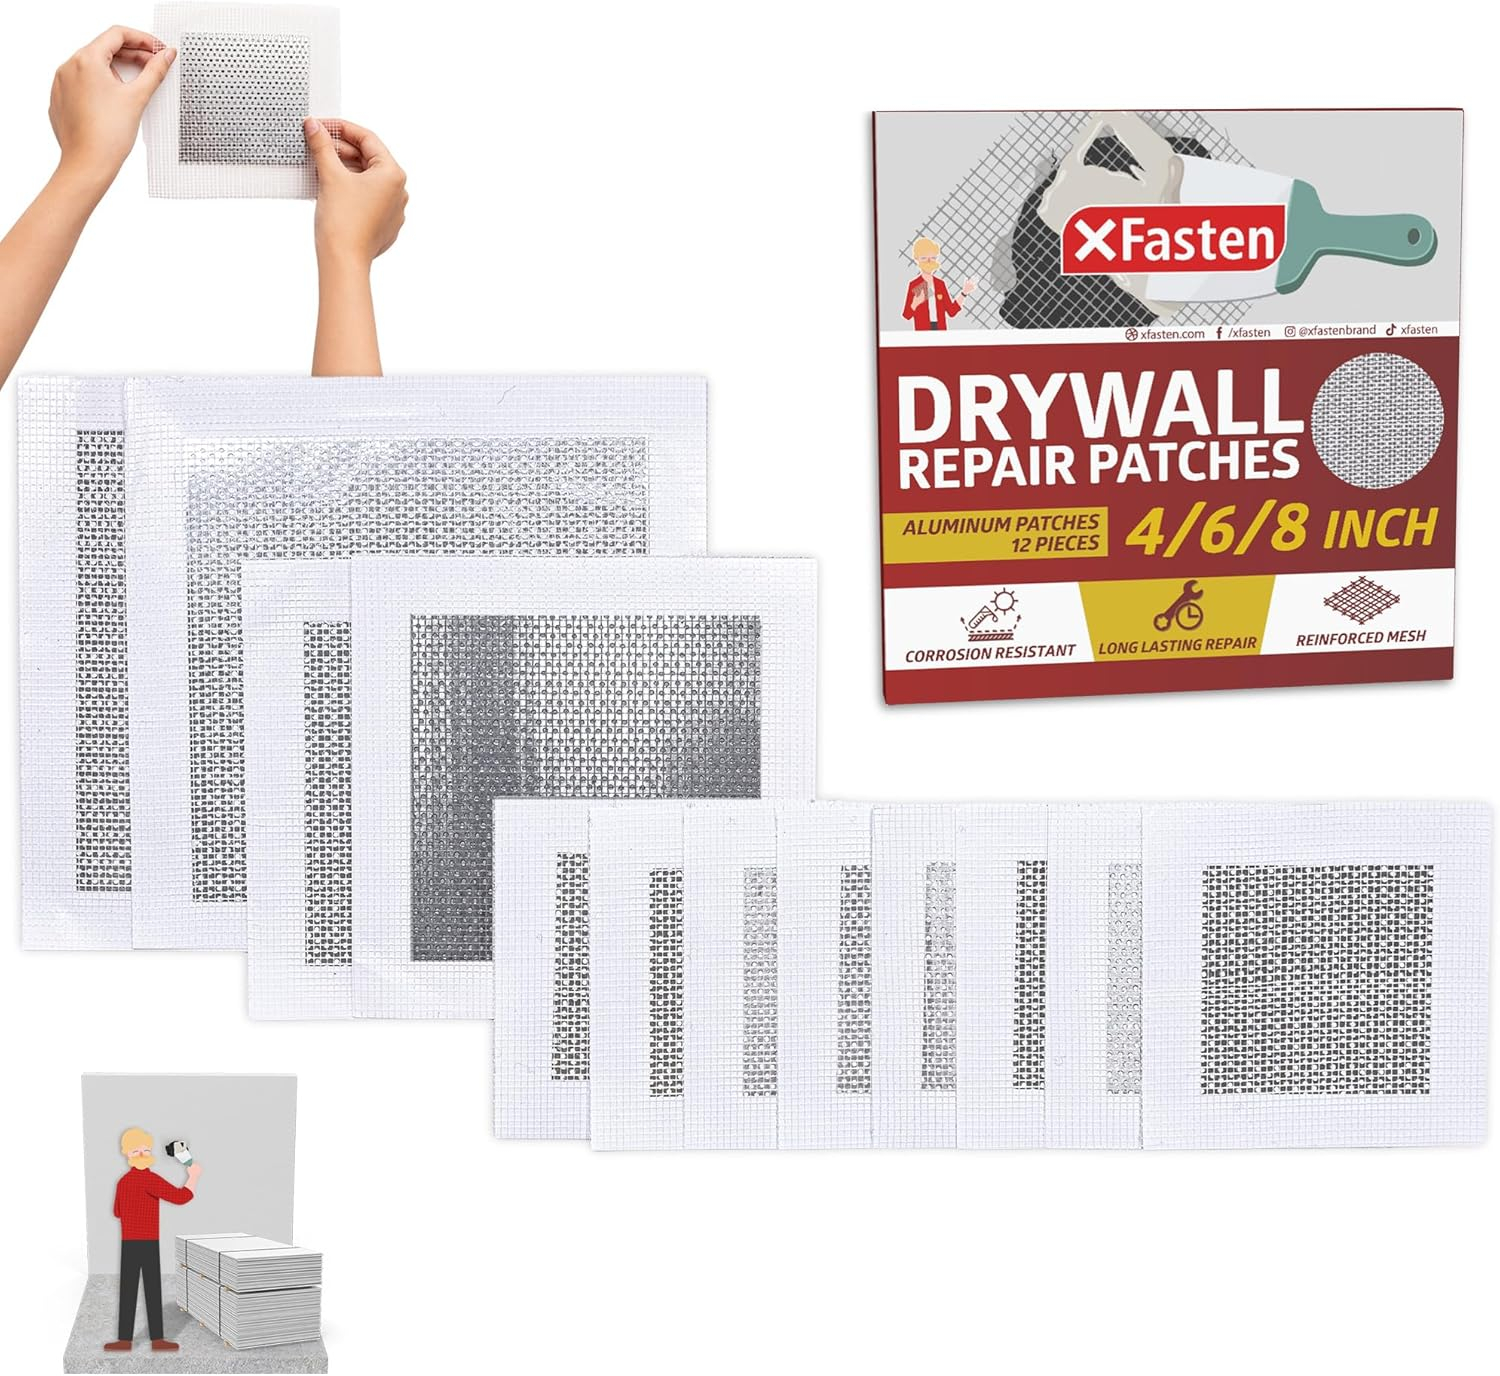
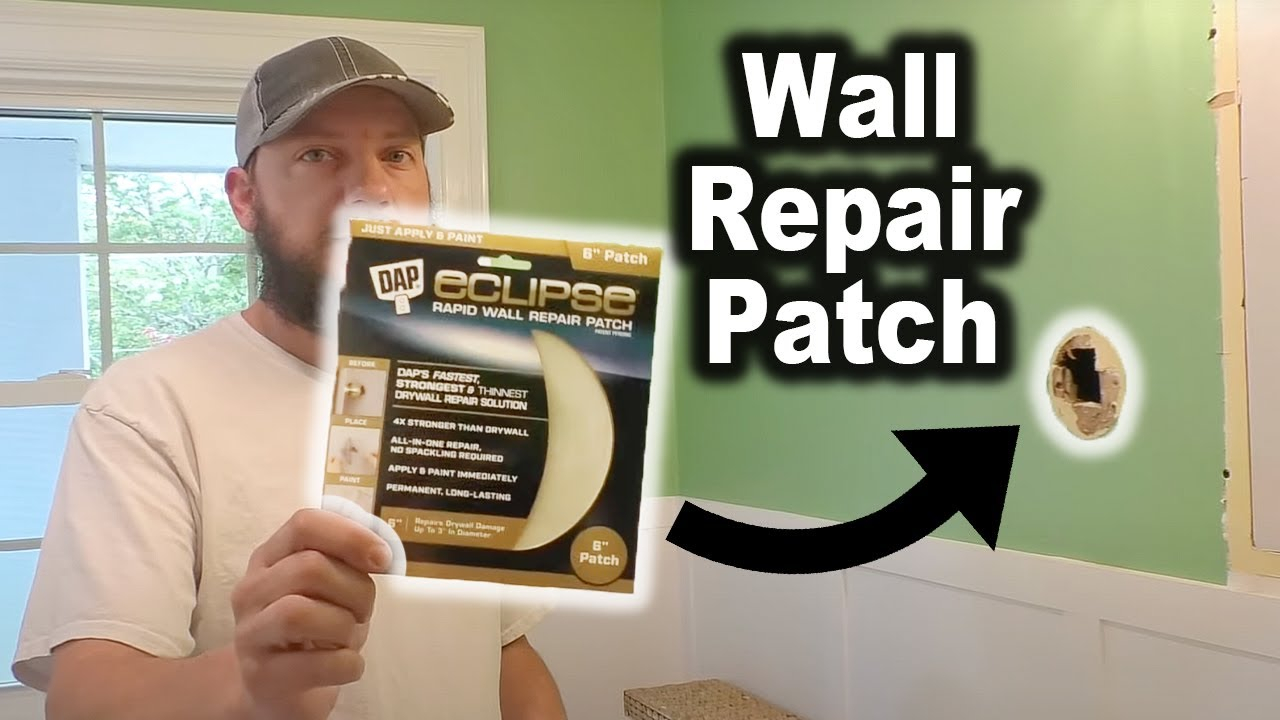
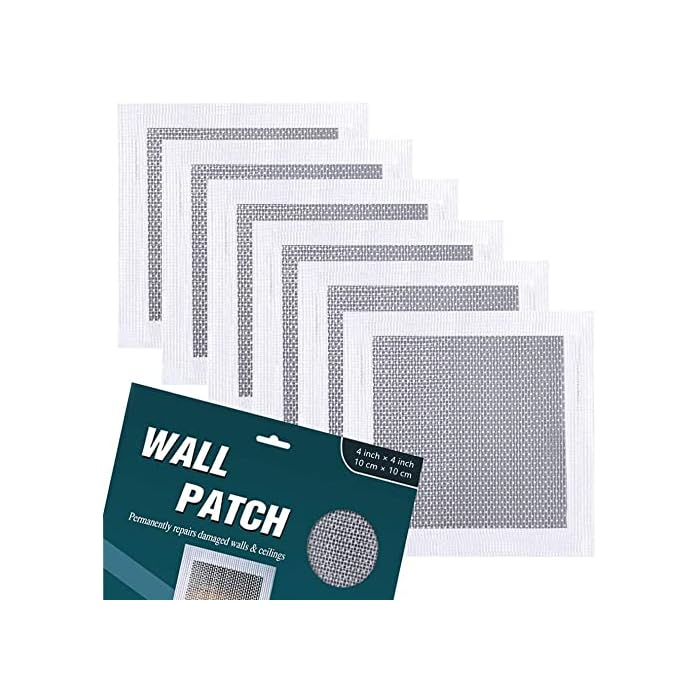
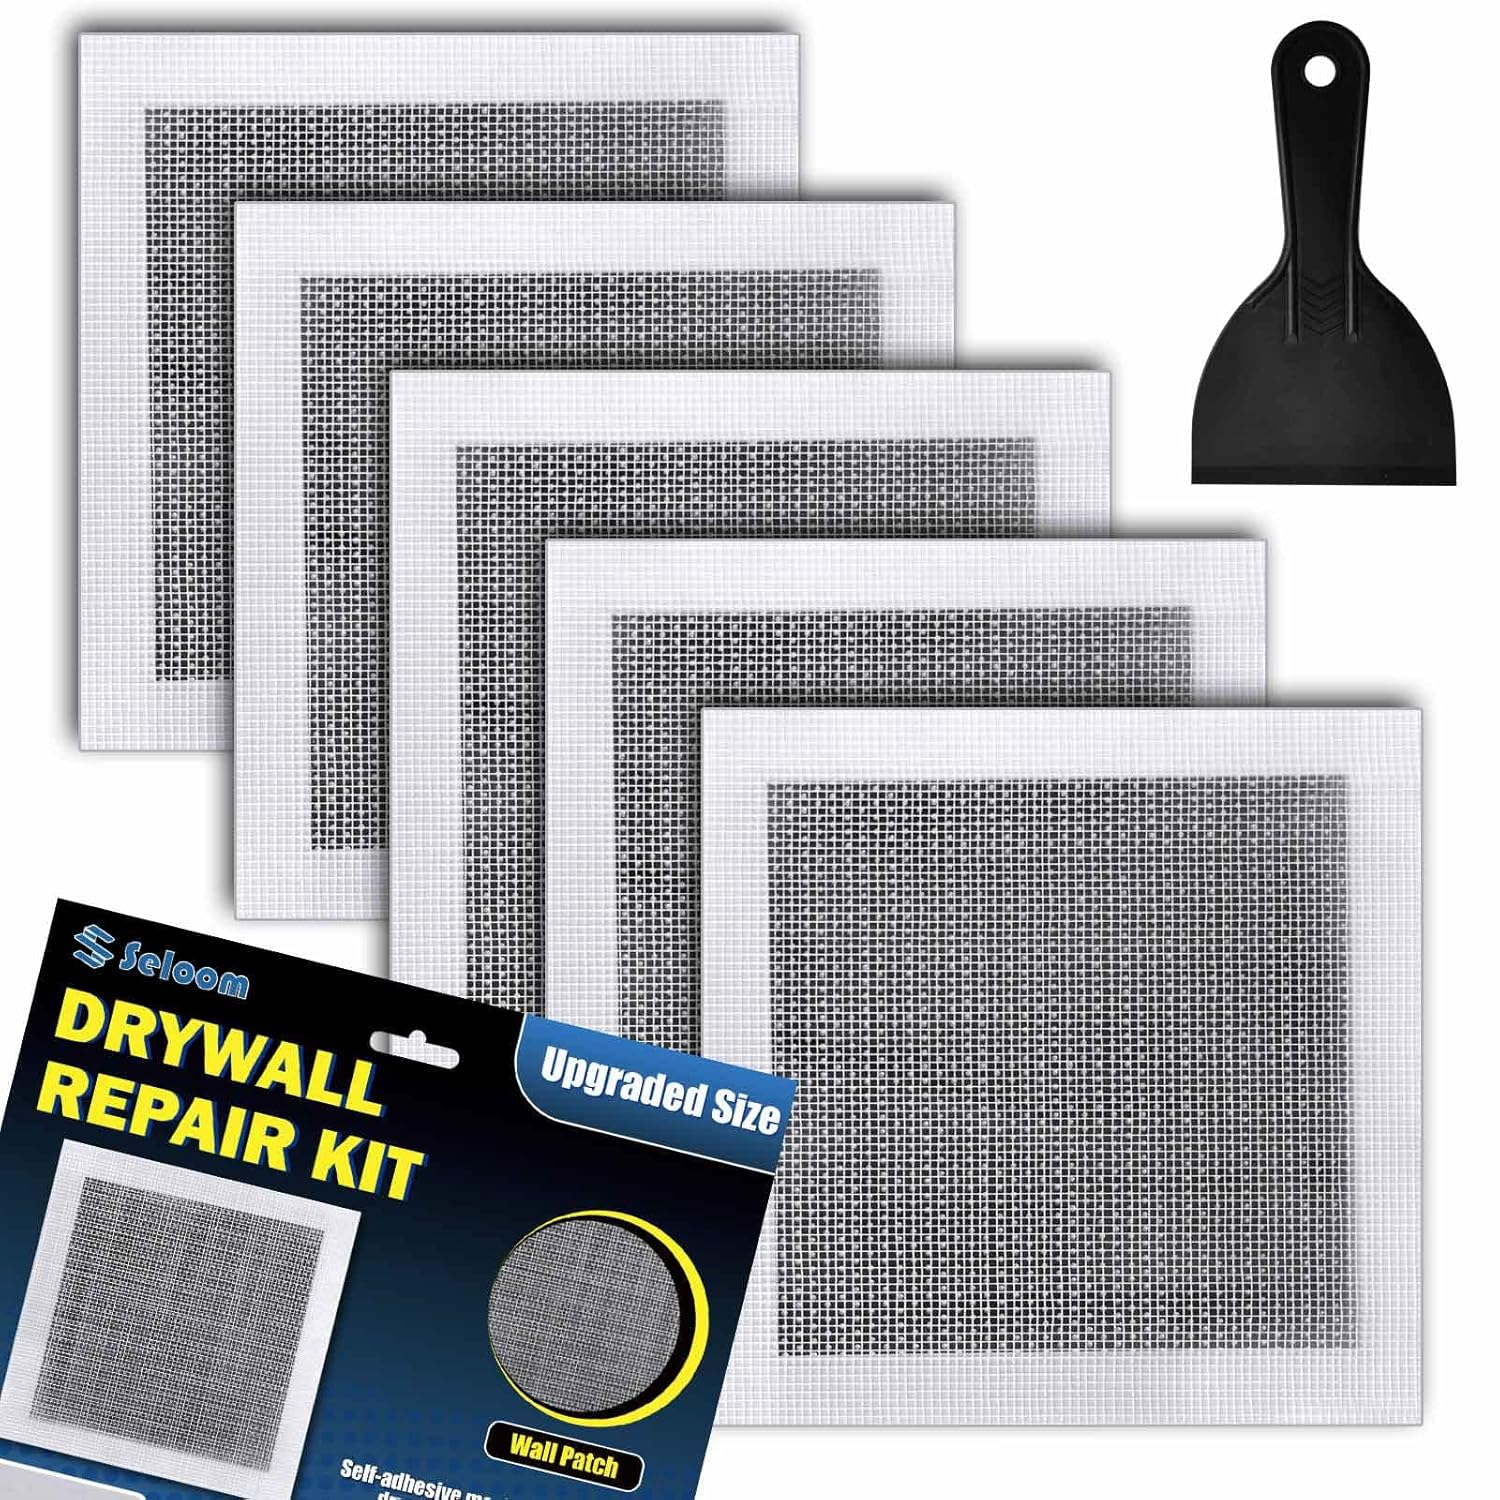
- Drywall Patch Kit (for medium holes): These usually include a self-adhesive mesh patch that makes fixing those medium-sized holes a breeze. Sometimes they even come with a small tub of spackle.
- Drywall Saw or Utility Knife: For cutting out damaged sections or trimming drywall patches. A utility knife is fine for smaller, precise cuts.
- Measuring Tape and Pencil: For marking out areas to cut.
- Dust Mask and Safety Glasses: Always protect yourself from dust and flying debris.
- Drop Cloths or Old Sheets: To protect your floors and furniture from dust and drips.
- Primer: Crucial for ensuring your new paint adheres properly and doesn’t show through the repaired area. Don’t skip this step!
- Paint: Of course! You’ll want to match your existing wall color perfectly.
The Art of the Tiny Fix: Scuffs, Dings, and Nail Holes
Let’s start with the easy stuff. These are the quick wins that make a surprisingly big difference. You’ll feel like a pro in no time!
For Scuffs and Dings:
- Clean it Up: Sometimes, a scuff is just dirt or residue. Try gently wiping the area with a damp cloth and a little mild soap. If it’s a paint scuff, a ‘magic eraser’ type sponge can often lift it right off without needing to repaint.
- Light Sanding: If it’s a very shallow ding or a raised scuff, a super light sanding with fine-grit sandpaper (220) can smooth it out. Be gentle!
- Touch-Up Paint: If the paint is truly gone, a small dab of matching paint is all you need. Use a tiny artist’s brush for precision.
For Nail and Screw Holes:
- Clear the Debris: Often, there’s a little raised ring of drywall around the hole. Gently press this in with your finger or the back of a putty knife to make it flush.
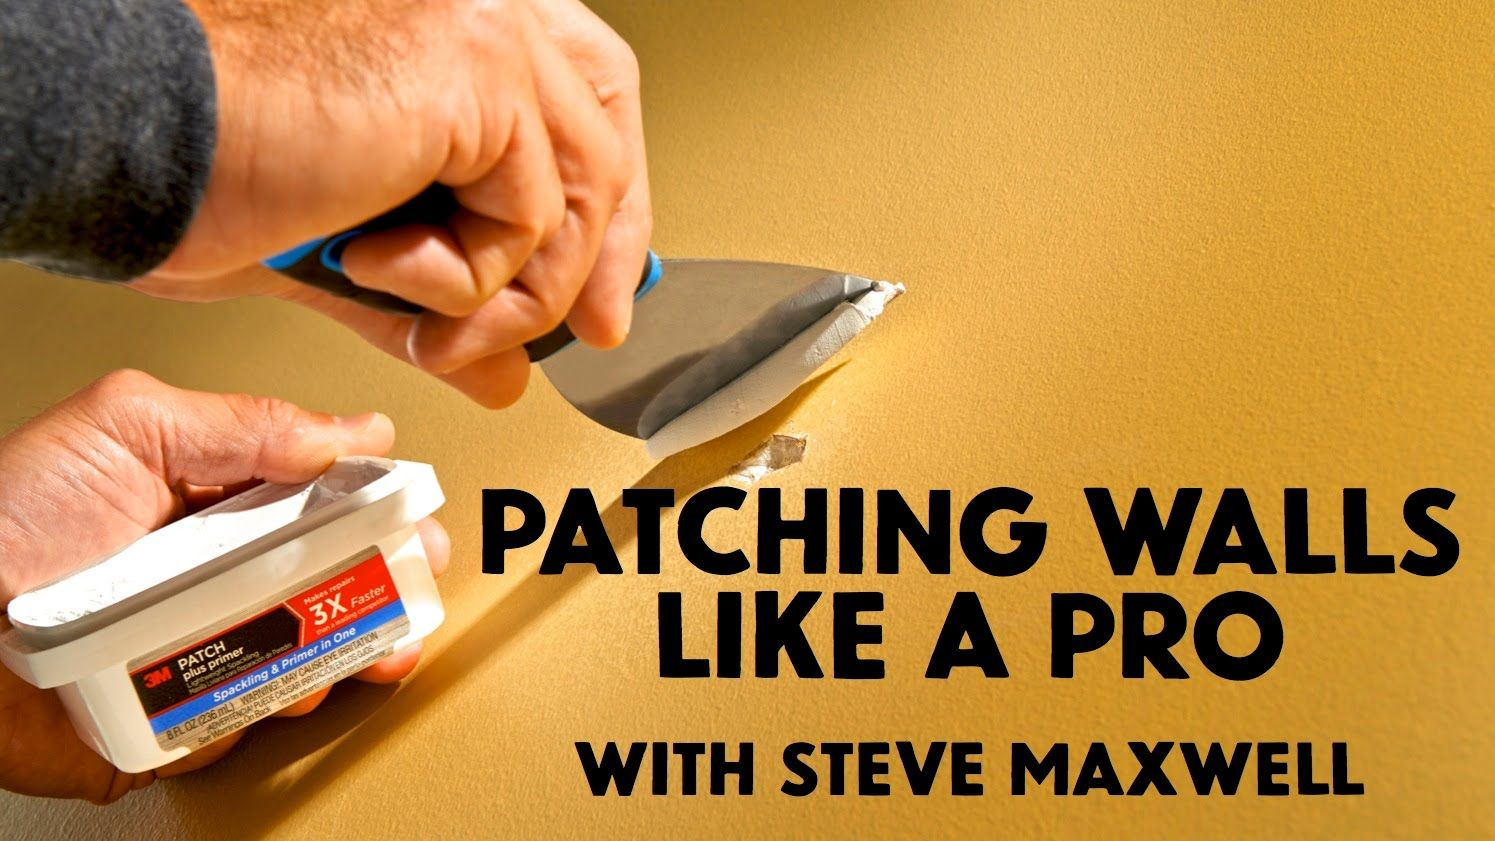
- Spackle Time: Grab your small putty knife and a dollop of spackle. Press the spackle firmly into the hole, making sure it’s completely filled.
- Smooth it Out: Drag your putty knife across the spackled area, removing any excess and making it perfectly smooth and flush with the wall. You want it to disappear.
- Dry and Sand: Let the spackle dry completely (check the product instructions for drying times, usually 30 minutes to a few hours). Once dry, gently sand the area smooth with fine-grit sandpaper. You should barely feel where the repair was.
- Prime and Paint: Apply a small amount of primer, let it dry, then touch up with your wall paint. Voila! Hole gone.
Tackling Medium-Sized Holes (The Mesh Patch Method)
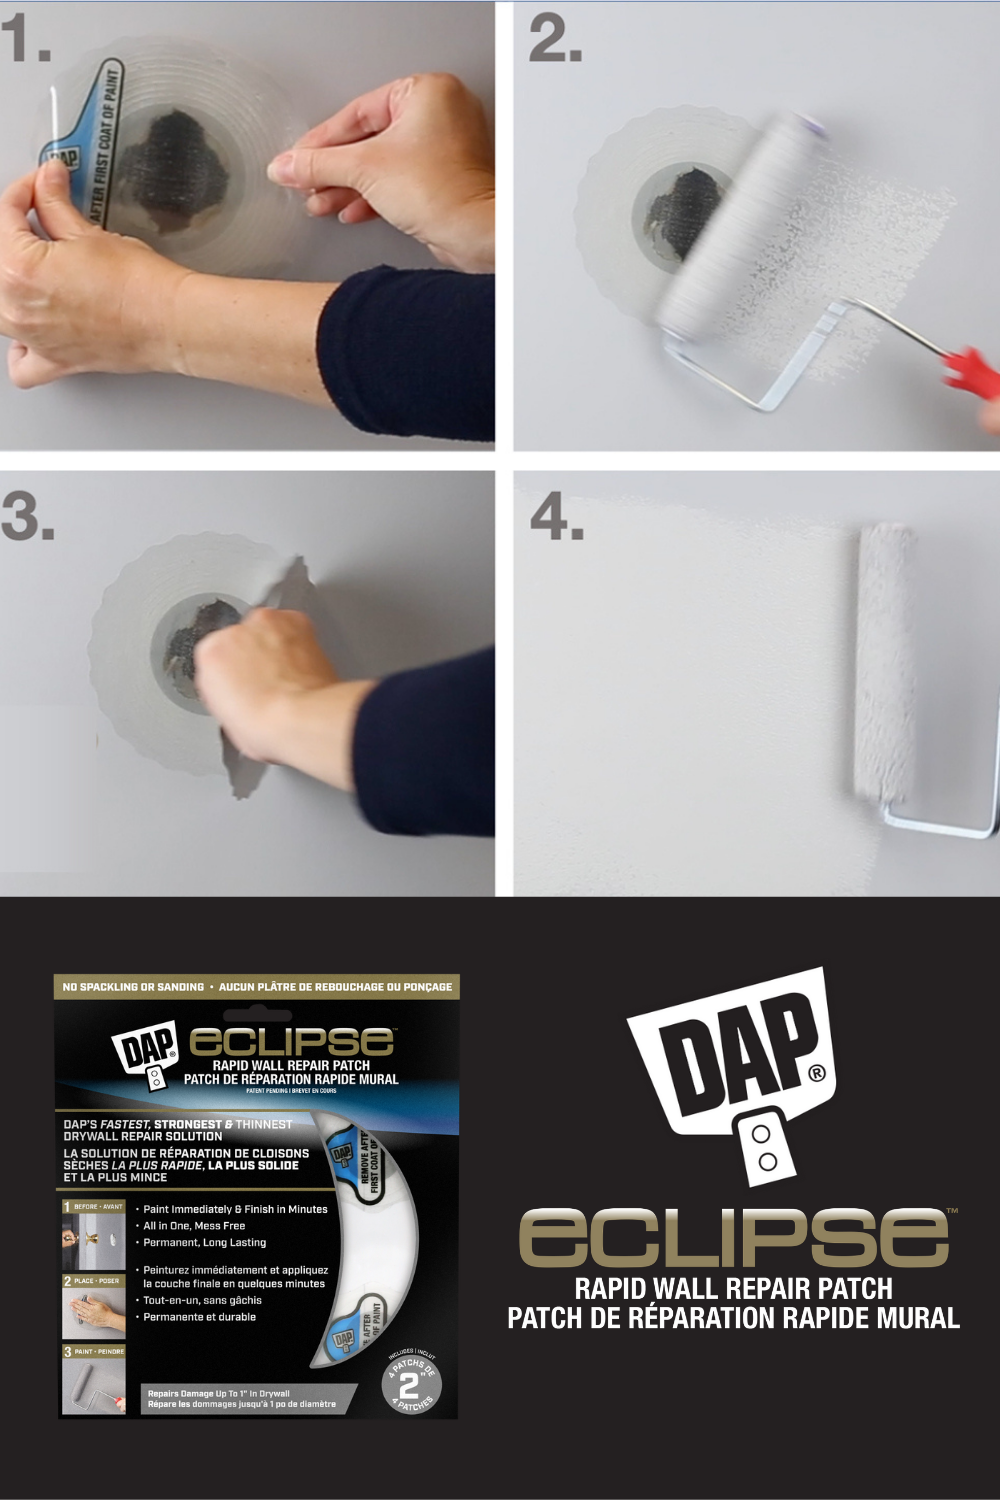
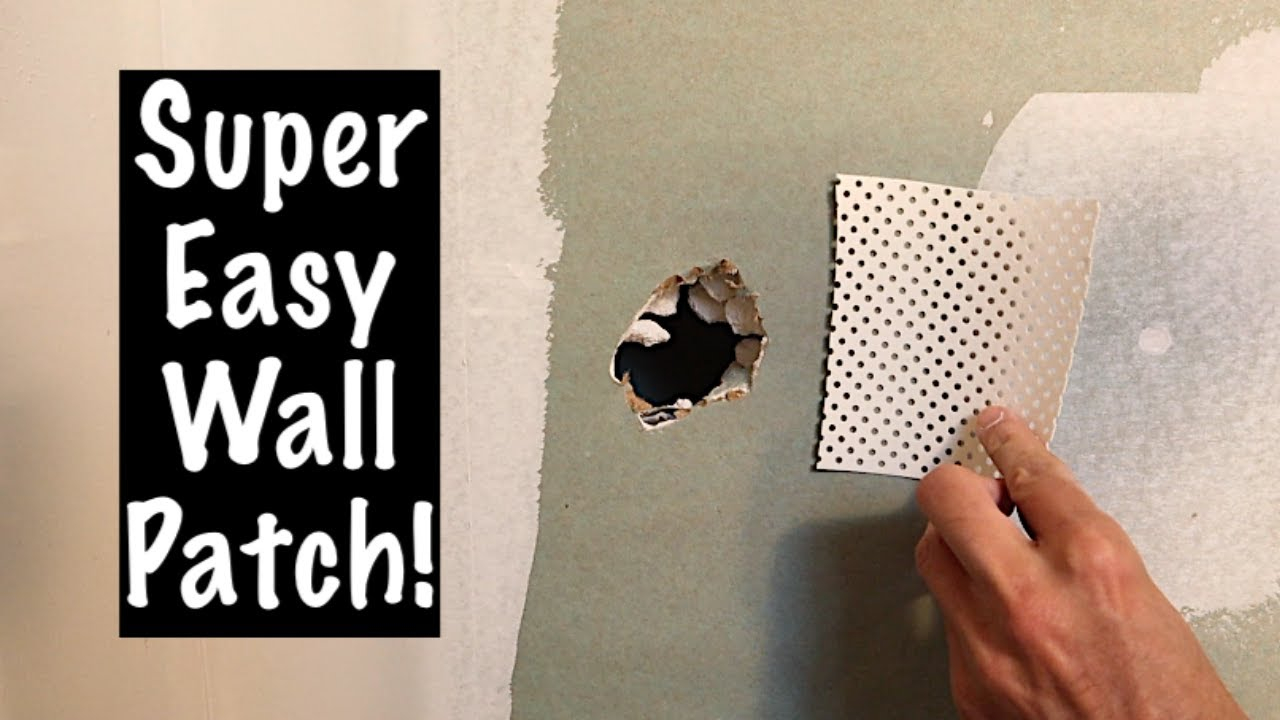
When a hole is bigger than a nail but smaller than your fist, a self-adhesive mesh patch is your best friend. These kits are super handy and make the job much less intimidating.
- Prepare the Hole: Make sure there aren’t any loose bits of drywall around the edge of the hole. If there are, gently trim them away with a utility knife. You want a relatively clean edge.
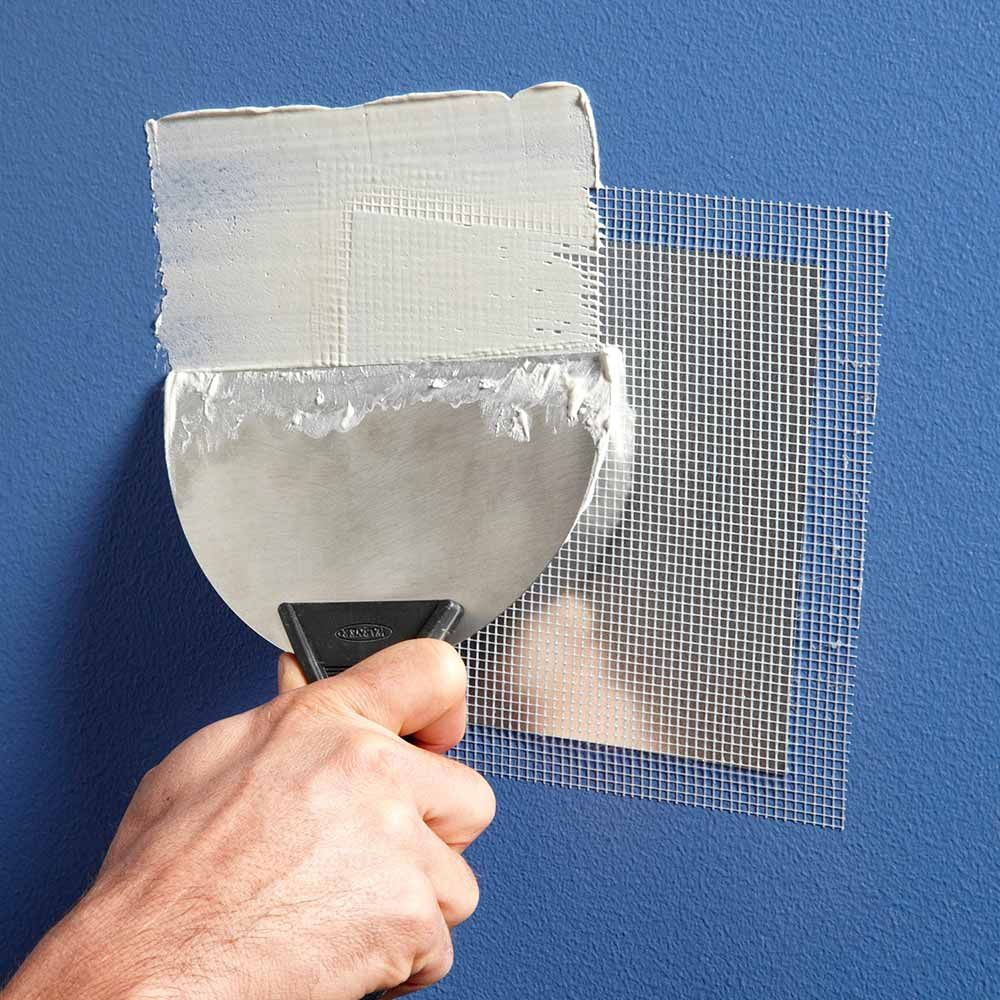
- Apply the Patch: Peel the backing off your mesh patch. Center it over the hole and press it firmly onto the wall. The mesh should completely cover the hole and extend a bit beyond its edges.
- First Layer of Compound: Using your putty knife, apply a thin, even layer of drywall compound directly over the mesh patch. Feather the edges out, meaning make the compound thinner as it gets further from the patch. This helps it blend seamlessly. Let this layer dry completely.
- Second Layer (and Third if Needed): Once dry, apply a second thin layer of compound, extending it a little further out than the first. The goal here is to completely hide the mesh and create a smooth, flat surface. You might need a third super-thin layer if you can still see the patch or if it’s not perfectly smooth. Let each layer dry fully.
- Sand It Smooth: This is where the magic happens. Use your sanding block and medium-grit sandpaper to gently sand the entire patched area. Be careful not to sand through the compound to the mesh. Once it’s mostly smooth, switch to fine-grit sandpaper for a super silky finish. Run your hand over it – it should feel flat and even with the surrounding wall.
- Clean, Prime, and Paint: Wipe away all dust. Apply a coat of primer over the repair. Let it dry, then paint the area to match your wall. You’ll be amazed at how it disappears!
Conquering Large Holes: The Cut-Out Patch
Okay, this one sounds scarier than it is. For holes bigger than a few inches, you’ll need to cut out a square and insert a new piece of drywall. It’s a bit more involved, but totally doable for the determined DIYer.
- Square Up the Damage: Use a pencil and a straightedge to draw a neat square or rectangle around the damaged area. Make sure the lines extend into solid, undamaged drywall.
- Cut It Out: Using a drywall saw or utility knife, carefully cut along your drawn lines. Take your time to make clean cuts. Remove the damaged section.
- Add Backing (Crucial Step!): This is key for a strong repair. Cut two pieces of wood (like 1x2s or furring strips) that are a few inches longer than the height of your hole. Slip one piece behind the top edge of the hole and screw it into the existing drywall above the opening. Do the same for the bottom edge. These pieces will serve as anchors for your new drywall patch.
- Cut Your Patch: Measure the exact dimensions of your newly cut-out hole. Cut a piece of new drywall to these exact measurements. Test-fit it – it should fit snugly into the opening.
- Install the Patch: Place the new drywall patch into the hole. Screw it into the wooden backing strips you installed earlier. Make sure the screws are slightly recessed below the surface of the drywall.
- Tape the Seams: Apply self-adhesive fiberglass mesh tape (or paper tape with compound) over all the seams where the new patch meets the old wall. This prevents cracking.
- Apply Compound (Multiple Layers): Now, it’s mudding time! Apply a thin, even layer of drywall compound over all the taped seams and screw heads. Feather the edges out. Let it dry. Apply a second, wider layer, feathering it out even further. You’ll likely need a third, very thin, wide layer to get it perfectly smooth. The goal is to blend it so seamlessly that you can’t tell where the old wall ends and the new patch begins.
- Sand, Prime, and Paint: Once all compound layers are completely dry, sand the entire area smooth, starting with medium grit and finishing with fine. Clean thoroughly, prime the entire repair, and then paint your wall. Stand back and admire your handiwork!
The Finishing Touch: Priming and Painting
You’ve done the hard work, but don’t stumble at the finish line! Priming and painting are super important for making your repair truly disappear.
- Why Prime? Drywall compound is very porous. If you paint directly over it without priming, it will ‘flash’ – meaning it will absorb the paint differently than the surrounding wall, leaving a dull or patchy spot. Primer creates a uniform surface for your paint to adhere to, ensuring an even finish and true color. Use a good quality primer, especially one designed for stain-blocking if you had any water damage or stains.
- Application: Apply primer evenly over the entire repaired area, extending a few inches beyond the patch onto the existing wall. Let it dry completely according to the manufacturer’s instructions.
- Painting: Once the primer is dry, it’s time for paint. For small touch-ups, use a small brush or foam roller. For larger repairs, you might need to use a larger roller to blend it better with the surrounding wall. Apply thin, even coats. You’ll likely need two coats of paint for full coverage and a seamless look. If you’re matching existing paint, try to use paint from the same can or ensure you have an exact color match. Sometimes, even if it’s the exact same paint, slight differences in application or aging of the old paint can make it visible. In those cases, painting the entire wall or even the entire room might be necessary for a truly invisible repair. Patience is a virtue here – let each coat dry fully before applying the next. And remember, good lighting helps you spot any imperfections before the paint dries!
See? It wasn’t so bad, was it? From the tiniest nick to the most intimidating hole, wall damage is just a temporary setback. With a little know-how, the right tools, and a dash of patience, you can absolutely bring your walls back to their former glory. Not only will your home look better, but there’s a real sense of accomplishment that comes with tackling these projects yourself. So, next time you spot a flaw, don’t sigh. Grab your spackle and get to it! Your walls (and your peace of mind) will thank you.
[sps_html tag=”img” src=”https://cdn.theartssection.com/wp-content/uploads/2025/07/eclipse-rapid-wall-repair-patches-are-a-unique-and-innovative-drywall-with.png” alt=”Eclipse™ Rapid Wall Repair Patches Are A Unique And Innovative Drywall … with” style=”width: 100%; height: auto;”]
[sps_html tag=”img” src=”https://cdn.theartssection.com/wp-content/uploads/2025/07/amazon-com-xfasten-drywall-repair-kit-12-pack-4-6-8-inch-aluminum-dry-throughout-more-than-a-patch-crafting-solutions-for-wall-flaws.jpg” alt=”Amazon.com: Xfasten Drywall Repair Kit 12-Pack 4/6/8 Inch Aluminum Dry … throughout More Than a Patch Crafting Solutions for Wall Flaws” style=”width: 100%; height: auto;”]
[sps_html tag=”img” src=”https://cdn.theartssection.com/wp-content/uploads/2025/07/brilliant-solutions-for-repairing-walls-and-ceilings-diy-home-throughout-more-than-a-patch-crafting-solutions-for-wall-flaws.jpg” alt=”Brilliant Solutions For Repairing Walls And Ceilings | Diy Home … throughout More Than a Patch Crafting Solutions for Wall Flaws” style=”width: 100%; height: auto;”]
[sps_html tag=”img” src=”https://cdn.theartssection.com/wp-content/uploads/2025/07/buy-drywall-repair-patch-6-pack-self-adhesive-drywall-repair-kit-throughout-more-than-a-patch-crafting-solutions-for-wall-flaws.jpg” alt=”Buy Drywall Repair Patch - 6 Pack Self Adhesive Drywall Repair Kit … throughout More Than a Patch Crafting Solutions for Wall Flaws” style=”width: 100%; height: auto;”]
[sps_html tag=”img” src=”https://cdn.theartssection.com/wp-content/uploads/2025/07/patch-walls-like-a-pro-outro-how-to-patch-drywall-family-homesteading-within.jpg” alt=”Patch Walls Like A Pro Outro How To Patch Drywall, Family Homesteading … within” style=”width: 100%; height: auto;”]