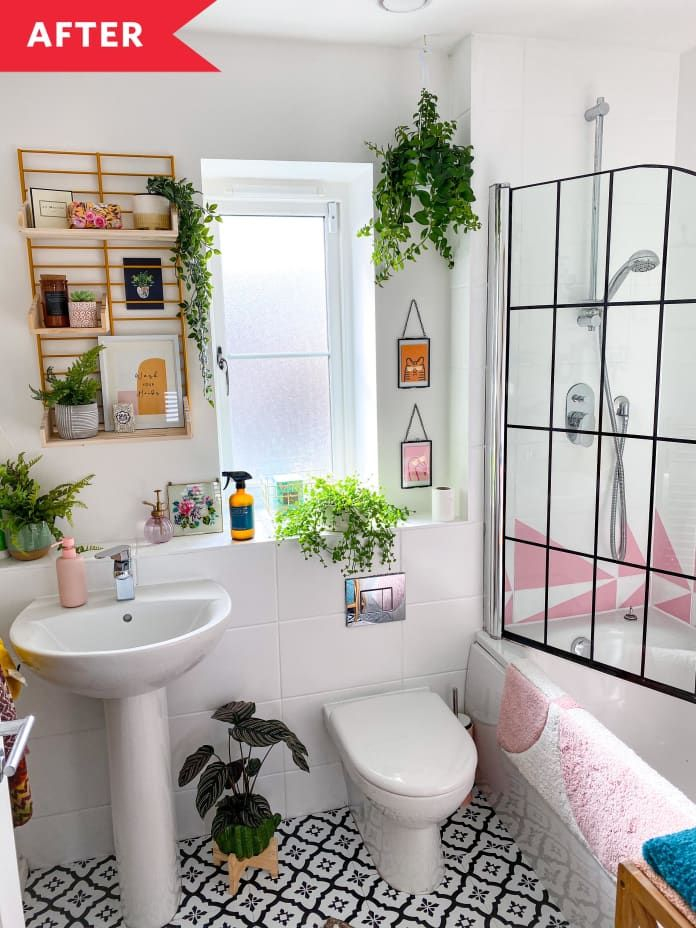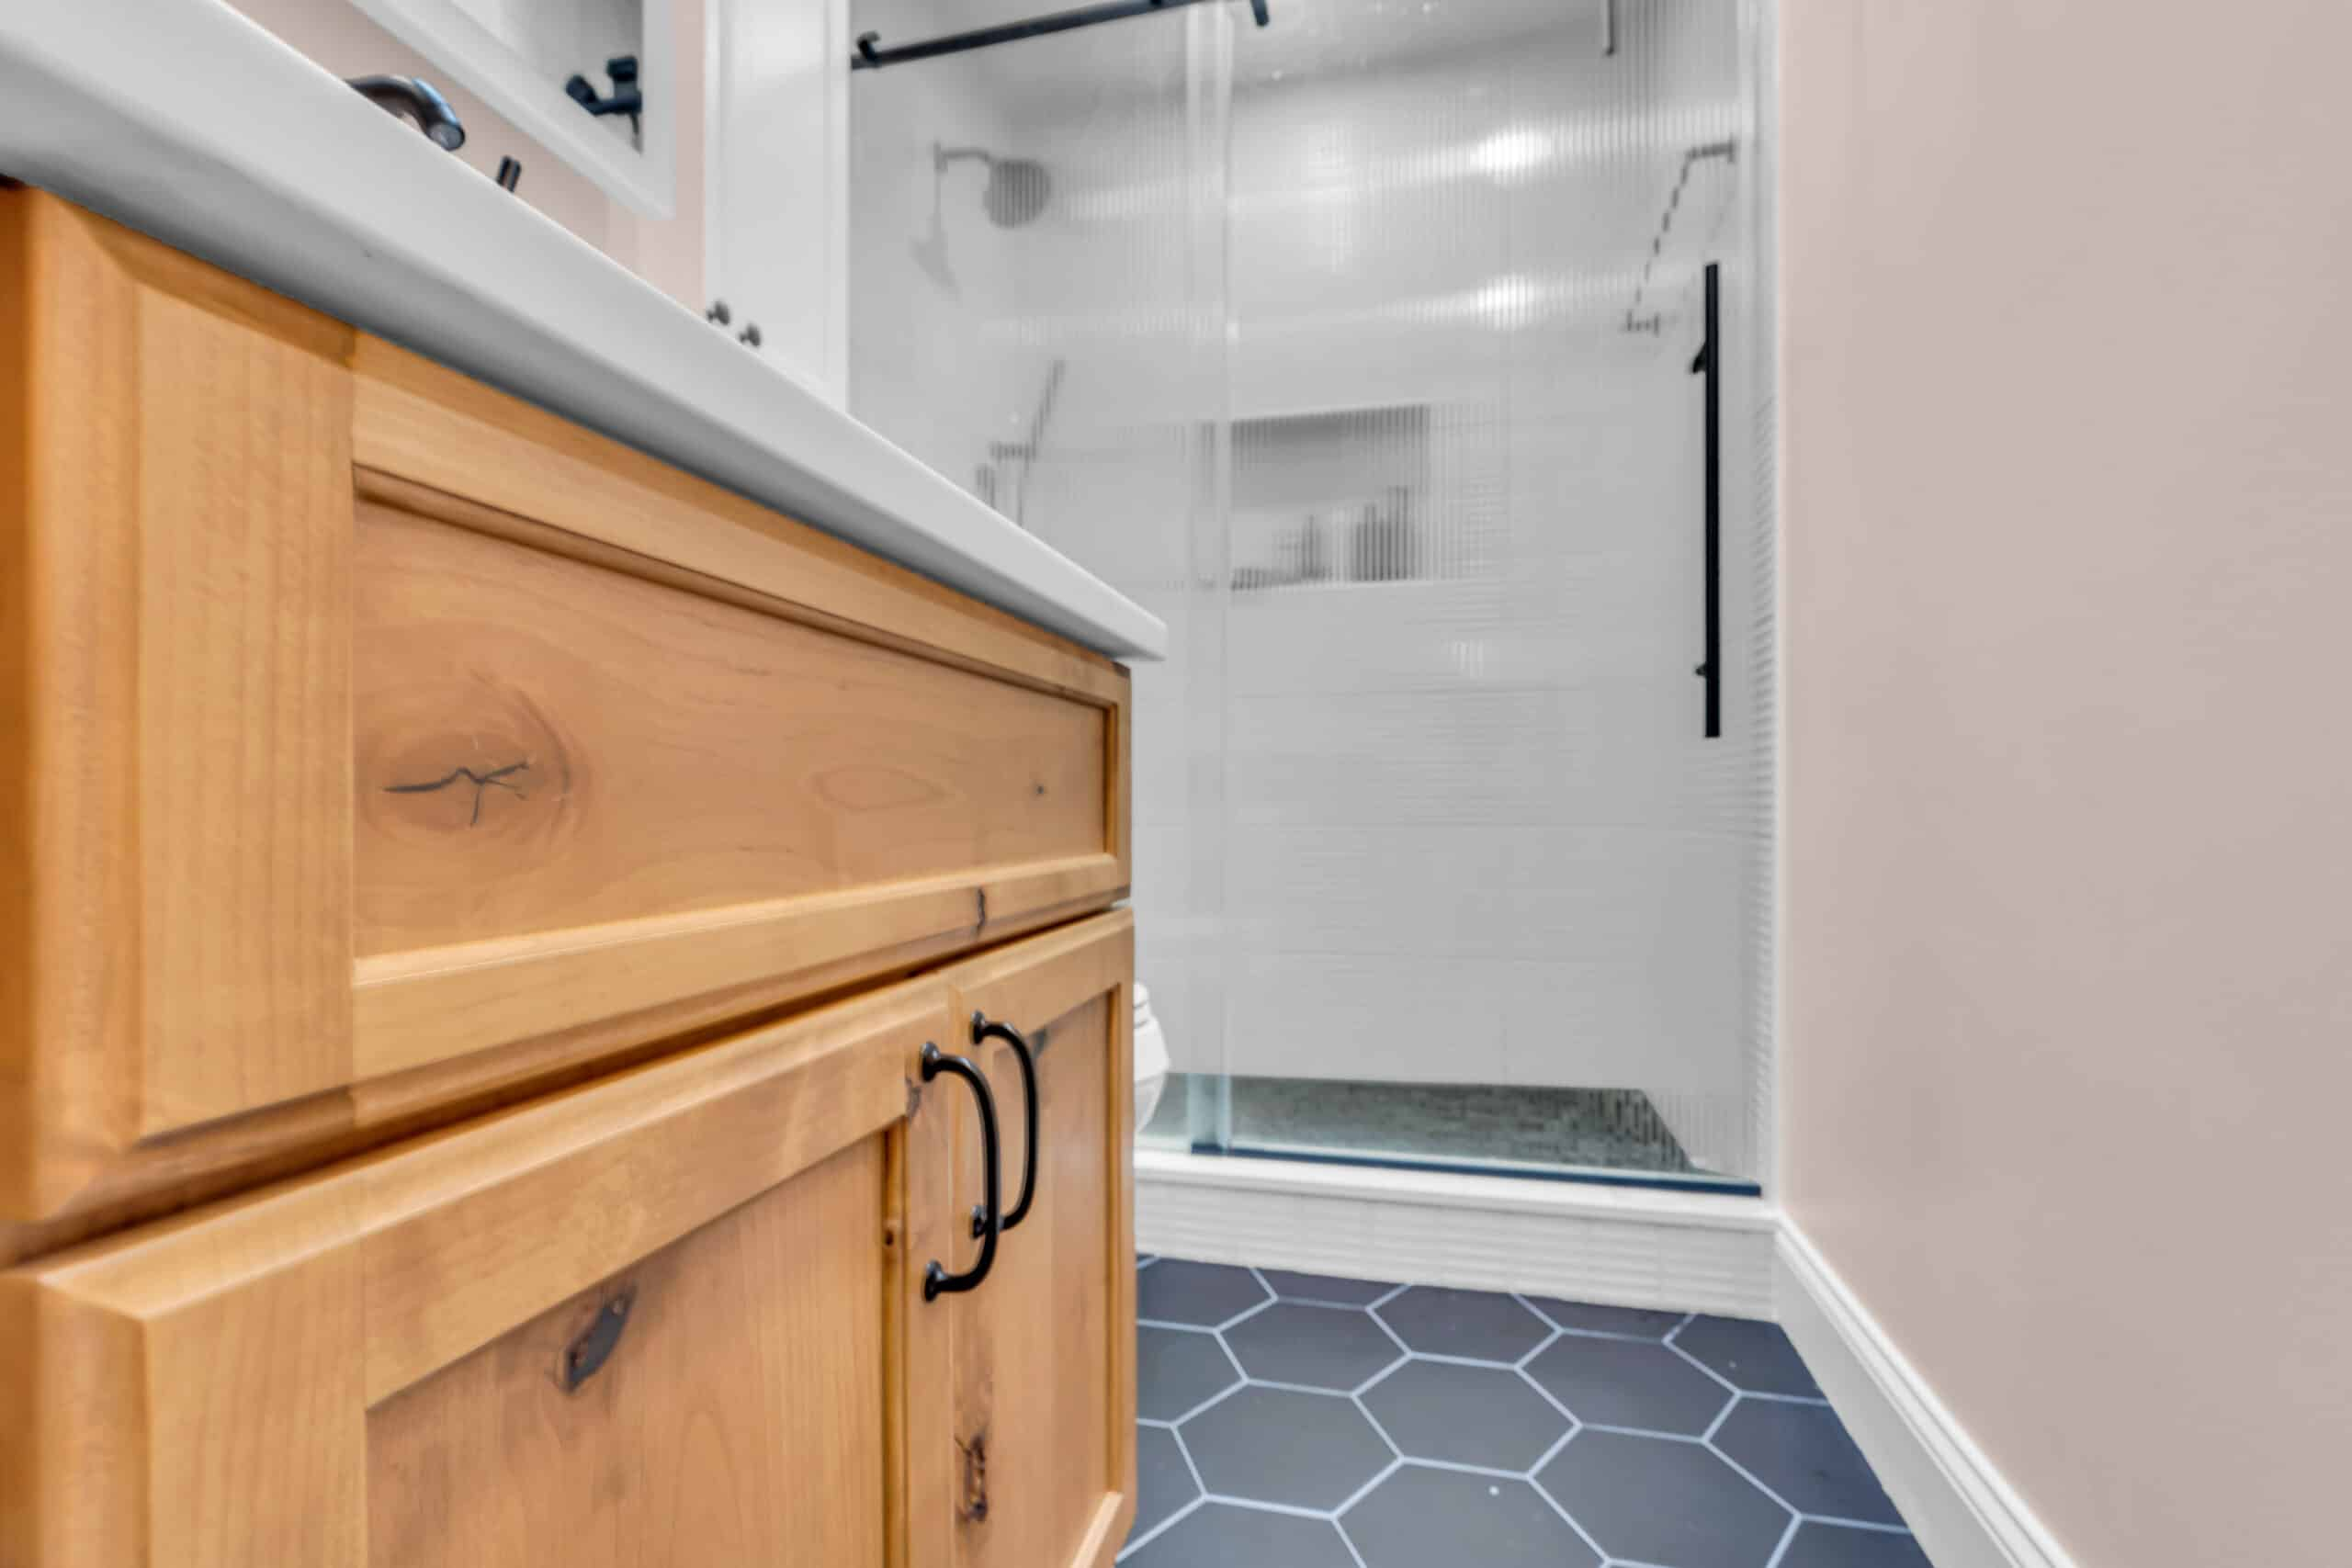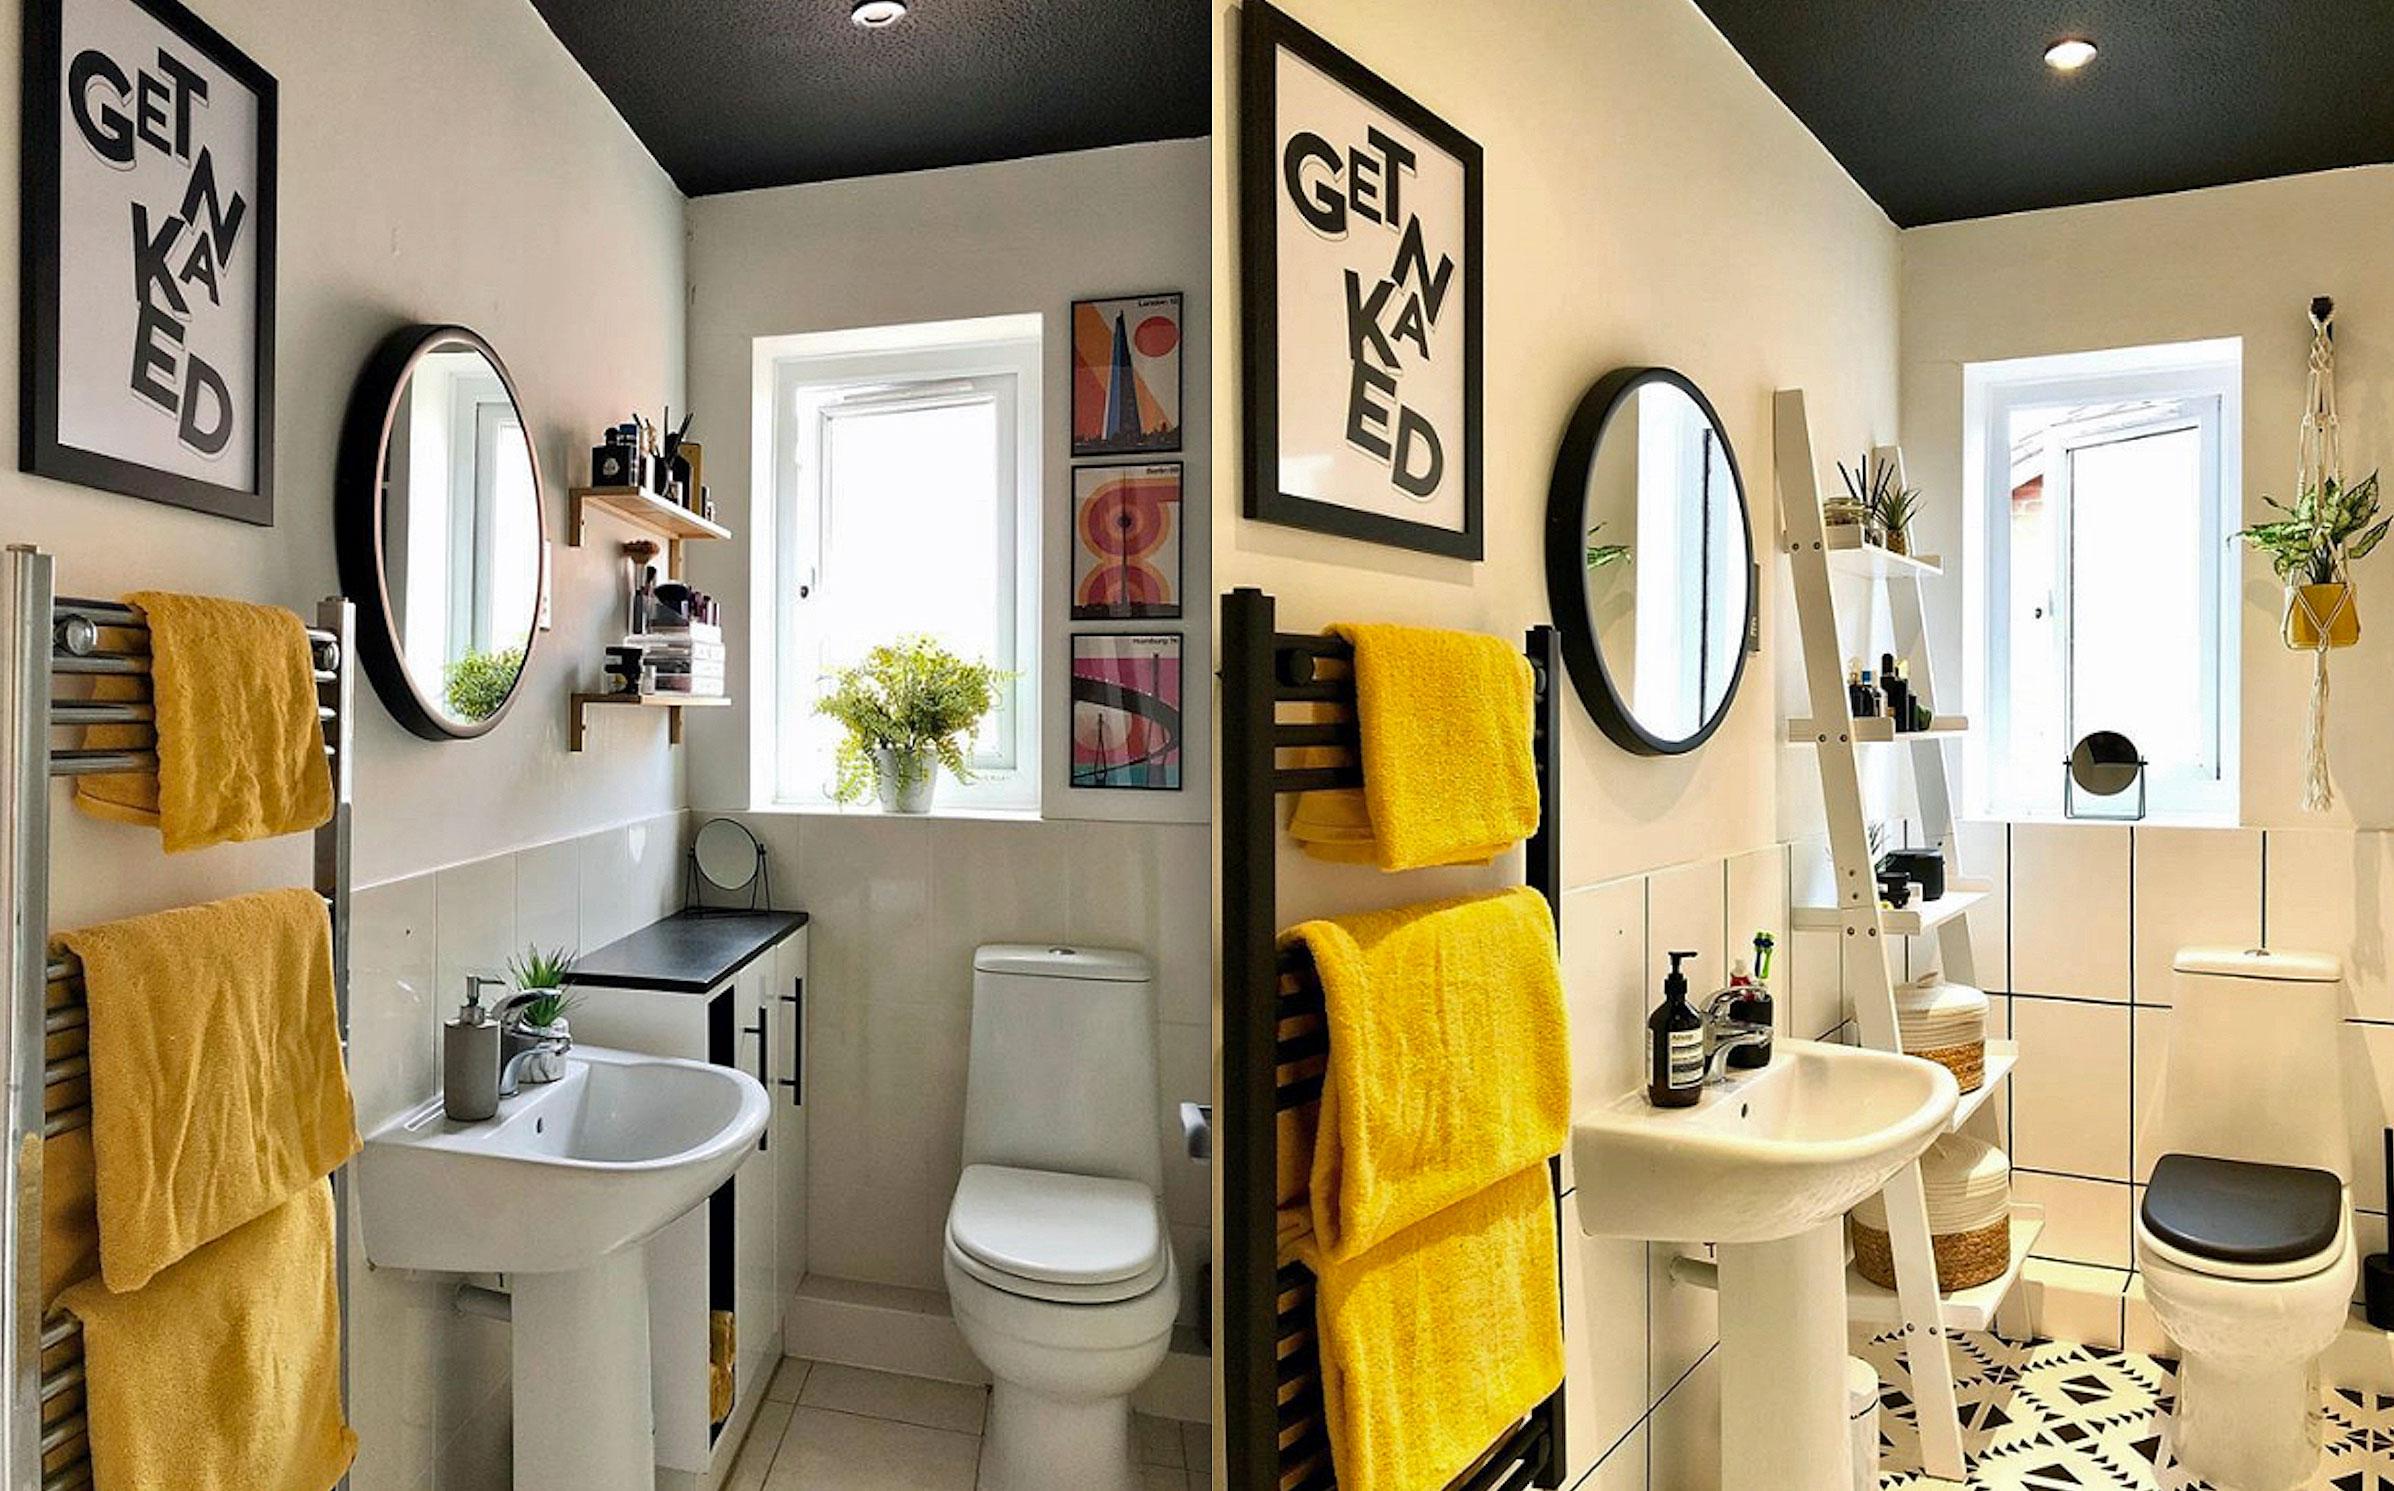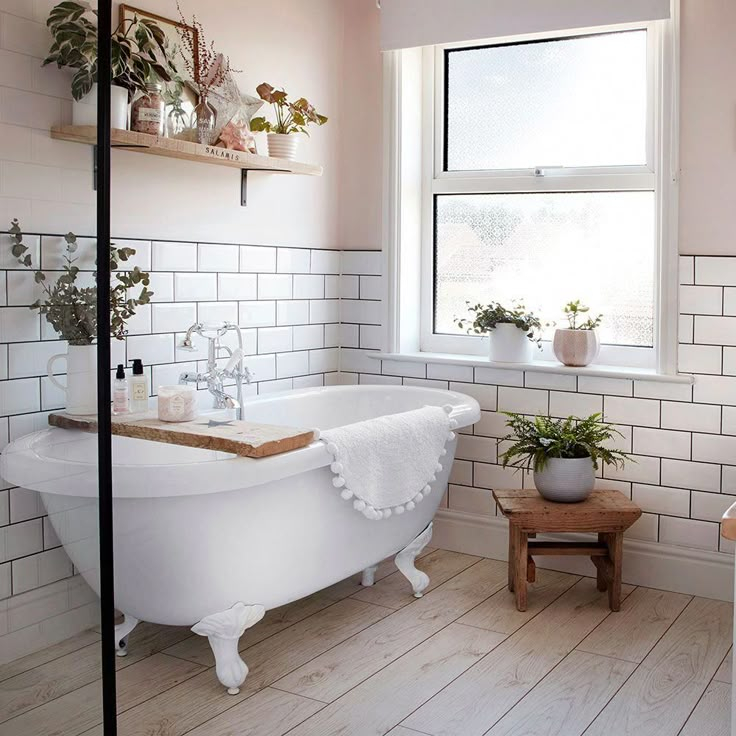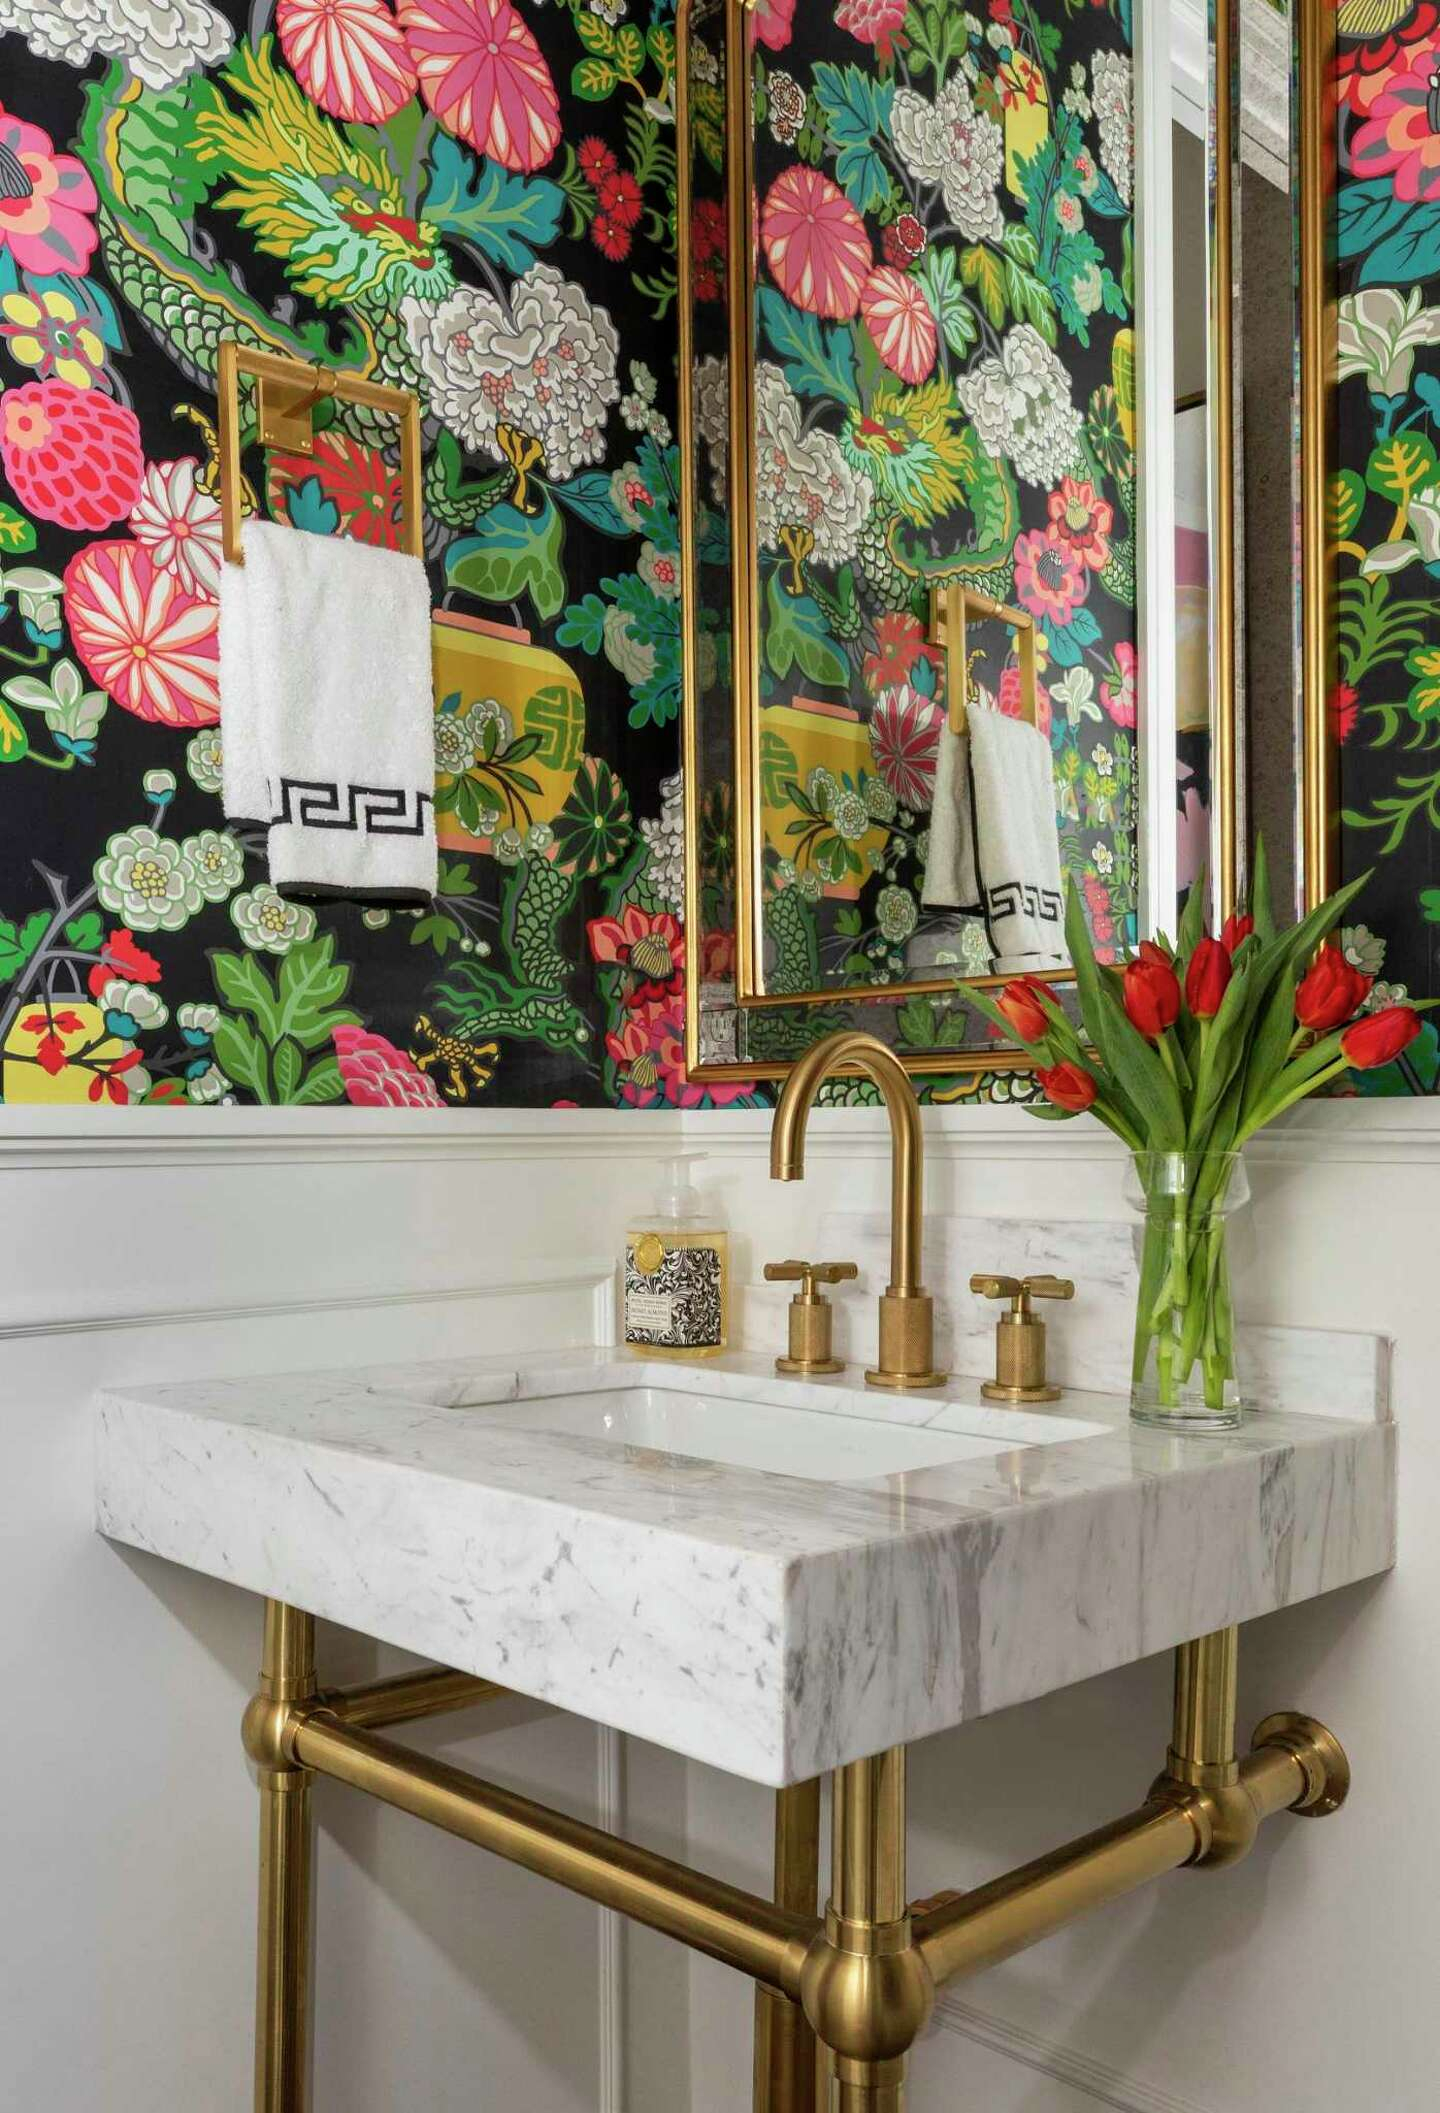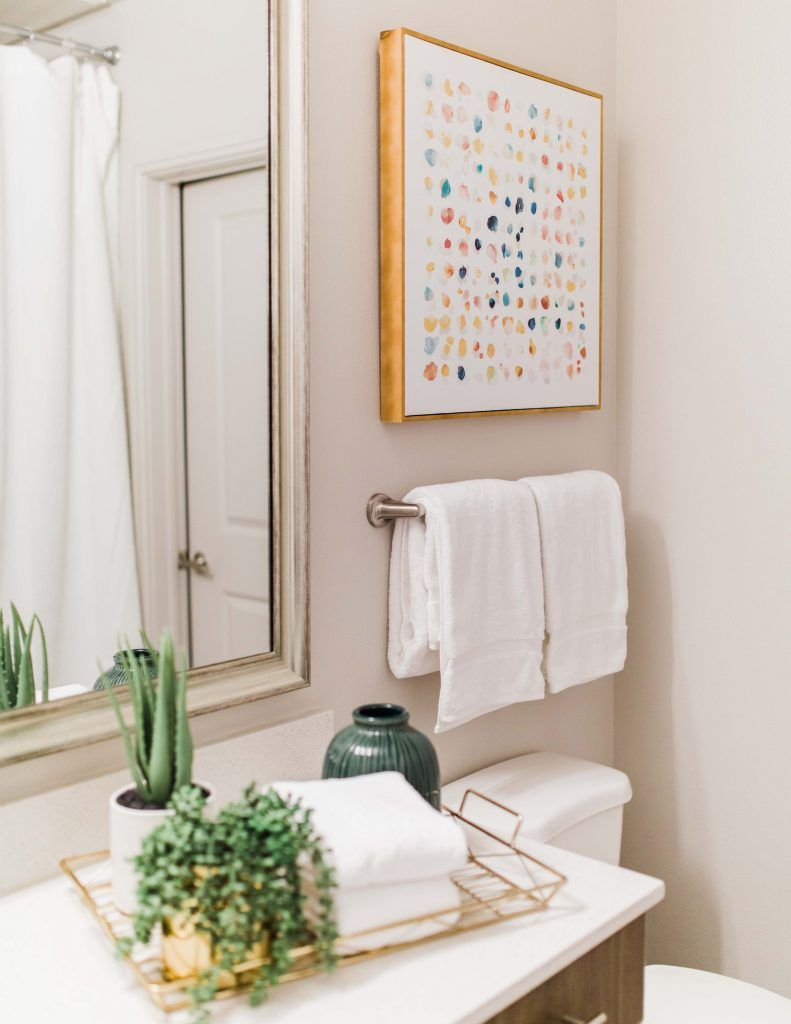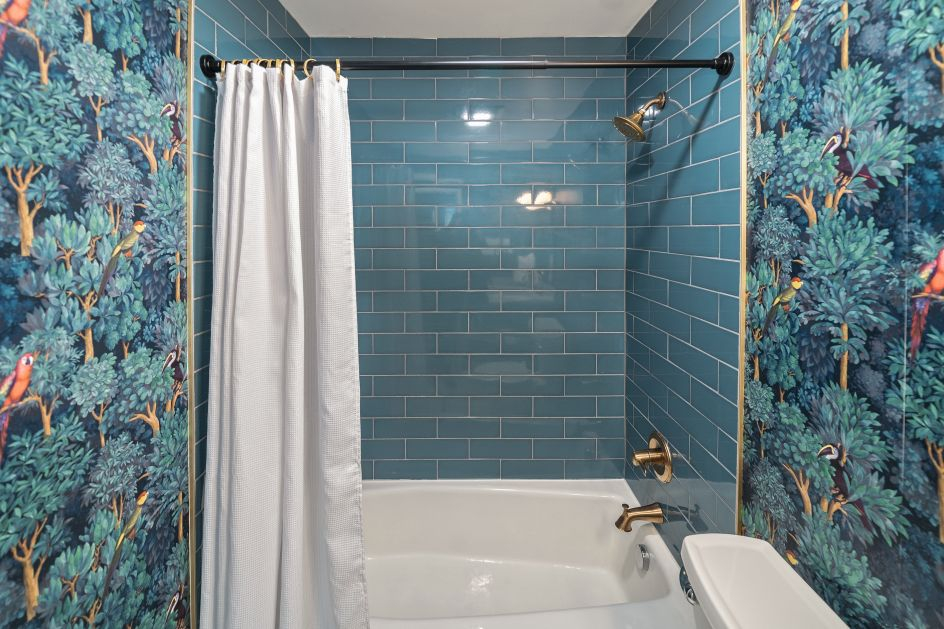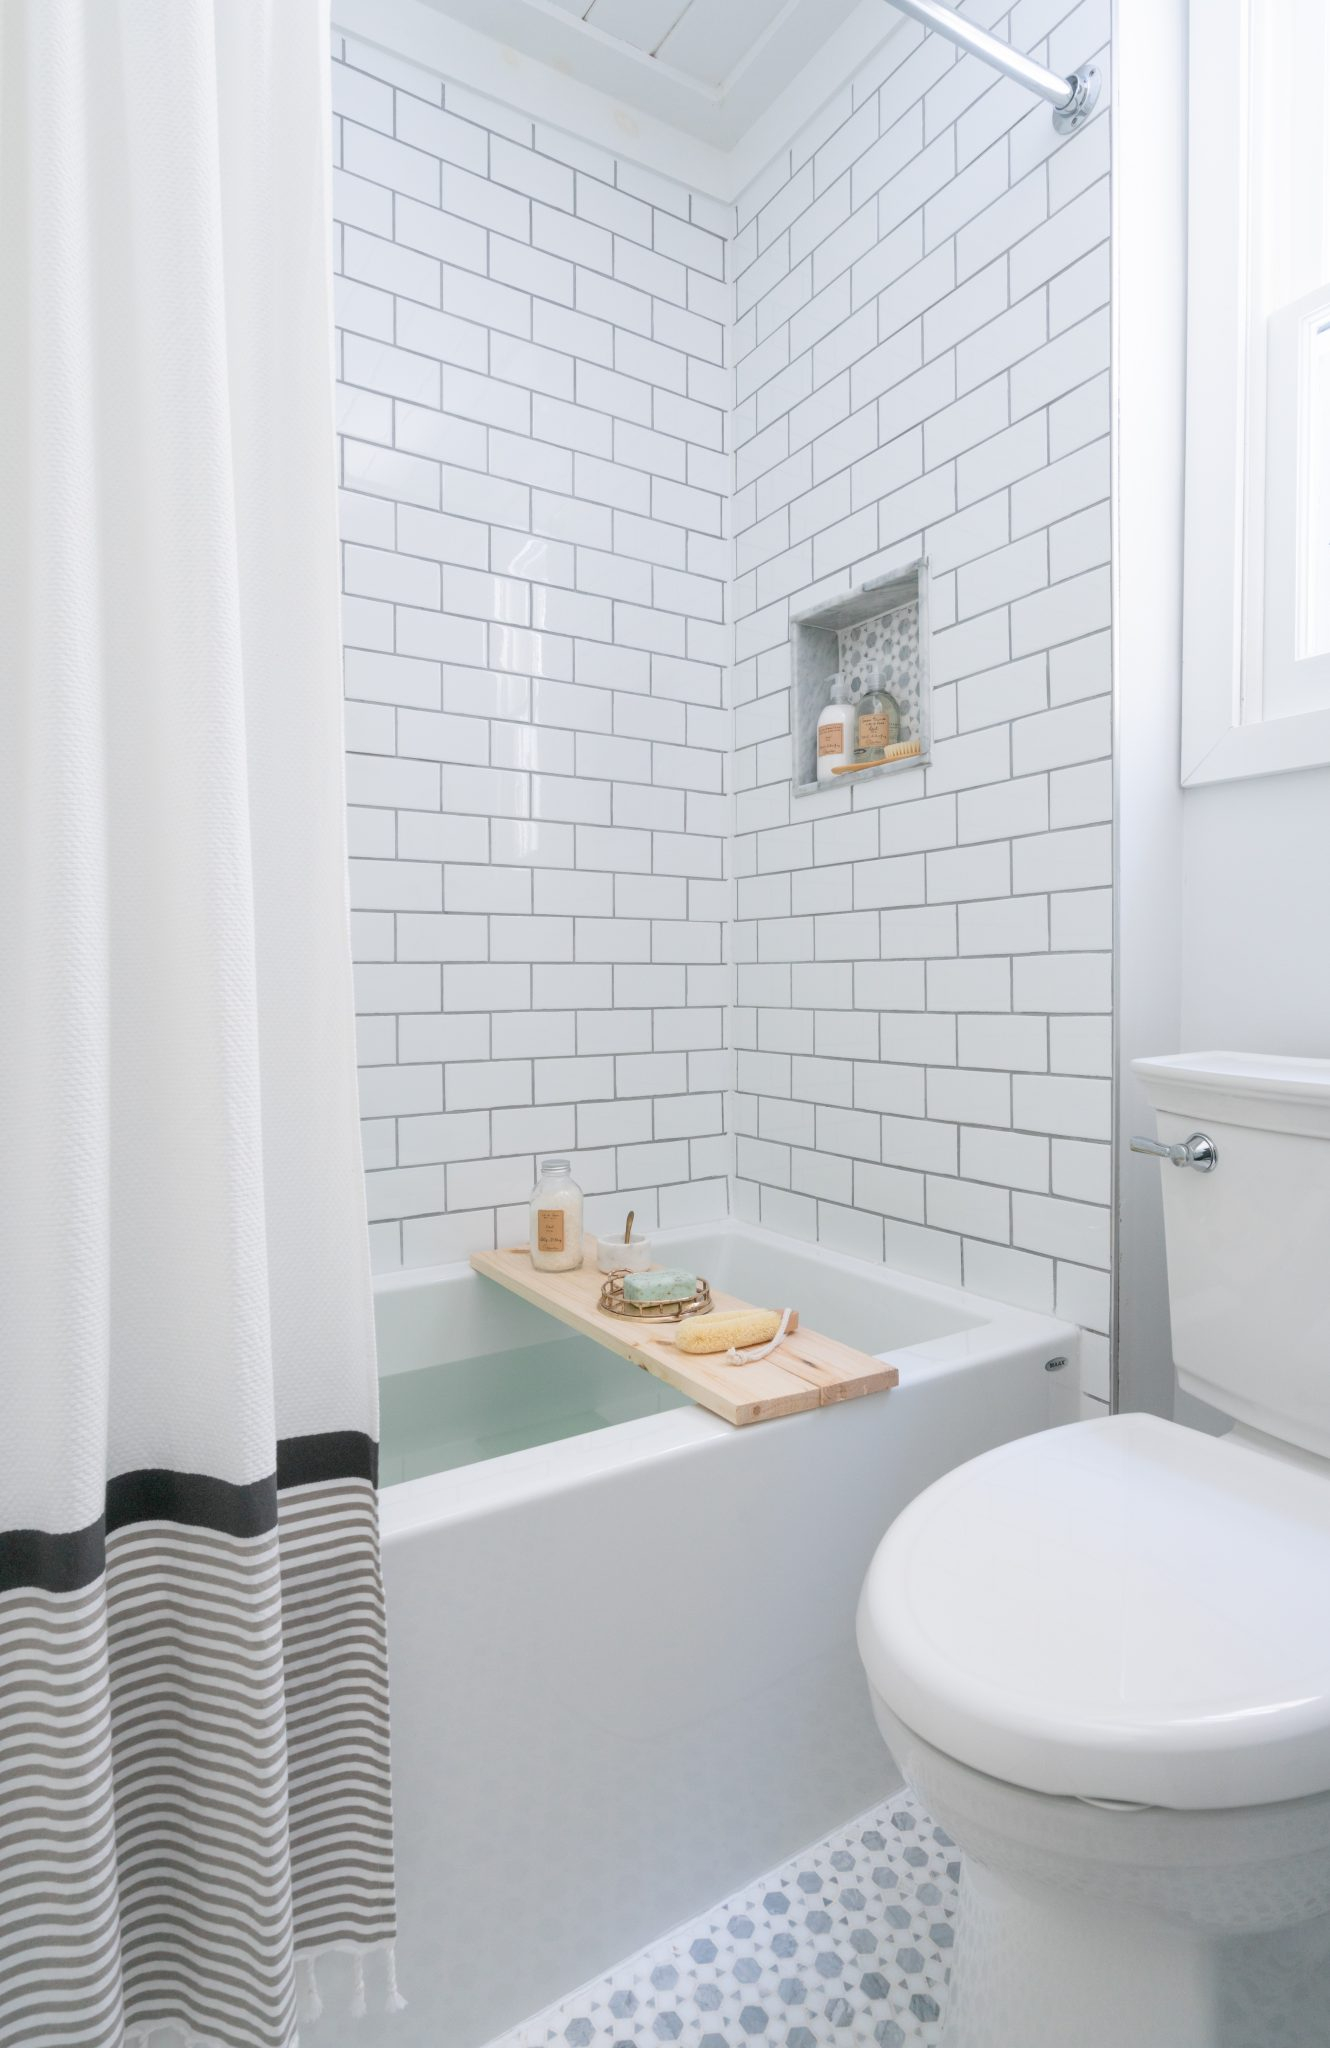
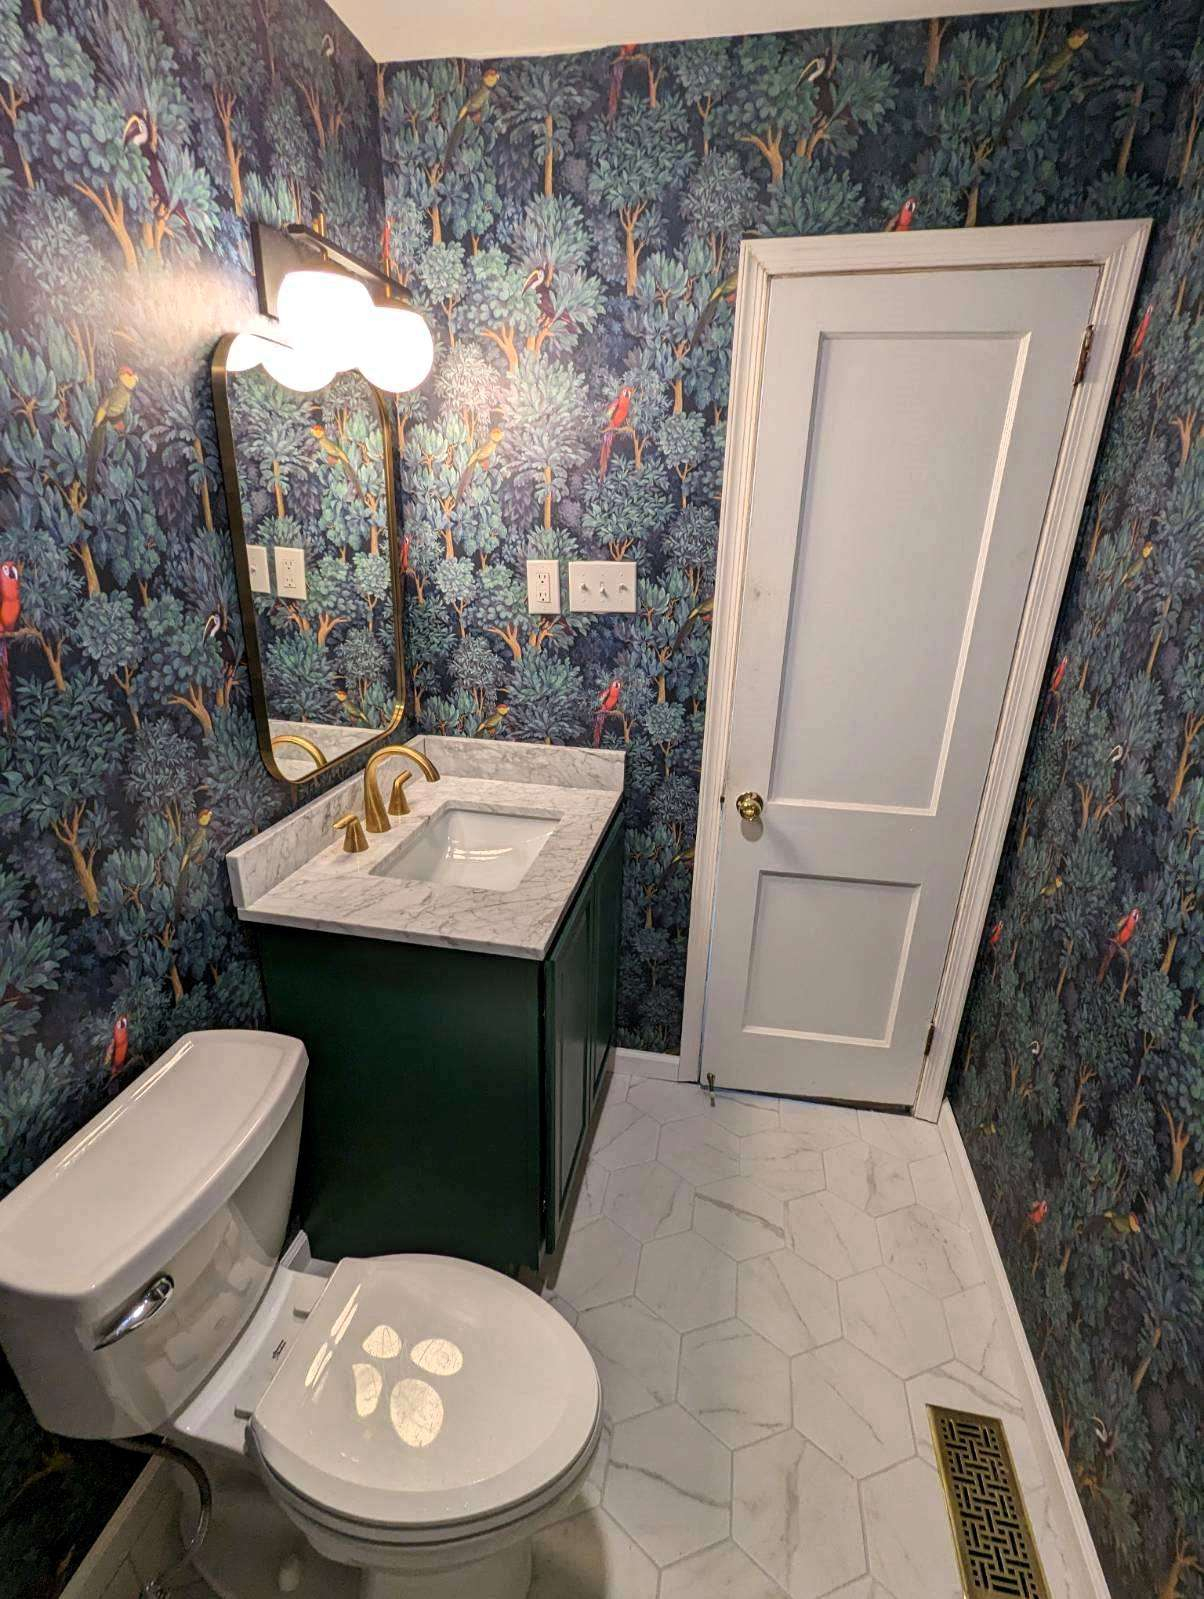
Ever looked at your bathroom and thought, ‘It needs a little something more’? You’re not alone. Many of us dream of creating a spa-like sanctuary or a vibrant, personality-filled space, and sometimes, the simplest changes yield the biggest impact. Wallpapering a bathroom might sound daunting, but with the right approach, it’s an incredibly rewarding way to transform a utilitarian space into something truly special. Let’s embark on a journey to revitalize four bathrooms, one wall at a time.
Bathrooms, especially smaller ones, can often feel a bit overlooked. They’re functional, sure, but do they inspire? Wallpaper offers a fantastic opportunity to inject color, pattern, and texture into these often-neglected areas. Think beyond the basic paint job. Wallpaper can mimic the look of expensive tiles, add a touch of vintage charm, or bring the outdoors in with lush botanical prints. It’s a way to express your style and create a cohesive look throughout your home, even in the most private of spaces. We’re going to explore how to tackle this project, making it manageable and even enjoyable.
Step 1: Inspiration and Planning
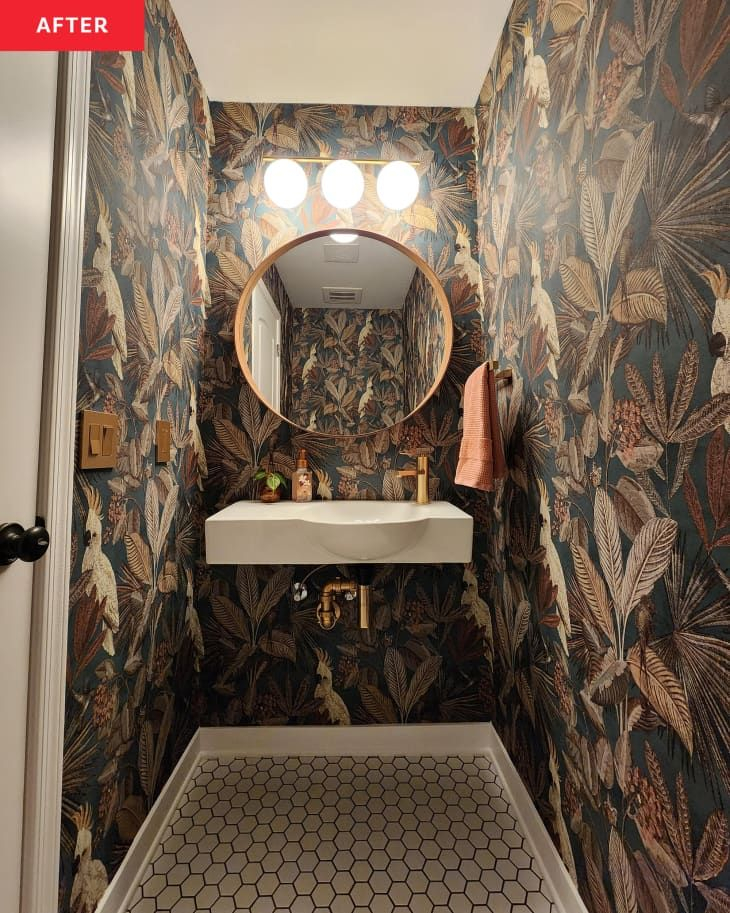
Before you even think about rolls of paper, let’s get inspired. What’s the vibe you’re going for? A serene, spa-like retreat with calming blues and subtle textures? A bold, dramatic powder room with a statement print? Or perhaps a playful, kid-friendly bathroom with whimsical designs? Browse online platforms like Pinterest and Houzz, flip through interior design magazines, and even look at fabric patterns for ideas. Consider the size of your bathroom and the amount of natural light it receives. Smaller spaces might benefit from lighter colors and smaller patterns to avoid feeling cramped, while larger bathrooms can handle bolder choices. And, importantly, think about durability. Bathrooms experience humidity and potential splashes, so choosing the right type of wallpaper is crucial. Vinyl, vinyl-coated, or even certain washable paper options are generally best suited for these environments.
Step 2: Choosing the Right Wallpaper and Supplies
Now for the fun part – selecting your wallpaper. For bathrooms, moisture resistance is key. Matte vinyl or vinyl-coated wallpapers are excellent choices because they can withstand humidity and are often scrubbable. Washable papers are also a good bet. Avoid traditional paper-based wallpapers or those with a fabric finish, as they can degrade or peel in damp conditions. When it comes to patterns, don’t be afraid to be adventurous. A bold floral for a powder room, a geometric pattern for a modern master bath, or even a faux tile effect can completely change the room’s character. You’ll also need adhesive (often specific to the wallpaper type), a smoothing tool (like a plastic smoother or a brush), a utility knife with extra blades, a tape measure, a level, a pencil, and possibly a seam roller. Ensure you buy enough wallpaper, plus a little extra for mistakes and future repairs – it’s always better to have too much than too little.
Step 3: Preparing Your Walls
This is arguably the most critical step for a professional-looking finish. Start by removing any old wallpaper, fixtures, or hardware. Clean your walls thoroughly to remove any grease, soap scum, or dust. A good-quality primer is essential, especially if you’re applying wallpaper over a previously painted surface. A primer not only helps the wallpaper adhere better but also makes future removal much easier. If your walls have imperfections, now’s the time to fill any holes or cracks and sand them smooth. A truly flat surface is your best friend when wallpapering. Once prepped, let the walls dry completely before you proceed. A good prep job prevents peeling and ensures a smooth, even application.
Step 4: Measuring and Cutting
Accuracy here saves headaches later. Measure the height of your wall from the ceiling to the baseboard, and add about 4-6 inches to this measurement for trimming. This extra allows for adjustments at the top and bottom. Unroll your wallpaper on a clean, flat surface. If your wallpaper has a pattern repeat, carefully align the pattern on the next strip before cutting. It’s often easier to cut your strips slightly longer than needed and then trim them precisely once they’re on the wall. Use a long straight edge and a sharp utility knife for clean cuts. Laying out all your cut strips in order can help you keep track of the pattern flow as you work.
Step 5: Applying the Wallpaper
This is where the transformation really happens. Most modern wallpapers are ‘paste-the-wall,’ meaning you apply the adhesive directly to the wall. If yours is ‘paste-the-paper,’ follow the manufacturer’s instructions for applying paste to the back of the strip and allowing it to ‘book’ (sit for a few minutes) before hanging. Start by applying your first strip, using a level to ensure it’s perfectly vertical. This first strip is your anchor, so get it right. Smooth the paper onto the wall from the center outwards, using your smoothing tool to eliminate air bubbles and wrinkles. Overlap the edge of the previous strip slightly if necessary, depending on the wallpaper type. Work your way around the room, carefully matching patterns as you go. For corners, fold the paper into the corner, trim any excess, and then start your next strip precisely from the corner’s edge. Don’t forget to cut around outlets and fixtures carefully with your utility knife.
Step 6: Finishing Touches and Maintenance
Once all the wallpaper is applied, go back and carefully trim any excess at the ceiling and baseboard with your sharp utility knife. A seam roller can be used gently on the seams to ensure a tight, professional bond, but be careful not to crush the paper. Allow the adhesive to dry completely according to the manufacturer’s recommendations. Now, step back and admire your handiwork. The change will be dramatic. For maintenance, regularly wipe down the walls with a damp cloth to remove any moisture or soap residue, especially in areas prone to splashes. This will help keep your beautiful new wallpaper looking fresh and vibrant for years to come. Enjoy your newly transformed bathrooms!
Transforming bathrooms with wallpaper is more accessible than you might think. It’s a project that can elevate the style and comfort of your home, offering a personalized touch that paint alone often can’t achieve. By carefully planning, selecting the right materials, and dedicating time to proper preparation and application, you can create stunning, magazine-worthy bathrooms. Whether you’re tackling a small powder room or a spacious master en-suite, wallpapering is a rewarding endeavor that brings beauty and character to everyday spaces. So, go ahead, embrace the pattern, and enjoy the journey of reimagining your bathrooms.
[sps_html tag=”img” src=”https://cdn.theartssection.com/wp-content/uploads/2025/08/before-and-after-a-small-drab-bathroom-gets-an-800-hotel-worthy-inside-from-drab-to-dreamy-4-bathrooms-get-a-wallpaper-makeover.jpg” alt=”Before And After: A Small, Drab Bathroom Gets An $800, Hotel-Worthy … inside From Drab to Dreamy 4 Bathrooms Get a Wallpaper Makeover” style=”width: 100%; height: auto;”]
[sps_html tag=”img” src=”https://cdn.theartssection.com/wp-content/uploads/2025/08/beige-to-bright-a-drab-dc-bathrooms-stunning-makeover-regarding.jpg” alt=”Beige To Bright - A Drab Dc Bathroom's Stunning Makeover regarding” style=”width: 100%; height: auto;”]
[sps_html tag=”img” src=”https://cdn.theartssection.com/wp-content/uploads/2025/08/beige-to-bright-a-drab-dc-bathrooms-stunning-makeover-intended-for-from-drab-to-dreamy-4-bathrooms-get-a-wallpaper-makeover.jpg” alt=”Beige To Bright - A Drab Dc Bathroom's Stunning Makeover intended for From Drab to Dreamy 4 Bathrooms Get a Wallpaper Makeover” style=”width: 100%; height: auto;”]
[sps_html tag=”img” src=”https://cdn.theartssection.com/wp-content/uploads/2025/08/this-beaut-bathroom-makeover-went-from-drab-to-fab-with-cheap-tile-inside-from-drab-to-dreamy-4-bathrooms-get-a-wallpaper-makeover.jpg” alt=”This Beaut Bathroom Makeover Went From Drab To Fab With Cheap Tile … inside From Drab to Dreamy 4 Bathrooms Get a Wallpaper Makeover” style=”width: 100%; height: auto;”]
[sps_html tag=”img” src=”https://cdn.theartssection.com/wp-content/uploads/2025/08/bampa-this-dingey-bathroom-went-from-drab-to-absolutely-fabulous-for-regarding.jpg” alt=”B&Amp;A: This Dingey Bathroom Went From Drab To Absolutely Fabulous For … regarding” style=”width: 100%; height: auto;”]