Imagine walking into a room where walls breathe with life, where every corner holds the gentle whisper of nature. That’s exactly what moss green arts & crafts can do for your home. These living artworks bring the outdoors inside, creating spaces that feel alive and full of quiet energy. The beauty lies not just in their appearance, but in the way they connect us to the earth, even when we’re far from it.
Moss green arts & crafts have been captivating creators for centuries, offering a unique way to bring nature’s essence into our daily lives. Whether you’re drawn to the soft texture of moss, the way it transforms ordinary surfaces, or simply want to create something beautiful that feels alive, mastering these techniques opens up a whole new world of creative expression. This journey isn’t just about making pretty things – it’s about understanding the rhythm of growth, the patience required for living materials, and the deep satisfaction that comes from nurturing something that will continue to evolve long after you’ve finished crafting.
Understanding the Magic of Moss
Moss might seem like an unassuming plant, but it’s actually quite remarkable. These tiny creatures thrive in damp conditions and can grow in places where other plants cannot. They prefer shady spots and high humidity, which makes them perfect for indoor projects. The secret to successful moss work lies in understanding that you’re working with living organisms that respond to their environment.
Different types of moss offer different textures and colors. Celtic moss creates a rich, dark green carpet effect, while Irish moss provides a lighter, more delicate appearance. Sphagnum moss is often used for its absorbent properties, making it ideal for certain crafts. When you’re ready to start, think about what kind of mood you want to create – are you looking for something soft and calming or bold and dramatic?
The key insight many beginners miss is that moss isn’t just decorative; it’s a living medium that changes over time. What looks perfect today might look slightly different tomorrow, and that’s part of its charm. It’s like having a living sculpture that grows and evolves with you.
Getting Started with Basic Materials
Before diving into complex projects, you’ll want to gather some essential supplies. You don’t need expensive equipment, but having the right tools makes all the difference. Start with quality gardening gloves – they’ll protect your hands from the slight irritation moss can cause. A small spray bottle filled with water is crucial for keeping moss hydrated during crafting.
For your first attempts, consider these basic items:
• High-quality moss (fresh or dried)
• Small containers or trays for mixing
• Tweezers for precise placement
• A fine misting spray
• Natural adhesives like white glue mixed with water
• Various base materials like wood, stone, or fabric
The most common mistake newcomers make is buying too much moss at once. Moss can dry out quickly, so start small and build your collection gradually. Also, don’t overlook the importance of choosing the right base material. Smooth surfaces work better for beginners than rough textures, which can make moss placement more challenging.
Remember, the quality of your materials directly affects your results. Fresh moss that’s been properly stored will give you much better outcomes than dried-out specimens that have lost their pliability.
Essential Techniques for Beginners
Mastering moss crafts starts with learning fundamental techniques. The first skill you need is proper moss preparation. Fresh moss needs to be cleaned thoroughly to remove any debris or unwanted elements. Simply rinse it gently under cool water and pat dry with paper towels.
Next, practice the basic application method. Lightly mist your base surface with water before placing moss. This helps the moss adhere better and keeps it moist during the initial stages. For small projects, you can place moss directly onto wet surfaces. Larger pieces might require a light adhesive mixture.
One technique that separates amateur from professional work is layering. Start with a base layer of moss, then add smaller pieces on top to create dimension. Think of it like painting – you build up layers to create depth and visual interest. Don’t be afraid to experiment with different arrangements before committing to permanent placement.
The timing of your work matters too. Moss works best in humid conditions, so try to craft during cooler parts of the day or in naturally moist environments. Working slowly and deliberately gives you better control over the final result.
Creating Your First Moss Art Piece
Your first project should be manageable but satisfying. A simple moss wall hanging or desktop arrangement is perfect for building confidence. Choose a small wooden board or piece of driftwood as your canvas.
Begin by sketching your design lightly with pencil. Consider the natural flow of moss – it tends to spread and fill spaces rather than follow strict lines. Plan for some organic movement in your composition. Start with larger moss pieces to establish the main structure, then fill in gaps with smaller pieces.
Here’s a simple step-by-step process:
- Prepare your base material by cleaning and moistening it
- Arrange moss pieces loosely on the surface to test proportions
- Once satisfied with the layout, begin securing pieces with adhesive
- Mist regularly to keep everything hydrated
- Allow several days for moss to settle and establish itself
What makes this particularly rewarding is watching your creation come to life. The moss will begin to attach more firmly, and you’ll see how the natural shapes and textures of different moss varieties complement each other. It’s almost like being a gardener, but with a more immediate artistic payoff.
Advanced Methods and Creative Applications
Once you’ve mastered basics, you can explore more sophisticated approaches. One exciting direction is creating three-dimensional moss sculptures. These require more planning and patience, but the results are stunning. Consider using wire frames or small containers as bases for more elaborate arrangements.
Another advanced technique involves combining moss with other natural materials. Incorporating small stones, shells, or even tiny pieces of wood can create interesting contrast and visual complexity. The key is ensuring all elements work together harmoniously rather than competing for attention.
Some artists experiment with moss in unexpected ways – like creating moss coasters or decorative boxes. These functional items blend practicality with natural beauty, showing how moss crafts can enhance everyday objects. The possibilities are limited only by your imagination and the amount of patience you’re willing to invest.
Professional moss artists often use specialized tools like small brushes for applying adhesives or magnifying glasses for detailed work. However, these aren’t necessary for beginners, and you can achieve excellent results with basic household items.
Maintenance and Long-term Care
The magic of moss crafts lies in their ability to grow and change over time, but this means they require ongoing care. Regular watering is essential, though you shouldn’t drown your creations. A light misting every few days usually suffices, especially in drier climates.
Consider the environment where you display your moss work. These pieces thrive in humid conditions and partial shade. Avoid direct sunlight, which can dry out moss quickly. If you live in a very dry climate, consider placing your moss crafts near a humidifier or in bathrooms where moisture levels naturally run higher.
Watch for signs that your moss needs attention. Wilting, discoloration, or visible drying are all warning signs. Sometimes moss will simply look different after a period of dormancy, but sudden changes indicate problems that need addressing.
One of the most rewarding aspects of moss crafts is how they become part of your living space over time. They adapt to their environment, growing and changing subtly, creating a sense of continuity and connection between your home and nature.
Moss green arts & crafts offer a unique path to creating beautiful, living art that connects you with nature in meaningful ways. Whether you’re making a simple desktop arrangement or planning a larger installation, the key is patience, observation, and respect for the living materials you’re working with. The journey of learning these techniques is as rewarding as the final product, teaching you about the rhythms of growth and the quiet beauty of natural processes.
Remember, there’s no rush in moss crafting. Unlike many art forms, moss works at its own pace, and that’s part of what makes it so appealing. Take time to observe how different mosses behave, how they respond to light and moisture, and how they develop over time. Your creations will become more than just decorations – they’ll become living reminders of the natural world’s enduring beauty and resilience.
The beauty of moss crafts is that they’re accessible to everyone, regardless of artistic background or experience level. With a little practice and the willingness to learn from both successes and failures, anyone can create stunning moss art that brings nature’s gentle presence into their everyday life.
[sps_html tag=”img” src=”https://cdn.theartssection.com/wp-content/uploads/2025/11/abstract-colorful-decoration-made-of-plastic-circles-stock-photo-alamy-intended-for-designing-with-12-diameter-pvc-circles-for-creative-applications.jpg” alt=”Abstract Colorful Decoration Made Of Plastic Circles Stock Photo - Alamy intended for Designing with 12" Diameter PVC Circles for Creative Applications” style=”width: 100%; height: auto;”]
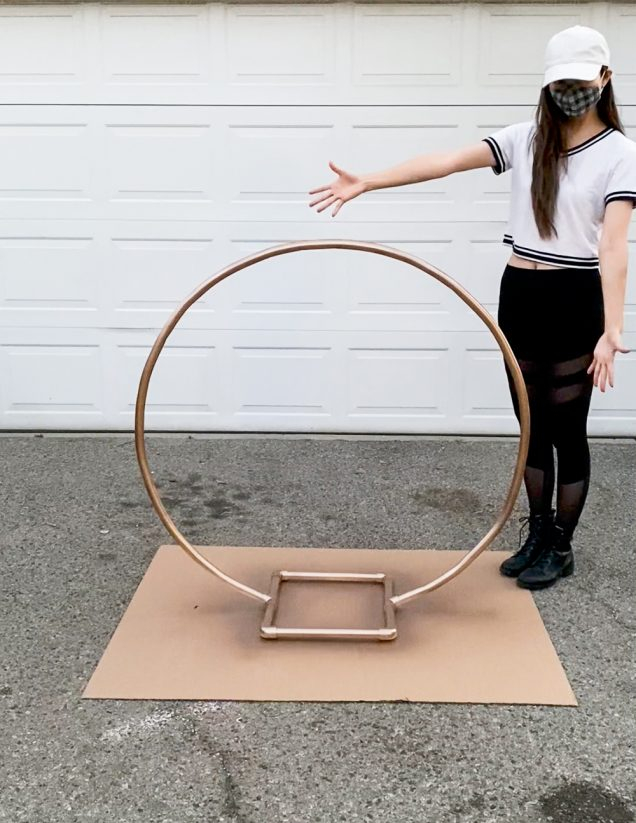
[sps_html tag=”img” src=”https://cdn.theartssection.com/wp-content/uploads/2025/11/how-to-make-a-circle-arch-out-of-pvc-pipe-leanne-choi-with-regard-to-designing-with-12-diameter-pvc-circles-for-creative-applications.jpg” alt=”How To Make A Circle Arch Out Of Pvc Pipe – Leanne Choi with regard to Designing with 12" Diameter PVC Circles for Creative Applications” style=”width: 100%; height: auto;”]
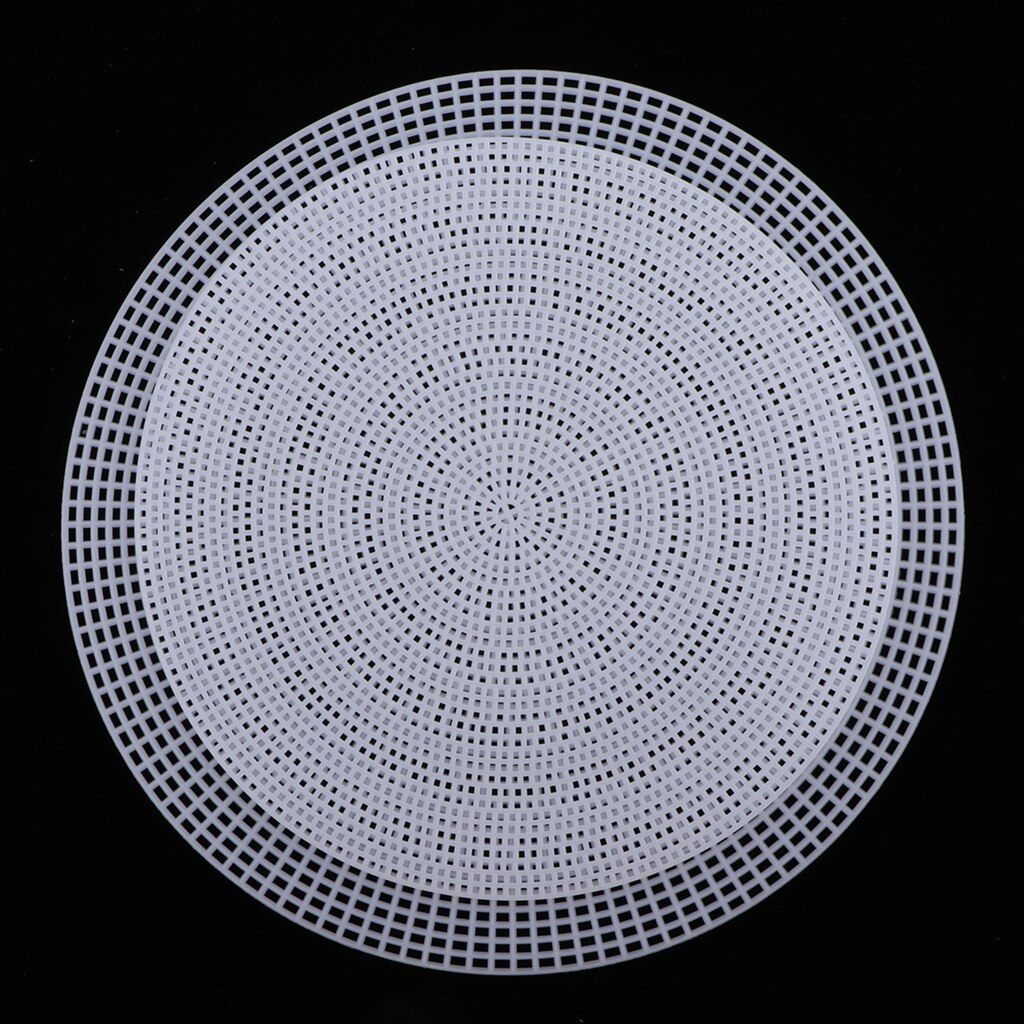
[sps_html tag=”img” src=”https://cdn.theartssection.com/wp-content/uploads/2025/11/2pcs-round-plastic-canvas-shapes-circles-sheets-fo-grandado-for-designing-with-12-diameter-pvc-circles-for-creative-applications.jpg” alt=”2Pcs Round Plastic Canvas Shapes Circles Sheets Fo… – Grandado for Designing with 12" Diameter PVC Circles for Creative Applications” style=”width: 100%; height: auto;”]
[sps_html tag=”img” src=”https://cdn.theartssection.com/wp-content/uploads/2025/11/premium-ai-image-a-colorful-stack-of-colorful-plastic-circles-with-regard-to-12w-true-fit-pvc-center-circle-arts-crafts-moss-green-39h.jpg” alt=”Premium Ai Image | A Colorful Stack Of Colorful Plastic Circles with regard to 12"W True Fit Pvc Center Circle Arts & Crafts, Moss Green, 39"H” style=”width: 100%; height: auto;”]
[sps_html tag=”img” src=”https://cdn.theartssection.com/wp-content/uploads/2025/11/how-to-make-a-circle-arch-out-of-pvc-pipe-leanne-choi-intended-for-12w-true-fit-pvc-center-circle-arts-crafts-moss-green-39h.jpg” alt=”How To Make A Circle Arch Out Of Pvc Pipe – Leanne Choi intended for 12"W True Fit Pvc Center Circle Arts & Crafts, Moss Green, 39"H” style=”width: 100%; height: auto;”]