
There’s something magical about hanging a beautifully crafted piece of fabric wall art in your home. It’s not just decoration – it’s a statement of personality, taste, and creativity. When you combine the soft texture of fabric with the elegant shine of silver framing, you create something truly special that can transform any room.
Fabric wall art has become increasingly popular over the past few years. People love how it adds warmth and character to their living spaces. The combination of 30 x 39 dimensions with silver frame details creates a perfect balance between bold statement and elegant sophistication. This size works wonderfully in dining rooms, living areas, and even bedrooms. The silver frame catches light beautifully, creating subtle reflections that change throughout the day. Whether you’re a seasoned crafter or someone looking to try something new, mastering this craft opens up endless creative possibilities.
Understanding the Fabric Selection Process
Choosing the right fabric is crucial for creating stunning wall art. You want materials that will hold their shape well and have enough body to look substantial on the wall. Cotton blends work exceptionally well because they’re easy to work with and offer great drape. Silk or silk blends add luxury and a beautiful sheen that complements silver frames perfectly. For durability, consider fabrics with a slight weight to them. They won’t sag or wrinkle easily. Look for textures that complement your room’s overall aesthetic. If you’re going for a modern look, smooth, clean fabrics work best. For a more traditional feel, consider fabrics with subtle patterns or textures. Always test your fabric in the actual space where it will hang to see how light affects its appearance. Sometimes a fabric looks completely different under different lighting conditions.
Preparing Your Materials and Tools
Before you begin, gather everything you’ll need. Essential tools include a sharp pair of scissors, measuring tape, fabric markers, and a sturdy backing material like canvas or thick cardboard. You’ll also need a reliable fabric glue or fusible webbing. The silver frame components might come pre-made or require assembly. Make sure you have adequate workspace – a clean, flat surface large enough to accommodate your 30 x 39 piece. Clean your workspace thoroughly to prevent any dirt or debris from getting into your project. Set up good lighting – natural daylight works best for checking alignment and color accuracy. Having all materials within reach prevents interruptions during the crafting process. Remember to check that your fabric is properly washed and dried before starting, especially if it’s a delicate material.
Measuring and Cutting Techniques
Precision is key when working with 30 x 39 dimensions. Start by measuring twice, cut once. Use a ruler or measuring tape to verify every measurement. Many crafters find it helpful to mark their measurements with fabric chalk or a disappearing ink marker. When cutting fabric, always use sharp scissors to prevent fraying. For straight cuts, a rotary cutter and cutting mat work exceptionally well. Consider adding a small margin around your final dimensions to allow for adjustments. The extra space gives you room to correct any minor errors during the mounting process. Some artists prefer to cut slightly larger and trim carefully to ensure perfect edges. Always double-check that your fabric is laid flat and aligned correctly before cutting.
Creating the Fabric Base
The foundation of your wall art lies in how well you prepare and attach the fabric. Begin by ensuring your backing material is properly sized and ready. The fabric needs to be taut but not stretched too tightly. Too much tension can cause puckering or distortion. Start attaching the fabric at one corner, pulling it tight as you work your way across. Use small, consistent stitches or adhesive strips to secure the fabric. Pay attention to how the fabric hangs – it should lie flat against the backing. For a professional look, consider using a staple gun with appropriate staples. Make sure the staples aren’t visible from the front. If using a fabric glue, apply it sparingly and evenly. Allow proper drying time between steps. Some craftspeople recommend creating a test sample first to determine the best attachment method for their specific fabric type.
Silver Frame Installation Methods
Installing the silver frame requires careful attention to detail. The frame should sit flush against the fabric edge for the most polished appearance. Most silver frames come with pre-drilled holes or attachment points. Measure carefully to ensure proper placement. If you’re working with a custom frame, you might need to create mounting hardware. The frame should be level and aligned properly with the edges of your fabric artwork. Some crafters prefer to attach the frame first, then mount the fabric inside. Others attach the fabric first, then secure the frame around the edges. Both methods work well, but consistency in your approach matters more than which method you choose. Check that all corners align properly and that there are no gaps between the frame and the fabric.
Finishing Touches and Quality Checks
Once everything is assembled, take a step back and evaluate your work. Check for any loose threads or uneven seams that need attention. The silver frame should be securely attached and perfectly aligned. Look for any signs of fabric wrinkling or improper tension. Ensure that the entire piece hangs straight and level on the wall. Test the weight distribution to make sure it won’t pull or sag over time. If you notice any issues, now is the time to address them. Minor adjustments might be needed to achieve the perfect look. Consider taking photos from different angles to see how the piece appears in various lighting conditions. The final result should be a cohesive, professional-looking piece that enhances your space rather than detracting from it.
Creating 30 x 39 fabric wall art with silver frame details is both an art form and a rewarding hobby. It combines technical skills with creative expression, allowing you to personalize your living space in meaningful ways. The process involves careful planning, precise execution, and attention to detail. Every step matters, from selecting the right fabric to installing the final silver frame. The beauty of this craft lies in its versatility – you can adapt the technique to suit any style or preference. Whether you’re creating something for yourself or as a gift, the satisfaction of completing a piece of wall art is unmatched. With practice and patience, anyone can master this skill and enjoy the beautiful results that come from combining quality materials with thoughtful craftsmanship.
[sps_html tag=”img” src=”https://cdn.theartssection.com/wp-content/uploads/2025/12/methods-and-approaches-in-professional-wall-art-installation-regarding-mastering-fabric-tying-methods-for-canvas-wall-installations.jpg” alt=”Methods And Approaches In Professional Wall Art Installation regarding Mastering Fabric Tying Methods for Canvas Wall Installations” style=”width: 100%; height: auto;”]
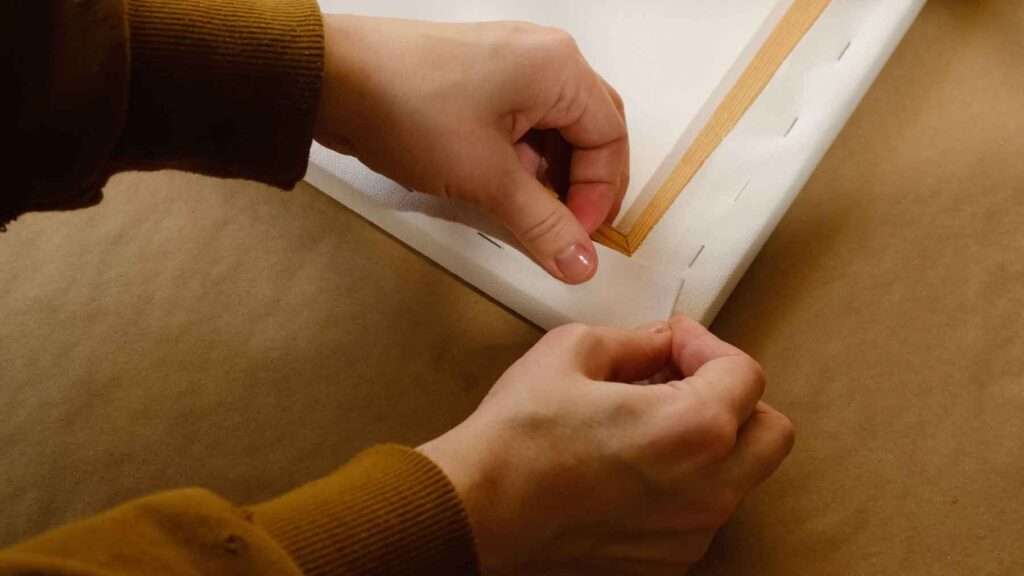
[sps_html tag=”img” src=”https://cdn.theartssection.com/wp-content/uploads/2025/12/mastering-canvas-stretching-techniques-a-guide-for-artists-painting-with-applied-and-tied-fabric-canvas-wall-art-white-red-30-x-39-silver-frame.jpg” alt=”Mastering Canvas Stretching Techniques: A Guide For Artists | Painting … with Applied And Tied Fabric Canvas Wall Art-White, Red-30" X 39"-Silver Frame” style=”width: 100%; height: auto;”]
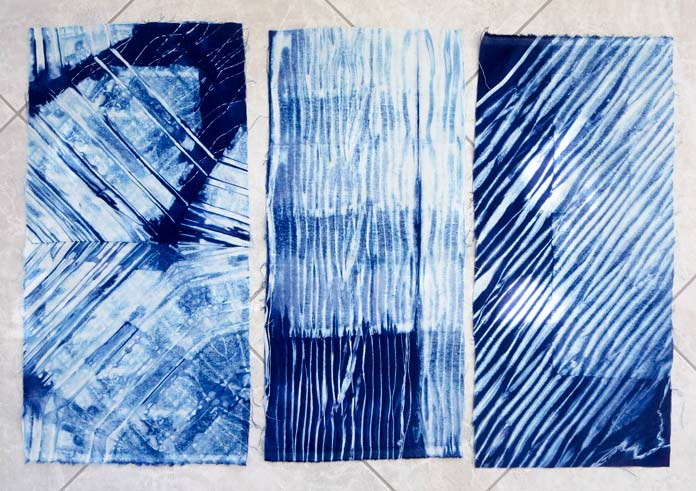
[sps_html tag=”img” src=”https://cdn.theartssection.com/wp-content/uploads/2025/12/3-tying-and-binding-techniques-for-tie-dyeing-quiltsocial-with-applied-and-tied-fabric-canvas-wall-art-white-red-30-x-39-silver-frame.jpg” alt=”3 Tying And Binding Techniques For Tie Dyeing - Quiltsocial with Applied And Tied Fabric Canvas Wall Art-White, Red-30" X 39"-Silver Frame” style=”width: 100%; height: auto;”]
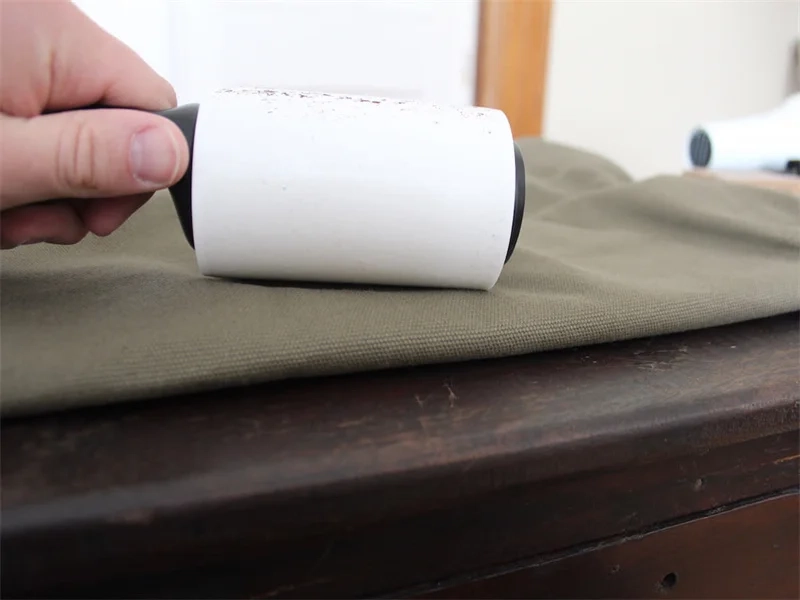
[sps_html tag=”img” src=”https://cdn.theartssection.com/wp-content/uploads/2025/12/how-to-wax-canvas-fabric-mastering-the-art-of-waxing-canvas-fabric-intended-for-applied-and-tied-fabric-canvas-wall-art-white-red-30-x-39-silver-frame.webp” alt=”How To Wax Canvas Fabric: Mastering The Art Of Waxing Canvas Fabric … intended for Applied And Tied Fabric Canvas Wall Art-White, Red-30" X 39"-Silver Frame” style=”width: 100%; height: auto;”]
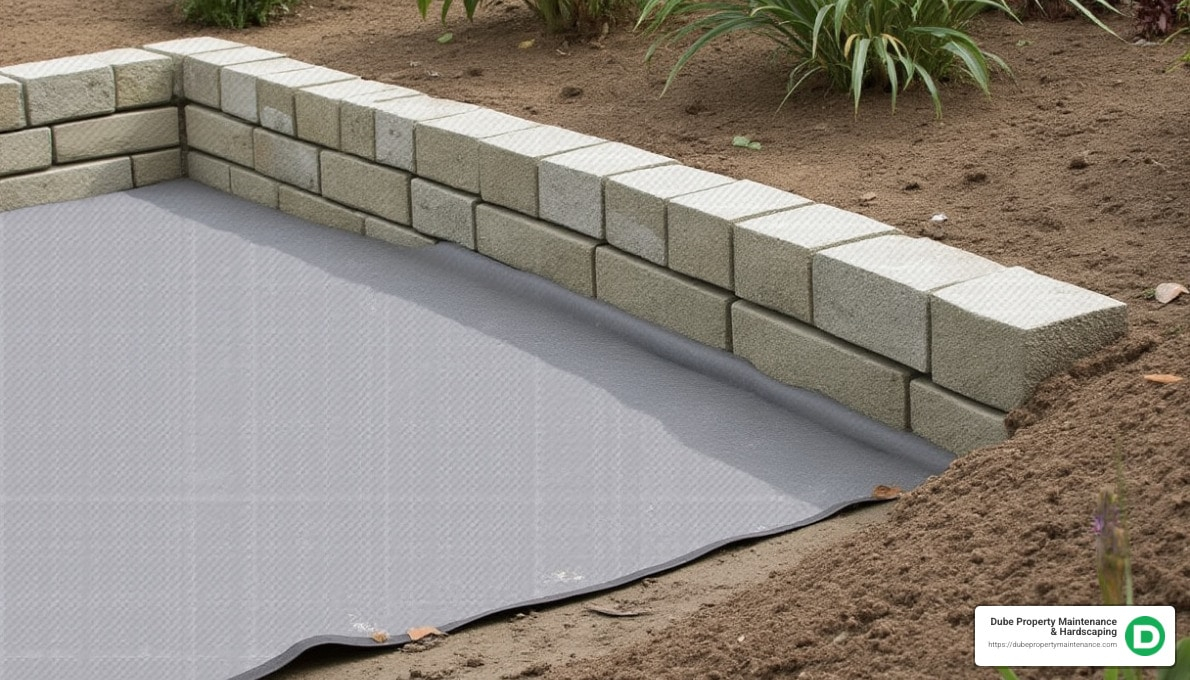
[sps_html tag=”img” src=”https://cdn.theartssection.com/wp-content/uploads/2025/12/how-to-install-landscape-fabric-behind-retaining-wall-1-best-tips-with-applied-and-tied-fabric-canvas-wall-art-white-red-30-x-39-silver-frame.jpg” alt=”How To Install Landscape Fabric Behind Retaining Wall: #1 Best Tips with Applied And Tied Fabric Canvas Wall Art-White, Red-30" X 39"-Silver Frame” style=”width: 100%; height: auto;”]