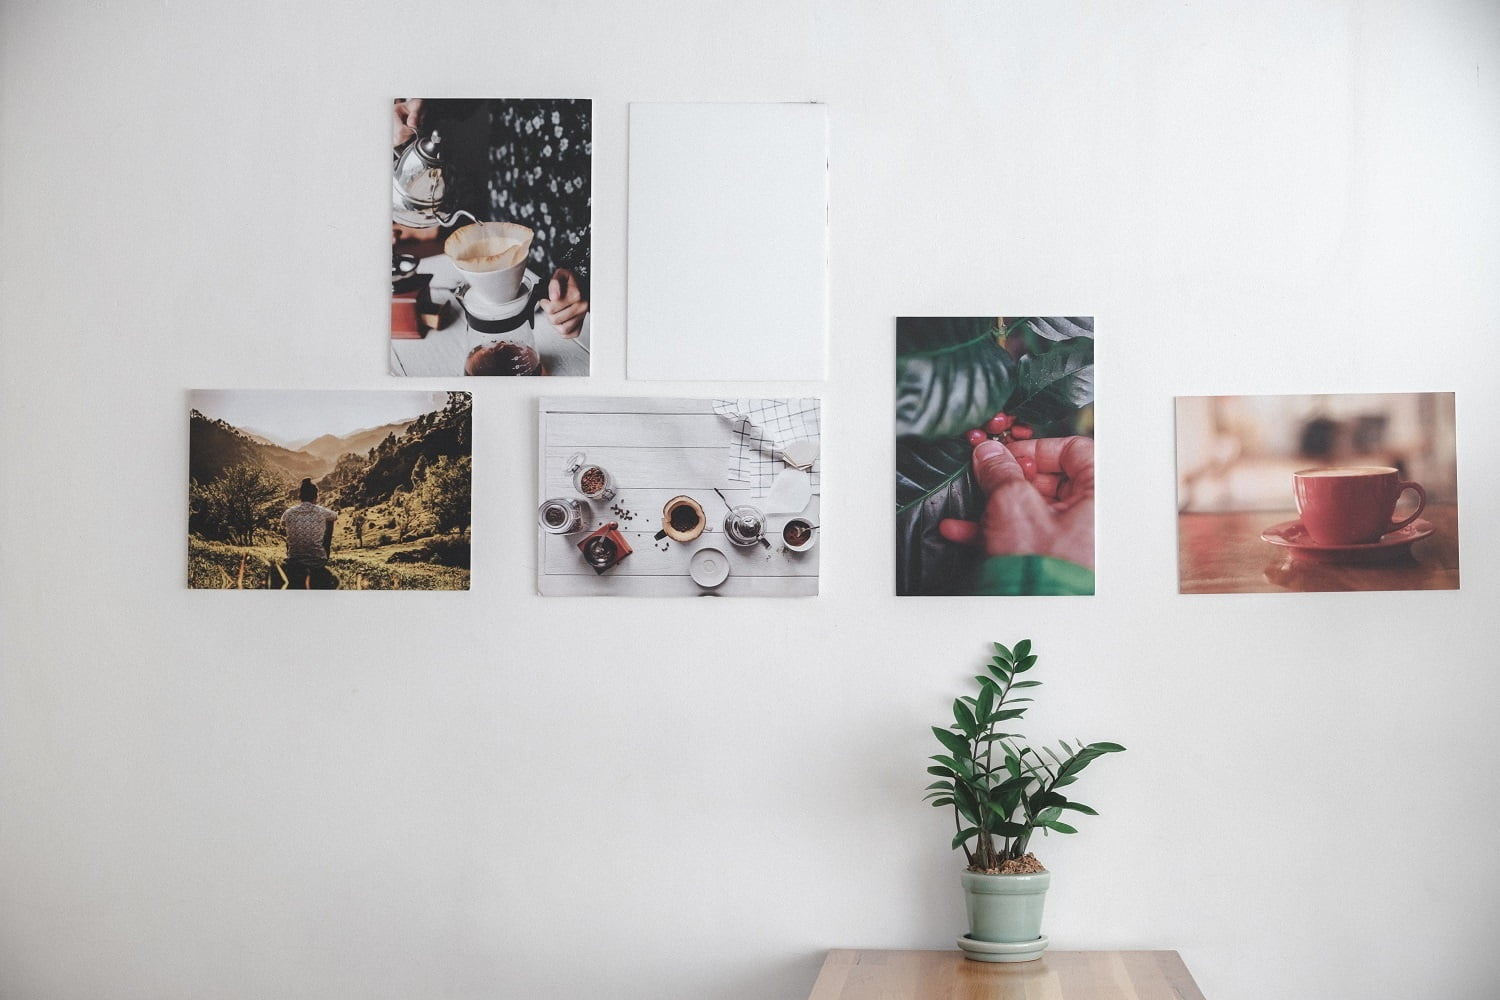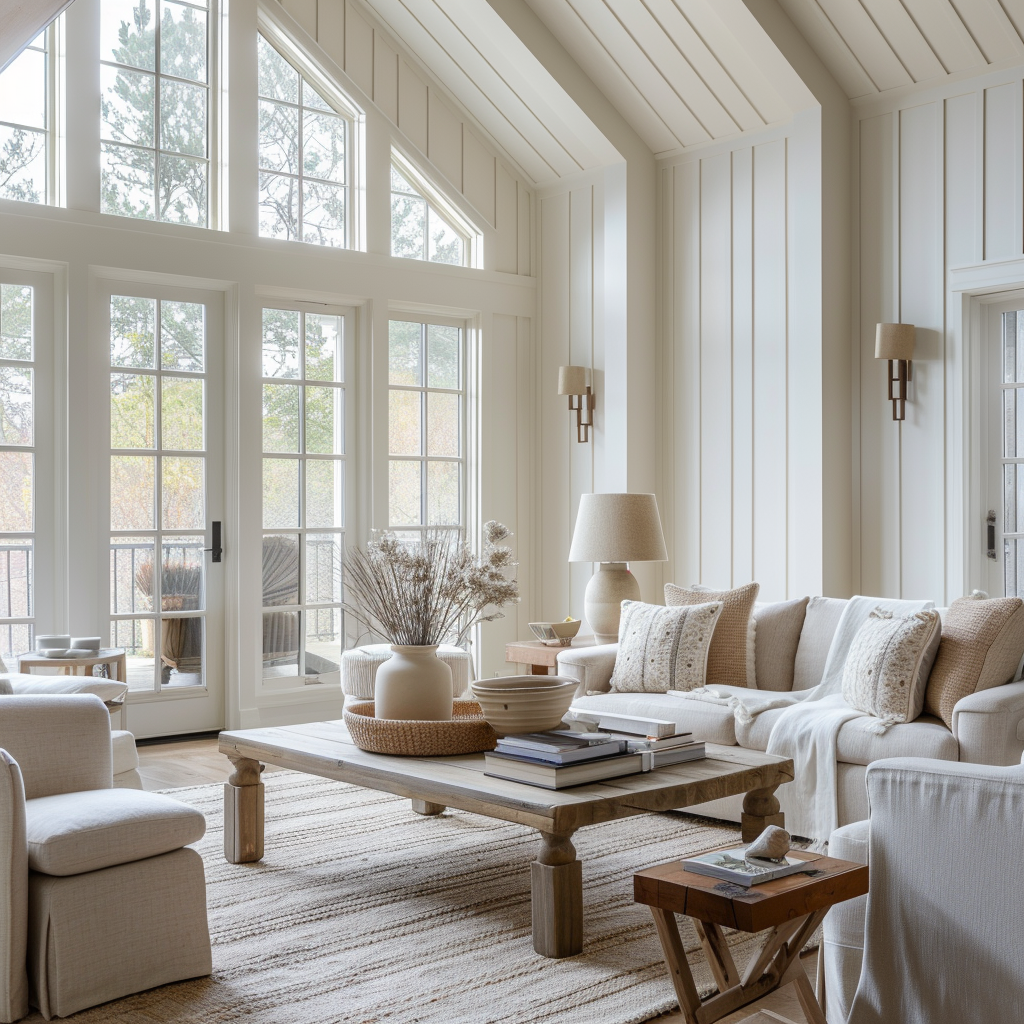

As artists, we pour our hearts and souls into our work. We spend countless hours perfecting our techniques, choosing the right materials, and crafting our vision. But there’s one crucial element that can make or break the impact of our art: lighting. Proper lighting doesn’t just show off your artwork; it enhances it, drawing viewers in and allowing them to fully appreciate the details, colors, and textures you’ve worked so hard to create. This guide will delve into the world of art lighting, offering practical tips and insights to help you light your artwork like a pro. Prepare to see your creations in a whole new light!
Think about the last time you visited a museum or gallery. What immediately grabbed your attention? Chances are, it wasn’t just the artwork itself, but also the way it was lit. Lighting plays a huge role in how we perceive art. It can highlight textures, create depth, and even influence the mood of a piece. Poor lighting, on the other hand, can flatten your work, wash out colors, and obscure the details that make it special. It’s like giving a beautiful gift in a badly wrapped package; the contents are amazing, but the presentation is lacking. This guide will help you avoid that, ensuring your art shines as it should.
Understanding Light Sources: The Foundation of Good Illumination
There are two main types of light sources we’ll be discussing: natural and artificial.
- Natural Light: This comes from the sun. It’s free, and in some ways, ideal. However, it’s also unpredictable, changing throughout the day and with the weather. Direct sunlight can be harsh and damaging to artwork over time, causing colors to fade. Think about a landscape painting you’ve seen in a bright, sunny room versus a room with diffused light. The difference is significant.
- Artificial Light: This includes lamps, spotlights, and other man-made light sources. It offers more control and consistency, allowing you to tailor the lighting to your specific needs. You can choose the intensity, color temperature, and direction of the light. We’ll talk more about the different types of artificial lights later. I will add, it can be tricky to master these techniques, so you can always look up some tutorials to get a better understanding.
For the best results, consider a combination of both, but always be mindful of the potential drawbacks of each. Remember, the goal is to create a consistent and flattering light that showcases your work in the best possible way, and the light is the most important tool to achieve this.
Choosing the Right Light Bulbs: Color Temperature and CRI
Not all light bulbs are created equal, especially when it comes to displaying art. Two key factors to consider are color temperature and the Color Rendering Index (CRI).
- Color Temperature: Measured in Kelvin (K), color temperature describes the warmth or coolness of a light. Lower Kelvin numbers (around 2700K) produce warm, yellowish light, while higher numbers (around 5000K and above) produce cool, bluish light. For art, a neutral color temperature (around 3000K-4000K) is generally ideal, as it provides a balanced and accurate representation of your artwork’s colors.
- Color Rendering Index (CRI): This measures how accurately a light source renders colors compared to a natural light source (like the sun). A CRI of 100 is perfect, while lower scores indicate less accurate color rendering. Look for bulbs with a CRI of 90 or higher to ensure your artwork’s colors appear true to life. This is super important. Buying the wrong bulbs can make your artwork look very different than it actually is.
Pro Tip: LED bulbs are a great choice for art lighting, as they are energy-efficient, have a long lifespan, and come in a wide range of color temperatures and CRIs. There is also the option of using Halogen bulbs, but they can get very hot and damage your artwork.
The Angle of Light: How Direction Impacts Your Art
The direction of the light is just as important as the type of light. The angle at which light hits your artwork can dramatically affect how it’s perceived.
- Direct Lighting: This involves shining light directly onto the artwork. It’s great for highlighting textures and details, but it can also create harsh shadows, especially if the light source is too close.
- Indirect Lighting: This involves bouncing light off a surface, such as a wall or ceiling, before it hits the artwork. This creates a softer, more diffused light, which is ideal for viewing art with greater comfort.
- Angle of Incidence: The angle at which the light strikes the artwork also influences the shadows and highlights. A 45-degree angle is often recommended, as it provides a good balance between highlighting details and minimizing harsh shadows. This is a good starting point, but the best angle will depend on the specific artwork and the effect you want to achieve.
Experiment with different angles to see what works best for your pieces. You might be surprised at how much difference a small adjustment can make. This is a crucial step, so don’t skip over it.
Types of Lighting Fixtures: Spotlights, Track Lighting, and More
There are several types of lighting fixtures you can use to illuminate your artwork. The best choice depends on your needs and the space you have available.
- Spotlights: These are designed to focus a beam of light on a specific area, making them ideal for highlighting individual pieces. Spotlights come in various forms, including track lights, recessed lights, and adjustable lamps.
- Track Lighting: This system allows you to mount multiple spotlights on a track, giving you flexibility to adjust the position and direction of the lights. It’s a great option for galleries or spaces with changing displays.
- Picture Lights: These are specifically designed to mount directly on top of a picture frame. They provide focused lighting and are often adjustable.
- Ambient Lighting: Don’t forget about general ambient lighting! It provides overall illumination for the room and can complement the artwork lighting. Make sure the ambient light doesn’t compete with your artwork lighting. The best way to do this is to make sure the ambient lighting is dimmer than the artwork lighting.
Consider the size of your artwork, the space you have available, and the effect you want to achieve when selecting lighting fixtures. You may need to experiment to find the perfect combination for your art.
Practical Tips for Lighting Your Artwork
Here are some actionable tips to help you light your artwork like a pro:
- Test, Test, Test: Before you commit to a lighting setup, test it out. Experiment with different light sources, angles, and intensities to see what works best. Take photos of your artwork under different lighting conditions to compare the results.
- Consider the Artwork’s Surface: The surface of your artwork will affect how it reflects light. Textured pieces benefit from more directional lighting to highlight the details, while smooth surfaces may look better with softer, diffused light.
- Avoid Glare: Glare can be distracting and make it difficult to see your artwork. Position your lights to minimize glare, and consider using anti-glare glass or acrylic to protect your artwork.
- Protect Your Artwork: Always use UV-protective bulbs and filters to prevent fading. Keep your artwork away from direct sunlight, and monitor the temperature and humidity in your space to avoid damage.
- Regular Maintenance: Dust your lights and clean the lenses regularly to ensure optimal performance. Check for any loose connections or damaged bulbs.
- Ask for Help: Don’t be afraid to consult with a lighting professional or art gallery owner. They can offer valuable insights and help you create the perfect lighting setup for your artwork. This is a very good tip, as these professionals have years of experience.
By following these tips, you can create a lighting environment that truly showcases your artwork.
Examples of Great Artwork Lighting: Inspiration and Ideas
Let’s look at some real-world examples of how effective lighting can enhance artwork:
- Museums and Galleries: Notice how museums often use spotlights to highlight individual pieces, creating a focal point and drawing the viewer’s eye. They also use track lighting to adapt to changing exhibits. The use of diffused light in other areas creates a balanced atmosphere.
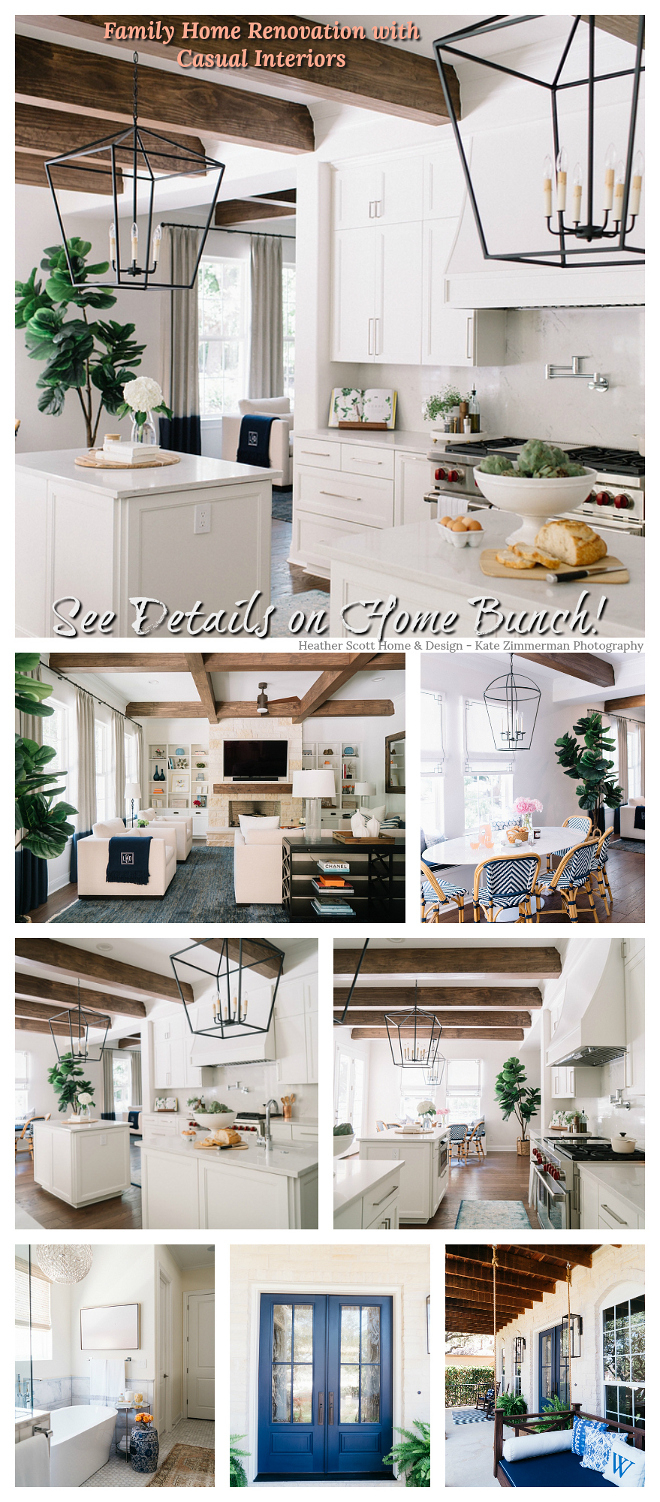
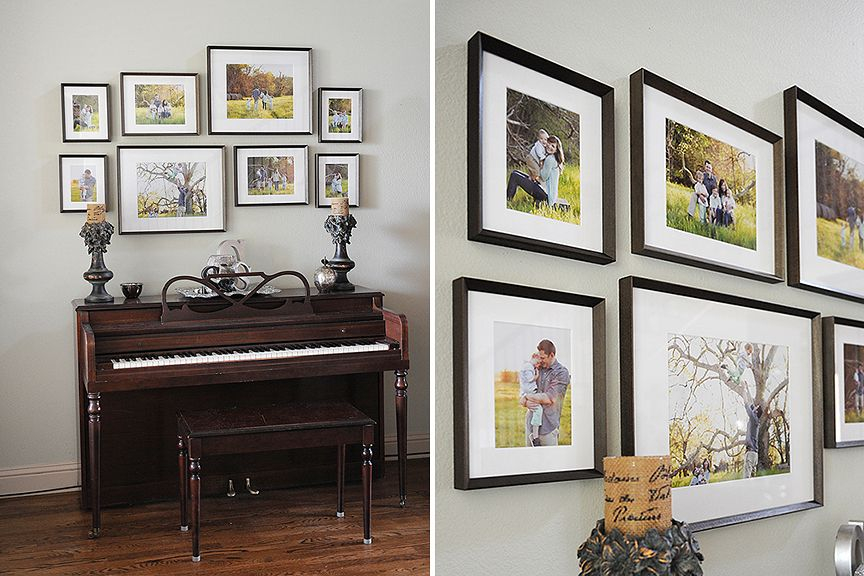
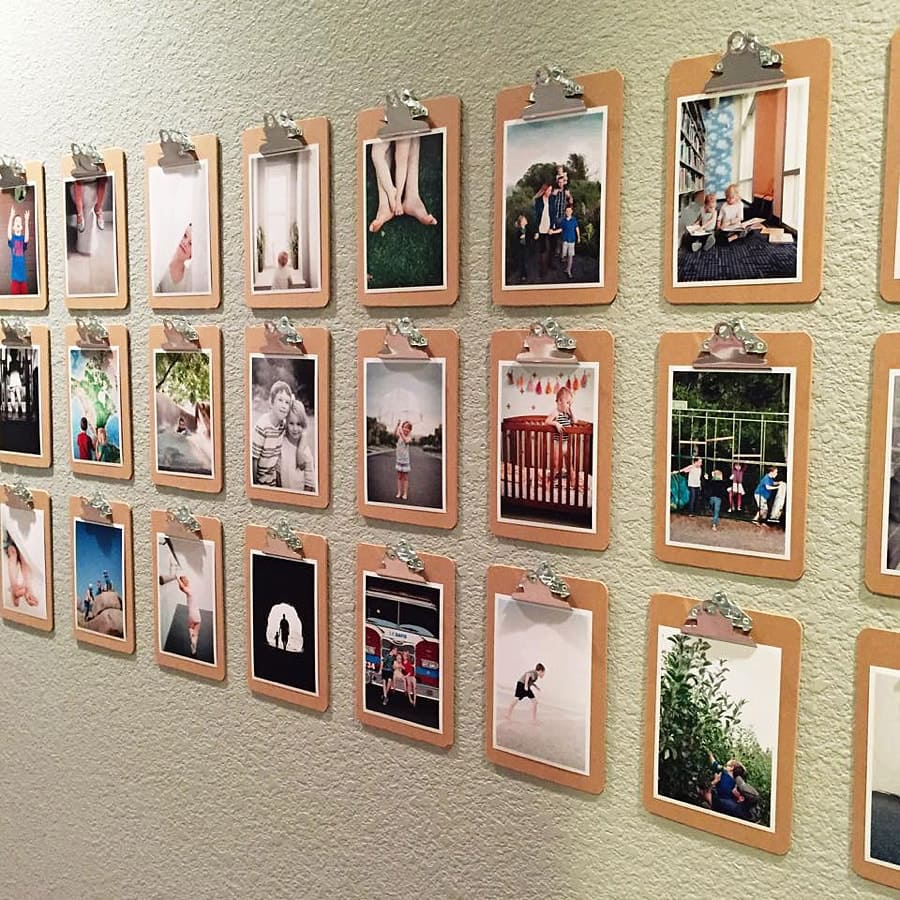
- Home Art Displays: Many homeowners use picture lights to illuminate artwork in their homes. You can also use strategically placed spotlights to create a gallery-like feel and highlight specific pieces, like a painting in the living room, or a sculpture in your entryway.
- Online Art Displays: Even online, lighting matters. When photographing your artwork for your website or social media, use natural light or a softbox to avoid harsh shadows and ensure accurate color representation. The goal is to show your art in the best light possible.
These examples demonstrate how good lighting can elevate the presentation of your artwork, no matter the setting. Think about the galleries or museums you’ve visited and observe how they use lighting to create an immersive experience. It is important to remember that lighting is a key component to making sure the best image is shown.
Troubleshooting Common Lighting Issues
Sometimes, even with the best intentions, things don’t go as planned. Here are some common lighting issues and how to address them:
- Harsh Shadows: If your artwork has harsh shadows, try moving the light source further away, using a diffuser, or adjusting the angle of the light.
- Washed-Out Colors: If your colors appear washed out, check the CRI of your light bulbs and make sure they are high enough. You may also need to adjust the intensity of the light.
- Glare: If you’re experiencing glare, try repositioning the light source, using a different type of bulb or fixture, or using anti-glare glass or acrylic.
- Uneven Lighting: If your artwork is unevenly lit, adjust the position and angle of your lights. You may need to use multiple light sources to achieve balanced illumination.
- Color Distortion: If colors appear distorted, check the color temperature of your light bulbs and make sure they are appropriate for your artwork. You might also want to consider using a light meter to measure the color temperature and ensure it is accurate.
Don’t be discouraged if your first attempt isn’t perfect. Lighting is a skill that improves with practice and experimentation. Every artist, even the great ones, has to learn how to master their art. Now, it’s your turn!
Lighting is more than just illumination; it’s a key element in presenting your artwork to the world. By understanding the principles of light, choosing the right light sources, and applying practical techniques, you can transform your creations and captivate your audience. Remember, the right lighting enhances the beauty of your art, drawing viewers in and allowing them to fully appreciate your vision. So, take the time to experiment, learn, and refine your lighting techniques. Your artwork deserves to be seen in its best light. Go forth, and illuminate your art. Your audience is waiting.
[sps_html tag=”img” src=”https://cdn.theartssection.com/wp-content/uploads/2025/06/unveiling-the-secrets-to-wealth-jewish-wisdom-youtube-inside.jpg” alt=”Unveiling The Secrets To Wealth Jewish Wisdom - Youtube inside” style=”width: 100%; height: auto;”]
[sps_html tag=”img” src=”https://cdn.theartssection.com/wp-content/uploads/2025/06/unveiling-taahs-secrets-at-1-54-contemporary-african-art-fair-in-within.png” alt=”Unveiling Taah's Secrets At 1 - 54 Contemporary African Art Fair In … within” style=”width: 100%; height: auto;”]
[sps_html tag=”img” src=”https://cdn.theartssection.com/wp-content/uploads/2025/06/unveiling-the-secrets-an-encyclopedia-by-women-for-women-and-those-for.jpg” alt=”Unveiling The Secrets: An Encyclopedia By Women For Women (And Those … for” style=”width: 100%; height: auto;”]
[sps_html tag=”img” src=”https://cdn.theartssection.com/wp-content/uploads/2025/06/unveiling-the-design-secrets-of-norman-foster-innovation-with-regard-to-unveiling-the-secrets-of-perfect-art-placement-at-home.jpg” alt=”Unveiling The Design Secrets Of Norman Foster: Innovation … with regard to Unveiling the Secrets of Perfect Art Placement at Home” style=”width: 100%; height: auto;”]
[sps_html tag=”img” src=”https://cdn.theartssection.com/wp-content/uploads/2025/06/cordially-invited-unveiling-the-art-of-invitation-etiquette-and-in-unveiling-the-secrets-of-perfect-art-placement-at-home.jpeg” alt=”Cordially Invited: Unveiling The Art Of Invitation Etiquette And … in Unveiling the Secrets of Perfect Art Placement at Home” style=”width: 100%; height: auto;”]