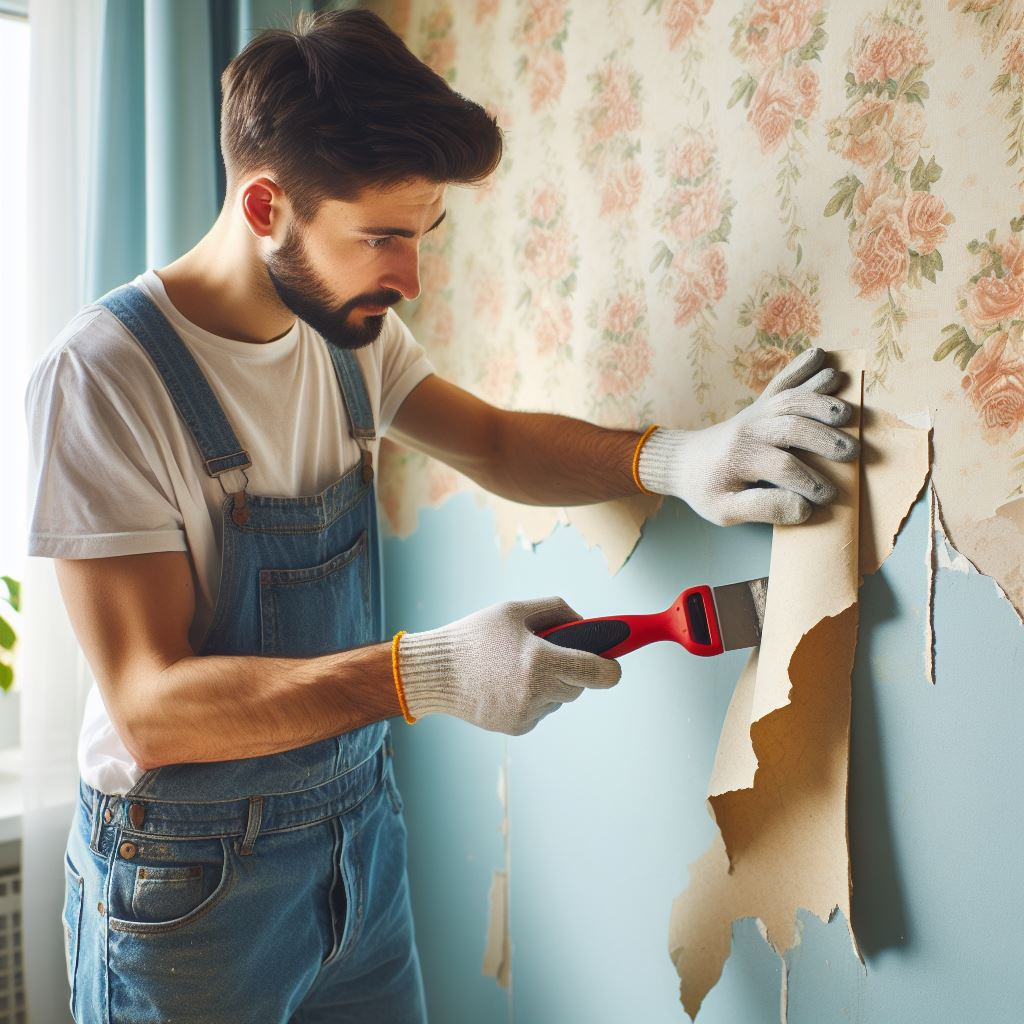
So, you’re staring at walls covered in wallpaper and dreaming of a fresh start? You’re not alone. Wallpaper removal is a chore many homeowners face, and while it can seem daunting, it’s absolutely achievable. This article, crafted from my own hands-on experience and deep dives into the world of wall coverings, will equip you with the knowledge and tools to conquer this project. We’ll uncover the challenges, explore the different methods, and equip you with actionable advice to make the process smoother and, dare I say, even a little enjoyable. Let’s get started.
Wallpaper, with its patterns and textures, can instantly transform a room. But when it’s time for a change, or if the paper is damaged or outdated, removing it becomes a necessity. The challenge? Wallpaper removal can be a messy, time-consuming, and sometimes frustrating endeavor. The difficulty depends on several factors: the type of wallpaper, the adhesive used, the condition of the walls, and whether the paper has been painted over. Understanding these variables is the first step to success. From my years of experiance, I’ve seen it all – stubborn paper that refuses to budge, walls damaged in the process, and the sheer relief when the last strip finally peels away. This guide aims to help you avoid these pitfalls and achieve a clean, beautiful finish.
Identifying Your Wallpaper’s Type: A Crucial First Step
Before you even think about grabbing a scraper, you need to figure out what kind of wallpaper you’re dealing with. Different types require different removal methods. Here’s a breakdown:
- Paper Wallpaper: This is the most basic type, usually the easiest to remove. It often comes off with water and some elbow grease.
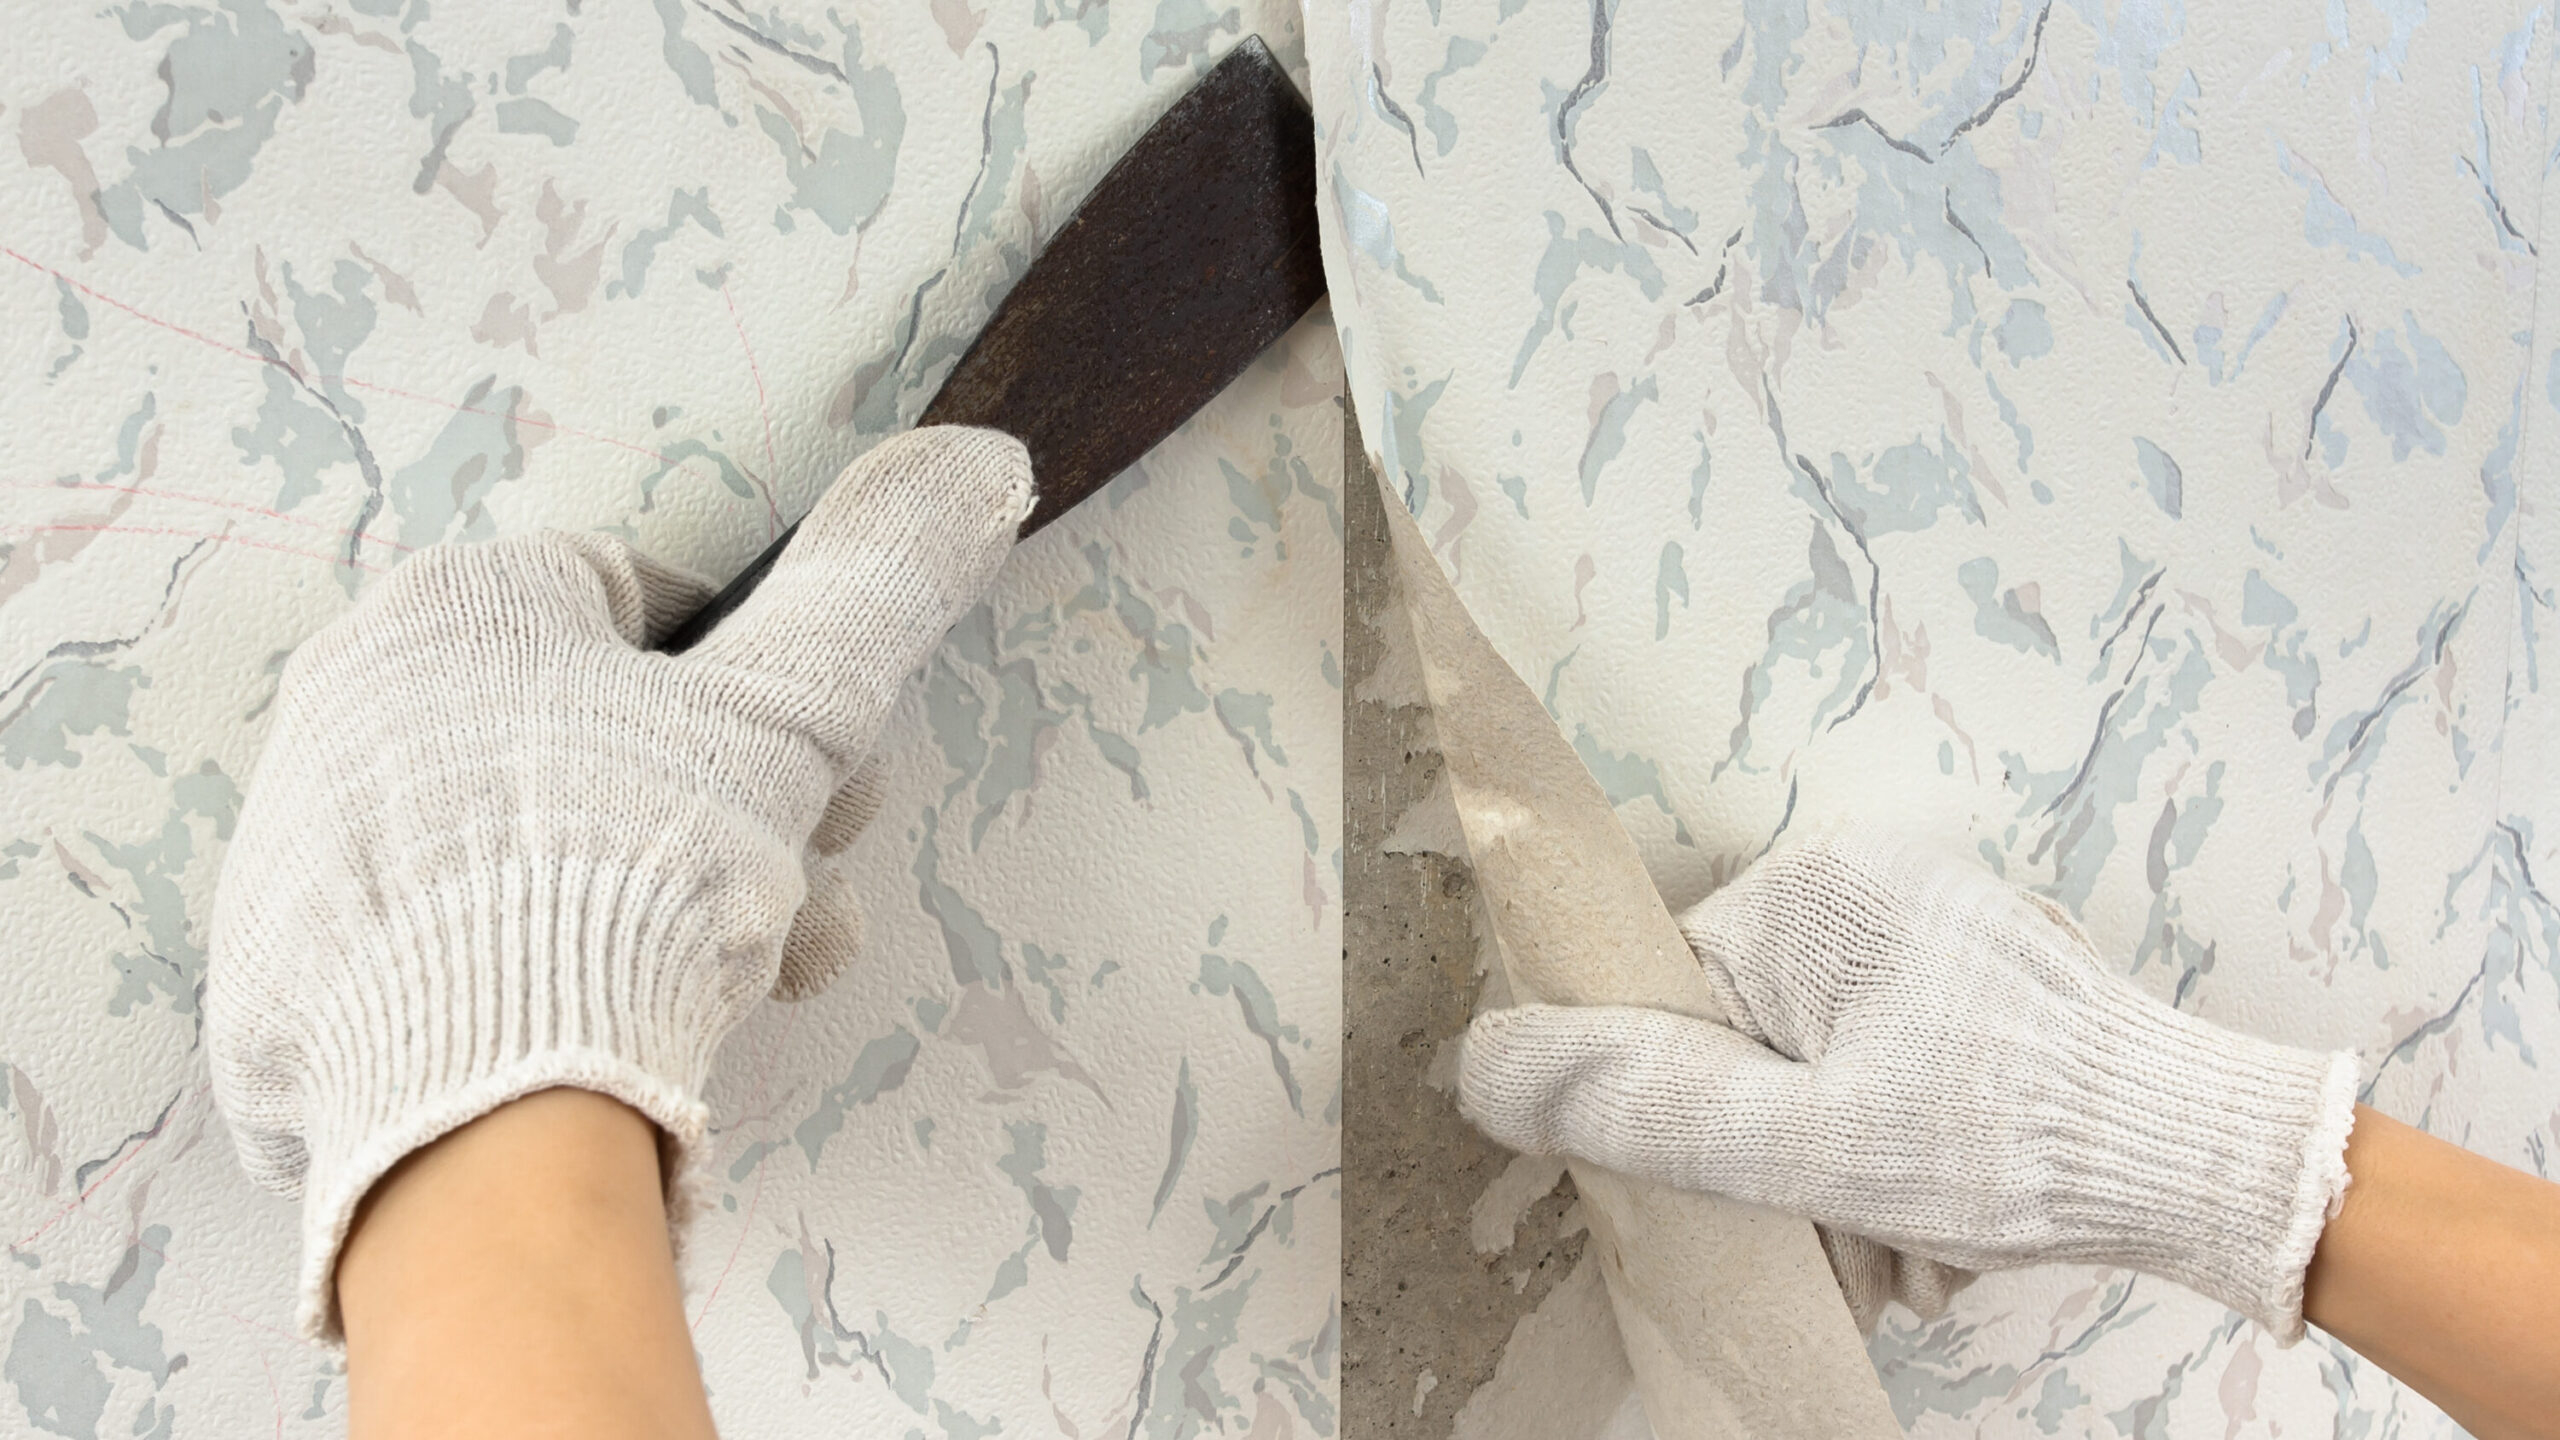
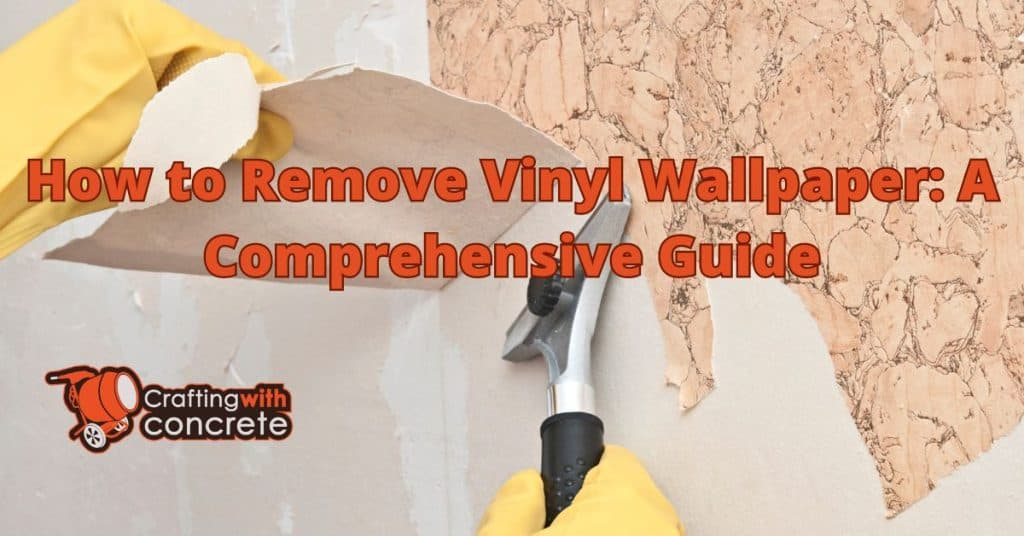
- Vinyl Wallpaper: Vinyl is water-resistant and often has a vinyl layer over a paper backing. It’s usually strippable, meaning you can peel off the top layer, and then wet the backing.
- Vinyl-Coated Wallpaper: Similar to vinyl, but with a thinner vinyl coating. It’s usually washable and can be stripped or removed.
- Fabric Wallpaper: This includes things like grasscloth and textile coverings. These are often the most difficult to remove and may require professional help.
- Prepasted Wallpaper: This type has adhesive already applied to the back, activated by water. It can sometimes be more difficult to remove, depending on the adhesive.
Knowing your wallpaper’s type helps you choose the right tools, and the right approach to achieve the best results. For instance, using too much water on paper wallpaper can damage the drywall underneath, while vinyl can often withstand more moisture.
Gathering Your Arsenal: The Essential Tools and Supplies
Having the right tools will make the wallpaper removal process significantly easier, and less frustrating. Here’s a list of what you’ll need:
- Scoring Tool: A perforator or a scoring knife to create tiny holes in the wallpaper’s surface, allowing the removal solution to penetrate.
- Spray Bottle: For applying the removal solution evenly.
- Wallpaper Removal Solution: There are commercial solutions available, or you can make your own (more on that later).
- Sponge and/or Rags: For applying the removal solution and wiping up excess.
- Scraper: A wide, flexible scraper is essential for lifting and removing the wallpaper. A putty knife can be useful for tight spots.
- Drop Cloths: To protect your floors and furniture.
- Ladder or Step Stool: To reach higher areas.
- Putty Knife: For removing small pieces.
- Safety Glasses and Gloves: Protect yourself from drips and debris.
- Optional: Steamer: A wallpaper steamer can be a game-changer, especially for stubborn wallpaper.
The Wetting Game: Mastering the Removal Techniques
This is where the real work begins. The goal is to loosen the adhesive and make the wallpaper easier to remove. Here’s how to do it:
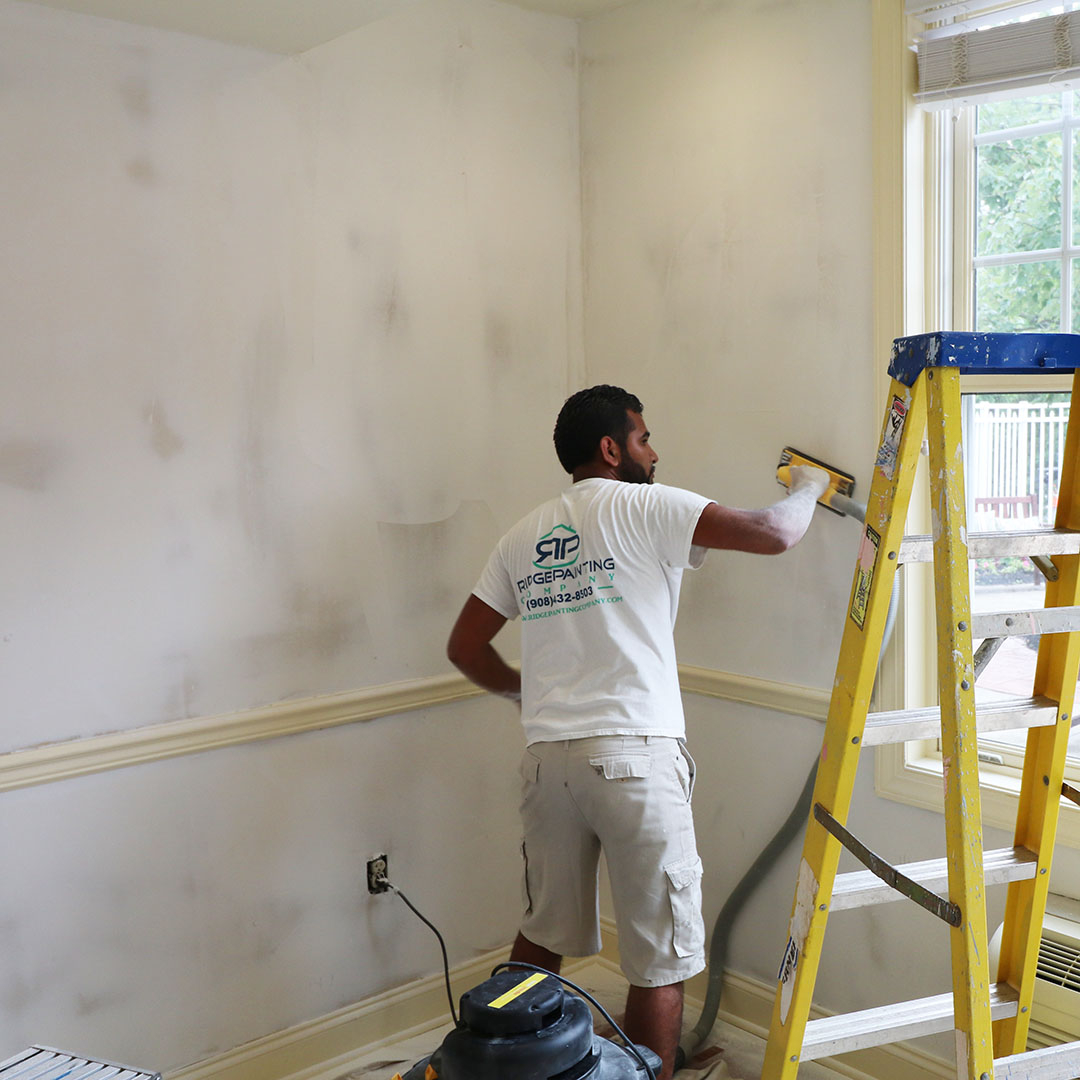
- Preparing the Walls: Protect your floors and furniture. Turn off electrical outlets and cover them. Score the wallpaper using your scoring tool. Be careful not to dig into the drywall.
- Applying the Removal Solution: Spray the wallpaper liberally with your chosen solution. Make sure it’s evenly applied. For stubborn paper, you may need to let the solution soak for 15-30 minutes. Consider a homemade solution of warm water, dish soap, and a touch of vinegar.
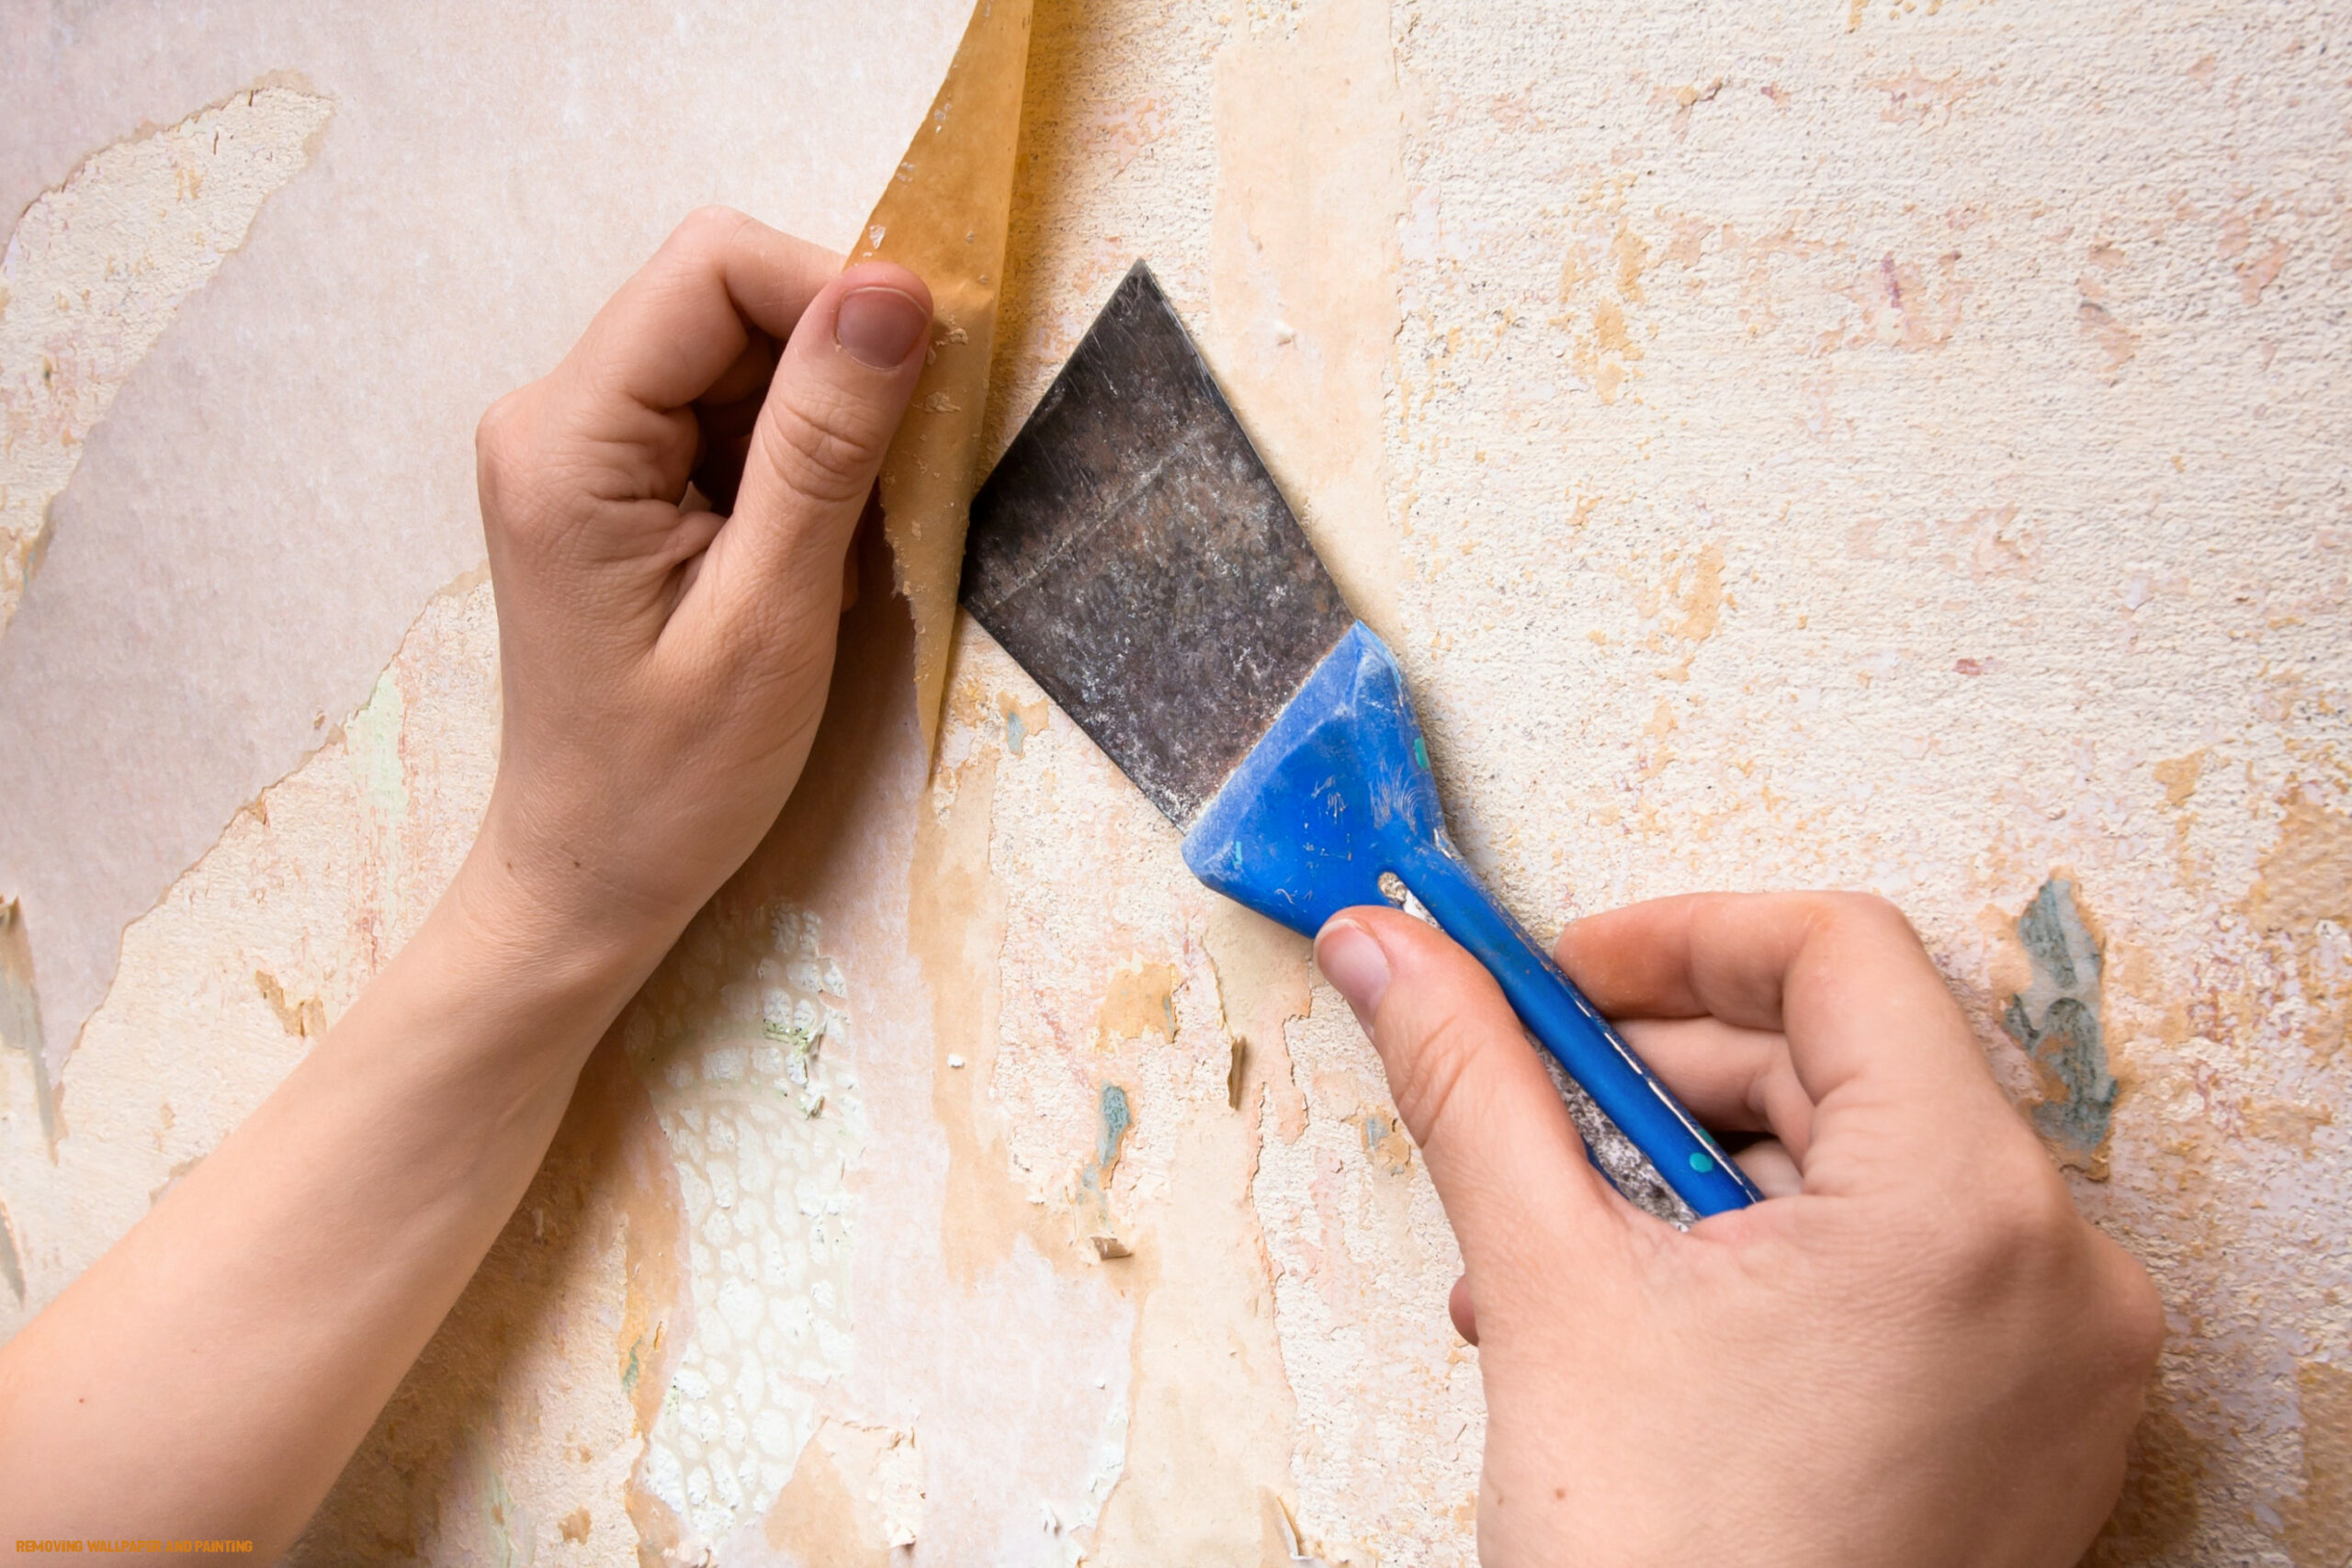
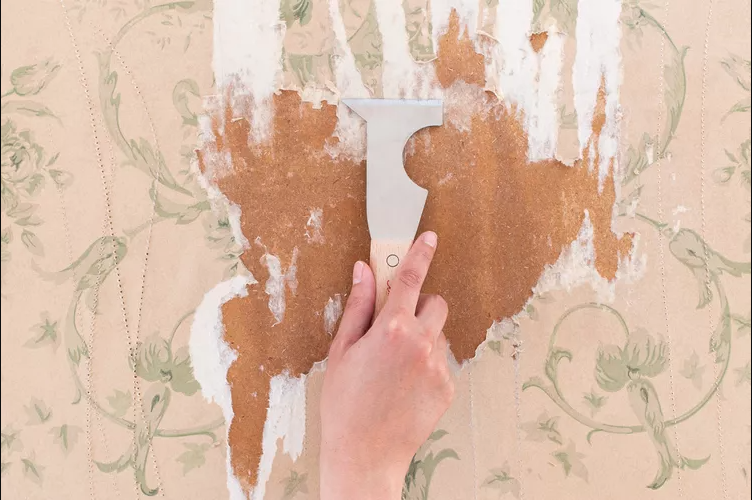
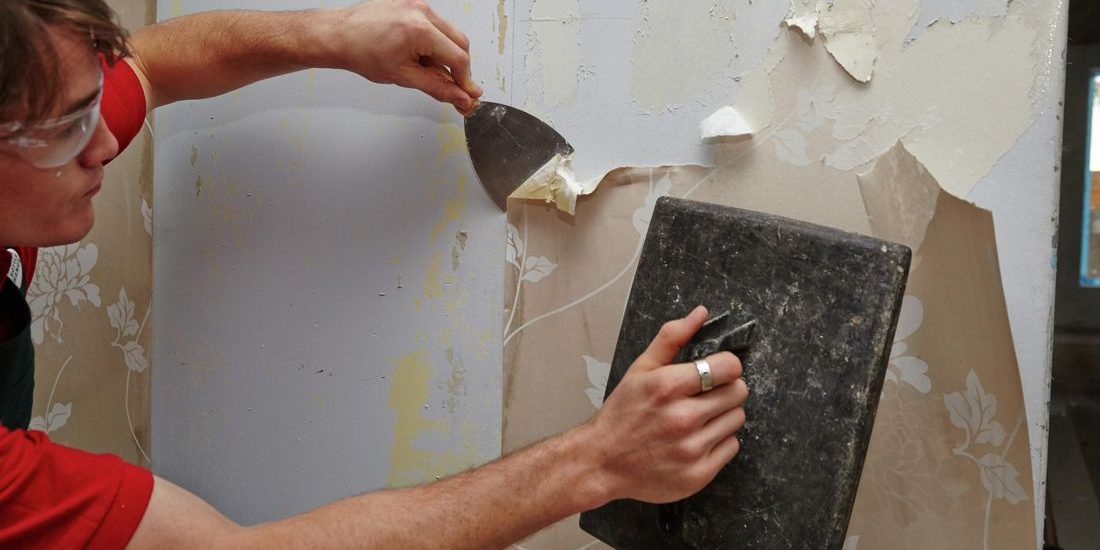
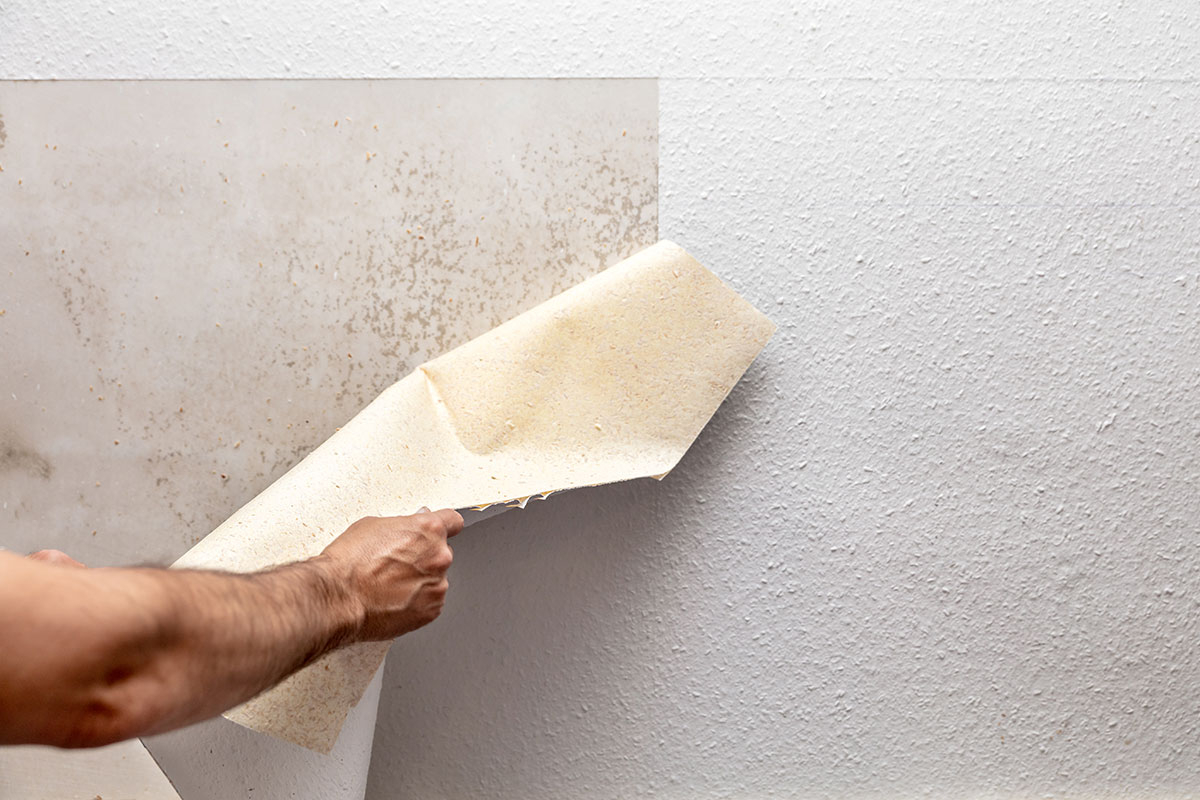
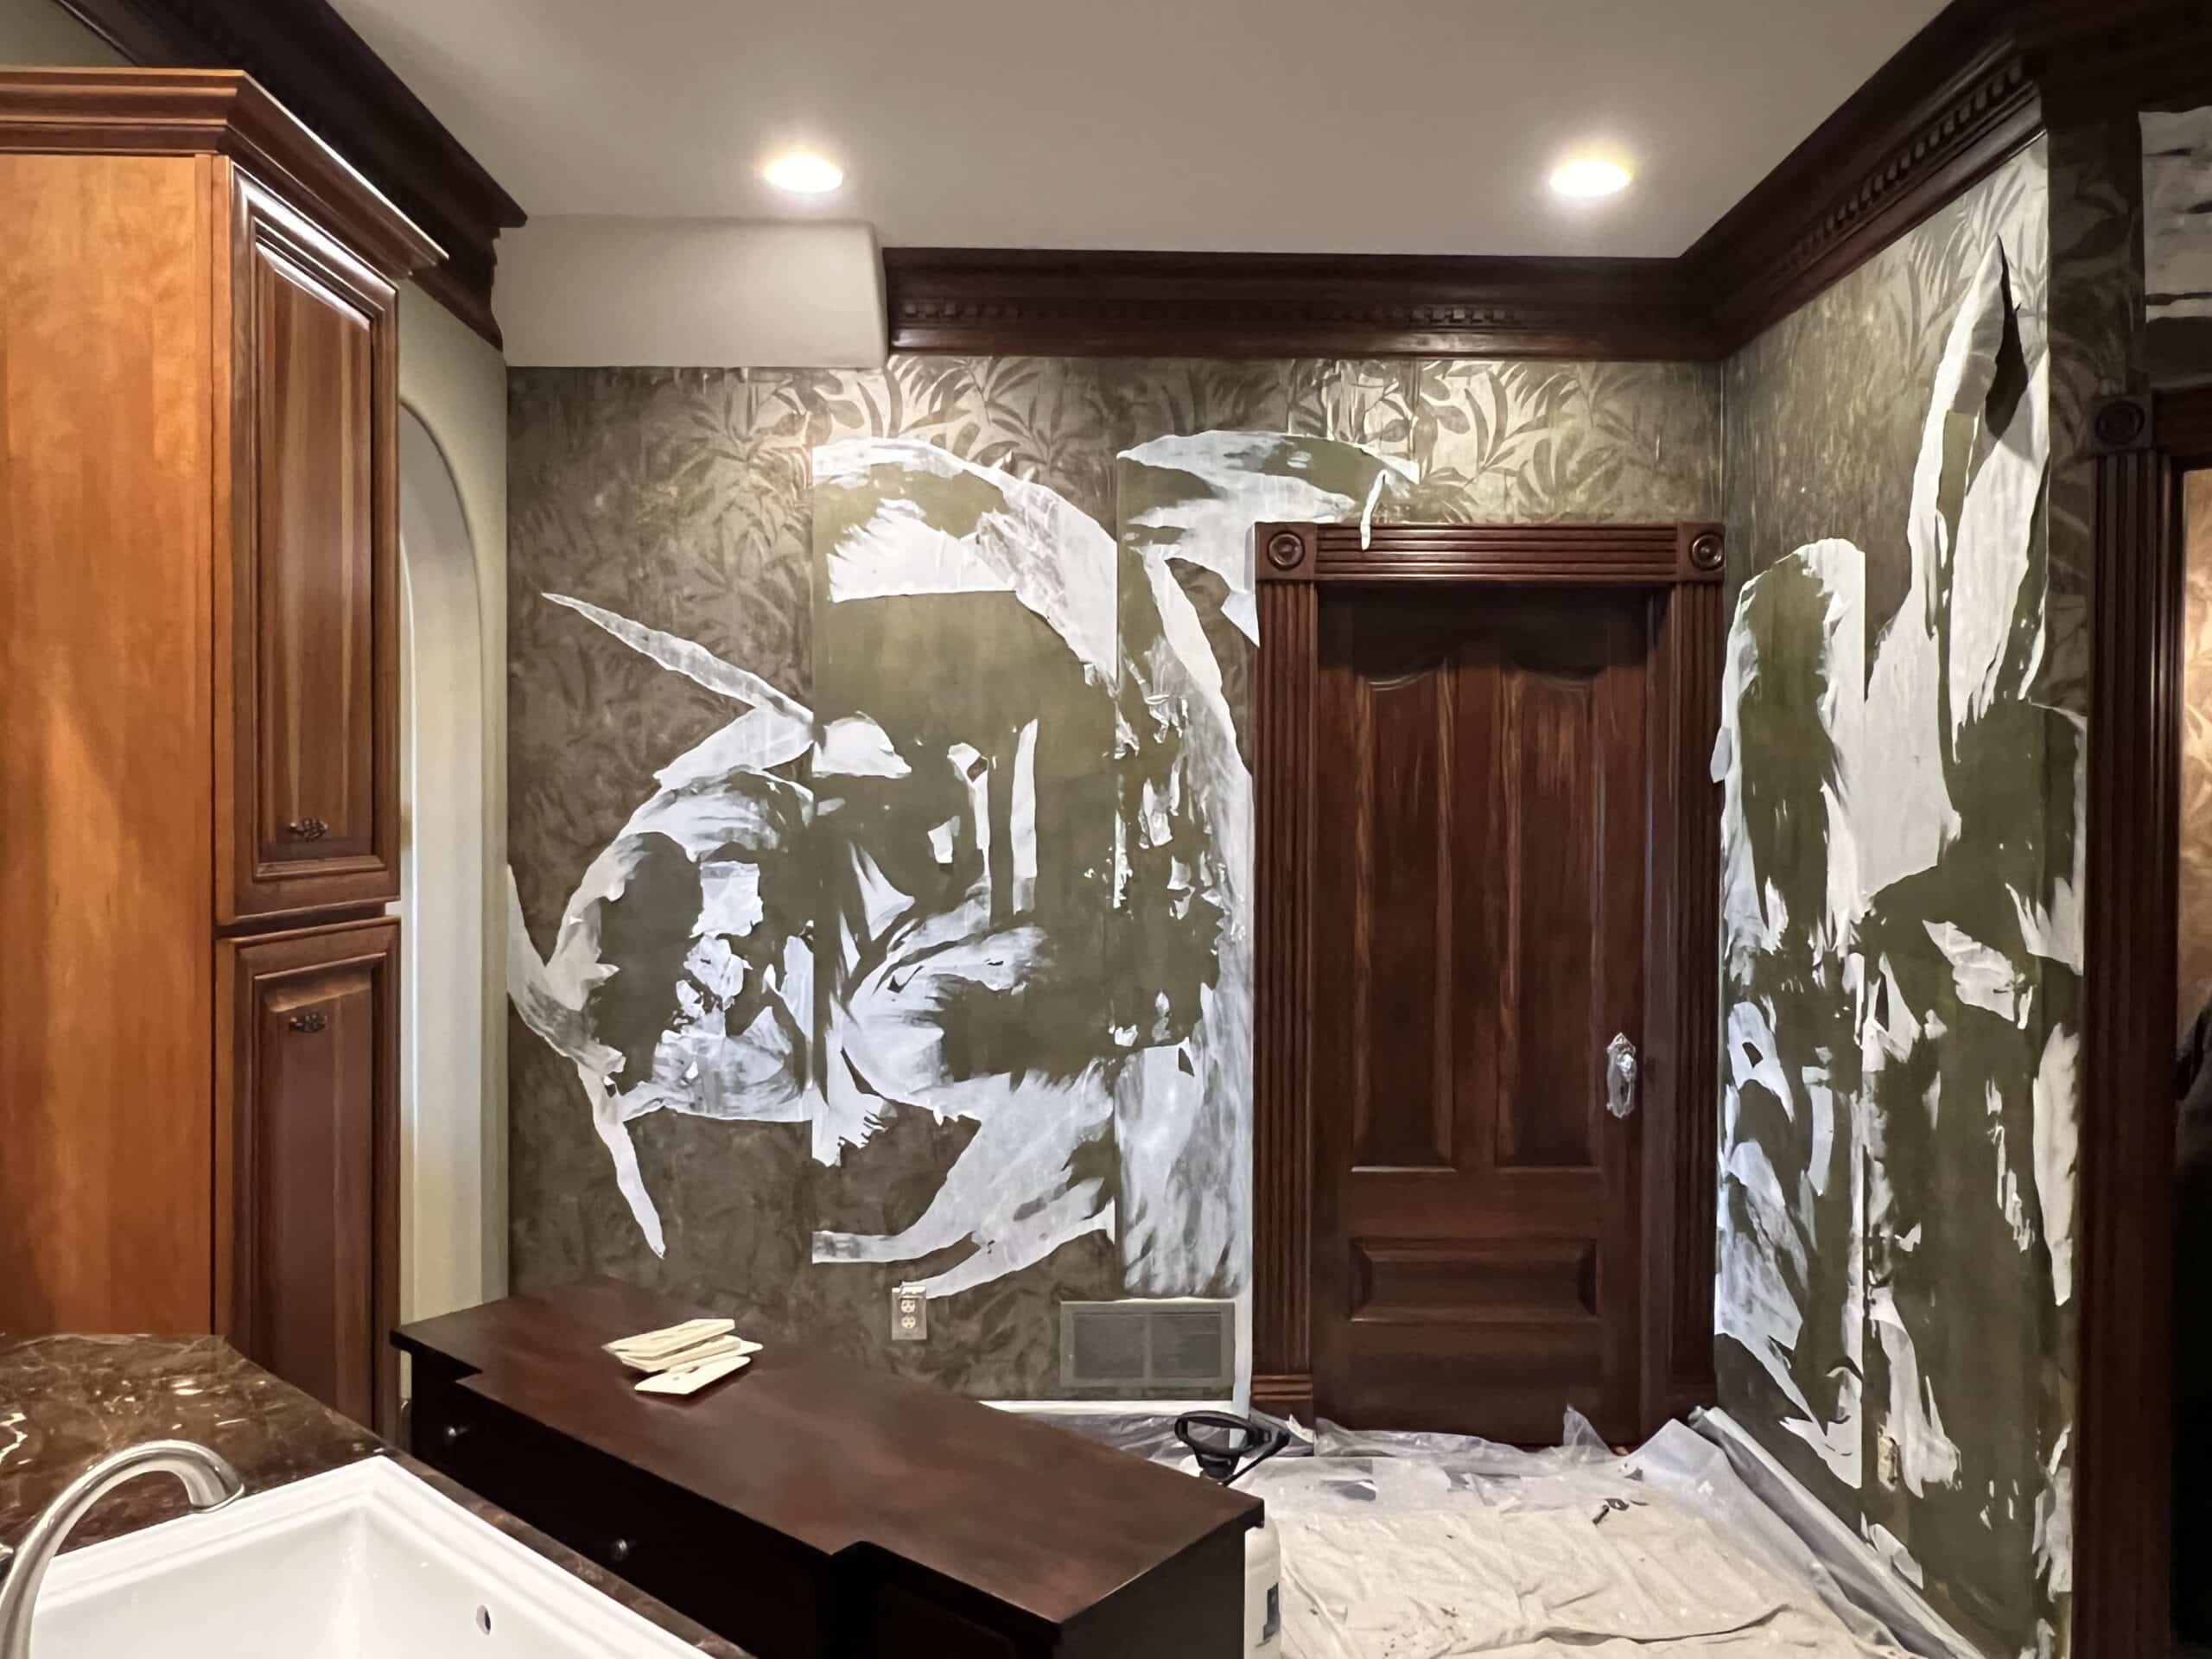
- Removing the Wallpaper: Start at a seam or corner and use your scraper at a shallow angle to lift the edge. Slowly work your way across the wall, using the scraper to lift the wallpaper. Reapply the solution as needed. Be patient – sometimes it takes several attempts.
- Dealing with Stubborn Residue: If adhesive residue remains, reapply the solution and scrape again. A sponge and warm water can also help. If the wallpaper was painted, you might need to use more aggressive methods like a steamer or a professional-grade remover.
DIY vs. Hiring a Pro: When to Call in the Cavalry
While many homeowners successfully tackle wallpaper removal themselves, there are times when it’s best to call in a professional. Consider hiring a pro if:
- You have a large area of wallpaper to remove.
- The wallpaper is particularly stubborn, like fabric or multiple layers.
- You’re concerned about damaging the walls.
- You lack the time or the physical ability to do the job.
- You are not comfortable working at heights.
A professional will have the experience, the right tools (including steamers), and the know-how to get the job done efficiently and with minimal damage to your walls. Don’t hesitate to get quotes and compare options. Sometimes, the cost of a professional is worth the peace of mind.
Repair and Preparation: Getting Your Walls Ready for the Next Chapter
Once the wallpaper is gone, you’ll likely need to address any imperfections on the walls. This includes:
- Cleaning the Walls: Wash the walls with warm, soapy water to remove any remaining adhesive residue.
- Repairing Damage: Fill any holes, cracks, or imperfections with spackle or joint compound. Sand the areas smooth once dry.
- Priming the Walls: Apply a coat of primer to seal the walls and create a uniform surface for painting or new wallpaper. This is an important step to ensure proper adhesion and a professional-looking finish.
- Inspecting for Mold: Make sure to check for mold. If you find any, clean it up before continuing.
Avoiding Common Mistakes: Lessons Learned from the Trenches
Over the years, I’ve seen countless homeowners grapple with wallpaper removal. Here are some common mistakes to avoid:
- Not testing the removal solution: Always test your chosen solution in an inconspicuous area first to make sure it doesn’t damage the wall or the surface underneath.
- Using the wrong tools: Using the wrong scraper can damage the drywall. Choose a flexible scraper and avoid using excessive force.
- Rushing the process: Patience is key. Allow the removal solution to soak in and reapply as needed.
- Ignoring safety precautions: Wear safety glasses and gloves to protect yourself from debris and chemicals.
- Not preparing the walls properly: Skimping on preparation can lead to a messy and frustrating experience.
By avoiding these pitfalls, you’ll significantly increase your chances of a successful wallpaper removal project.
Wallpaper removal can seem like a challenge, but with the right preparation, tools, and techniques, you can achieve a beautiful, wallpaper-free finish. Remember to identify your wallpaper type, gather the necessary supplies, and take your time. Don’t be afraid to seek professional help if needed. The sense of accomplishment when you unveil those clean, fresh walls is incredibly rewarding. Whether you’re planning to paint, install new wallpaper, or simply enjoy the bare walls, the removal process is a necessary step towards creating the home you’ve always envisioned. Now go forth, conquer those walls, and enjoy the transformation. You’ve got this.
[sps_html tag=”img” src=”https://cdn.theartssection.com/wp-content/uploads/2025/06/wallpaper-removal-costs-understanding-pricing-and-factors-throughout.jpg” alt=”Wallpaper Removal Costs: Understanding Pricing And Factors … throughout” style=”width: 100%; height: auto;”]
[sps_html tag=”img” src=”https://cdn.theartssection.com/wp-content/uploads/2025/06/how-to-remove-vinyl-wallpaper-craftingwithconcrete-com-for-the-art-of-wallpaper-removal-a-comprehensive-guide.jpg” alt=”How To Remove Vinyl Wallpaper - Craftingwithconcrete.com for The Art of Wallpaper Removal A Comprehensive Guide” style=”width: 100%; height: auto;”]
[sps_html tag=”img” src=”https://cdn.theartssection.com/wp-content/uploads/2025/06/diy-wallpaper-removal-a-complete-guide-for-you-with-the-art-of-wallpaper-removal-a-comprehensive-guide.jpeg” alt=”Diy Wallpaper Removal: A Complete Guide For You with The Art of Wallpaper Removal A Comprehensive Guide” style=”width: 100%; height: auto;”]
[sps_html tag=”img” src=”https://cdn.theartssection.com/wp-content/uploads/2025/06/unveiling-elegance-mastering-the-art-of-wallpaper-removal-with-regard-to.jpeg” alt=”Unveiling Elegance: Mastering The Art Of Wallpaper Removal with regard to” style=”width: 100%; height: auto;”]
[sps_html tag=”img” src=”https://cdn.theartssection.com/wp-content/uploads/2025/06/removing-wallpaper-and-painting-painters-legend-for.jpg” alt=”Removing Wallpaper And Painting - Painters Legend for” style=”width: 100%; height: auto;”]