A cluttered art space can stifle inspiration and hinder productivity. But fear not, fellow artists. I’ve spent years navigating the world of art, both as a creator and a collector, and I’ve learned a thing or two about taming the creative chaos. This isn’t just about making things look neat; it’s about cultivating a space that fuels your artistic spirit. It’s about having a place where your ideas can blossom. Let’s dive in and transform your studio into a sanctuary of inspiration.
As a seasoned artist, I know the struggle all too well. The paint splatters, the overflowing bins, the brushes scattered like fallen soldiers – it’s a familiar scene. But there’s a difference between a creative mess and a crippling one. The former is a sign of passionate creation, the latter is a barrier to it. Decluttering your art space isn’t just about tidying up; it’s about freeing your mind, boosting your motivation, and unlocking your full artistic potential. This guide will provide you with practical, actionable steps to decluttering and organizing your art space, with insights gleaned from years of experience and a few hard-earned lessons along the way. Let’s get started, shall we?
Assess and Evaluate: The First Step to Freedom
Before you even think about buying storage containers, take a step back and really look at your space. What’s actually there? What do you really use? This is the assessment phase, and it’s crucial.
- Inventory: Take stock of everything. Go through every drawer, every shelf, every nook and cranny. Make lists. Be honest with yourself.
- Categorize: Group similar items together. Paints go with paints, brushes with brushes, and so on. This will make the sorting process much simpler.
- Evaluate: This is the critical step. Ask yourself:
- Have I used this in the last year? (If not, consider getting rid of it.)
- Does it still work? (Dried-up paints and broken tools are space-wasters.)
- Do I love it, or am I keeping it out of obligation? (Sentimentality is a trap. Sometimes, you need to let go.)
This initial assessment will give you a clear picture of what needs to go, what needs to be organized, and what you truly value in your art space.
The Purge: Letting Go of the Unnecessary
Now comes the tough part: the actual decluttering. This is where the rubber meets the road, and where many artists stumble. Remember, your goal is to create a more functional, inspiring space, not a storage unit.
- The Three Boxes: Create three boxes or zones: "Keep," "Donate/Sell," and "Trash." Be ruthless. If you haven’t used something in a year or it’s broken, it probably belongs in the "Donate/Sell" or "Trash" box.
- Digitalize: Scan or photograph any artwork you’re not actively using. This frees up physical space while preserving your creative history. Consider creating digital archives, saving files and backing them up, instead of keeping physical copies.
- Be Realistic: Don’t keep supplies "just in case." If you haven’t needed them, you probably won’t. However, do keep a few essential tools and materials.
It’s a difficult process; but it’s also incredibly liberating. The more you let go, the more space, both physical and mental, you’ll create for your art.
Organize and Optimize: Creating a Functional Art Space
Once you’ve purged, it’s time to organize what remains. The goal is to create a system that makes it easy to find what you need, when you need it.
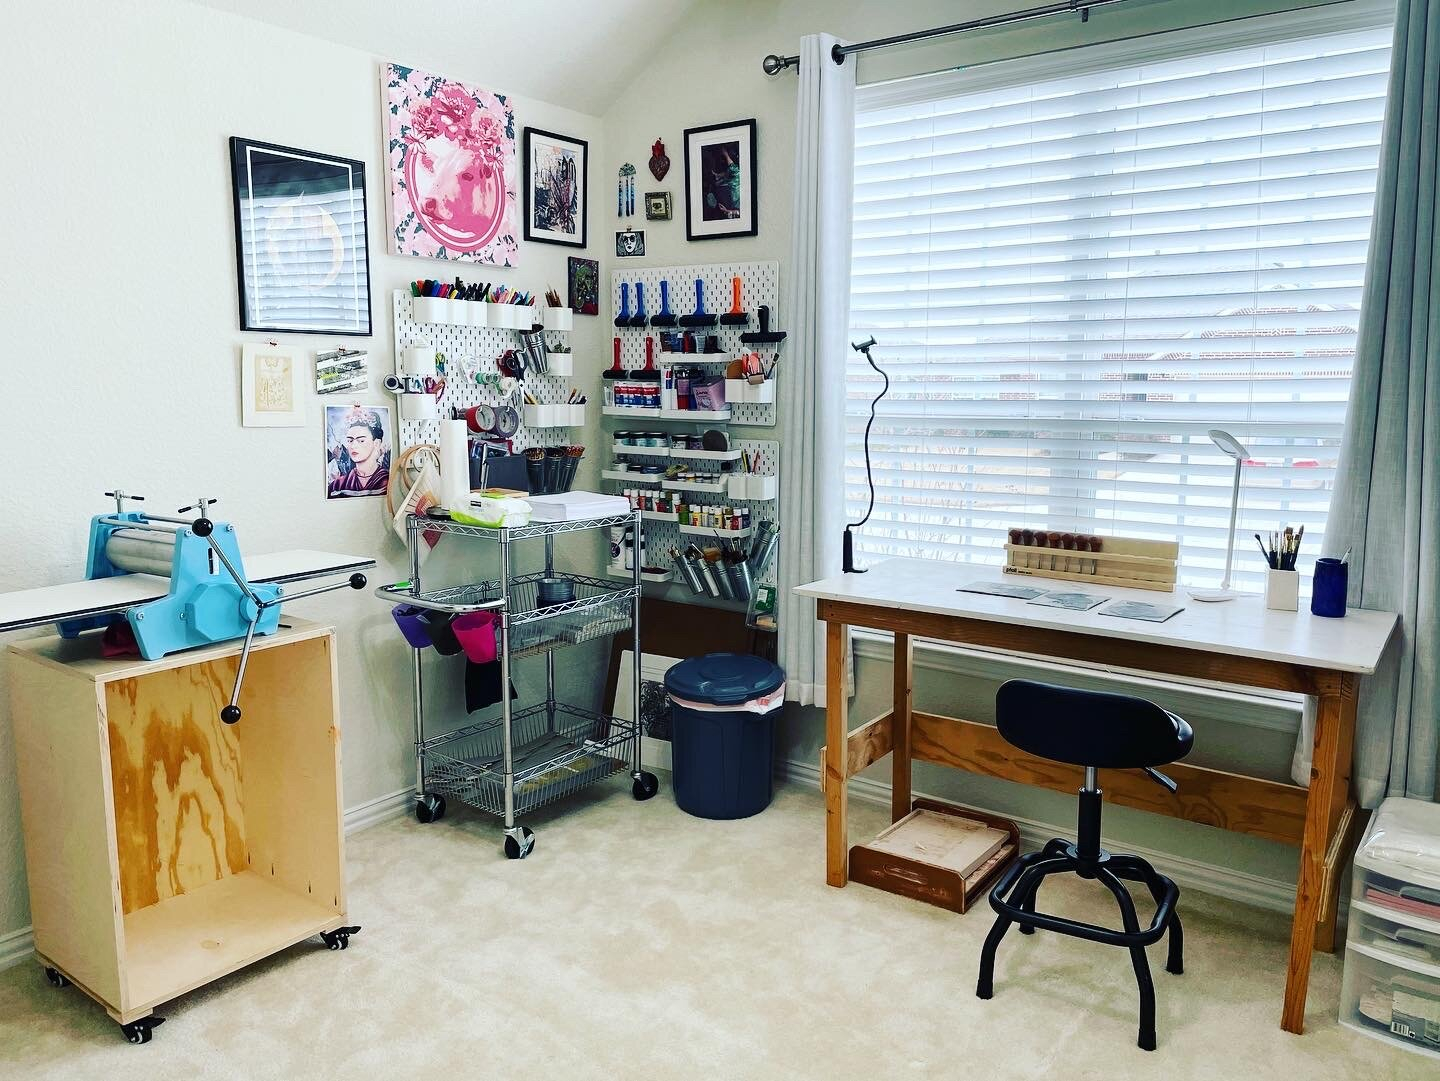
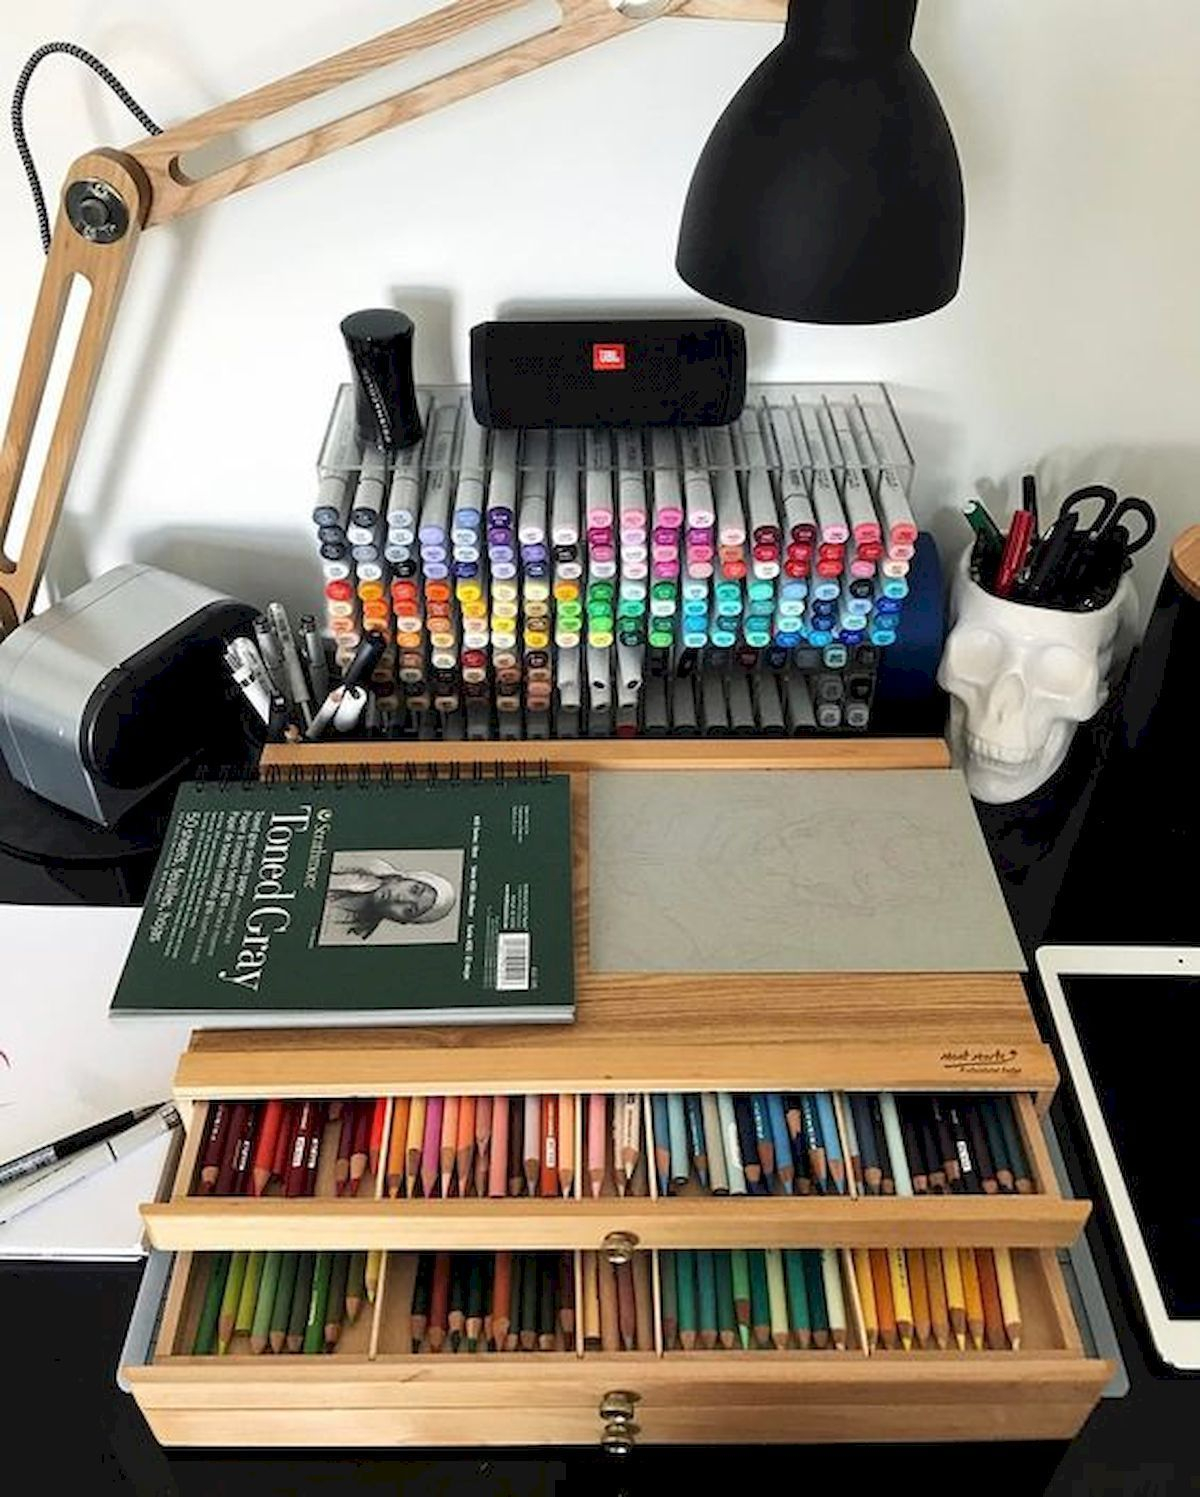
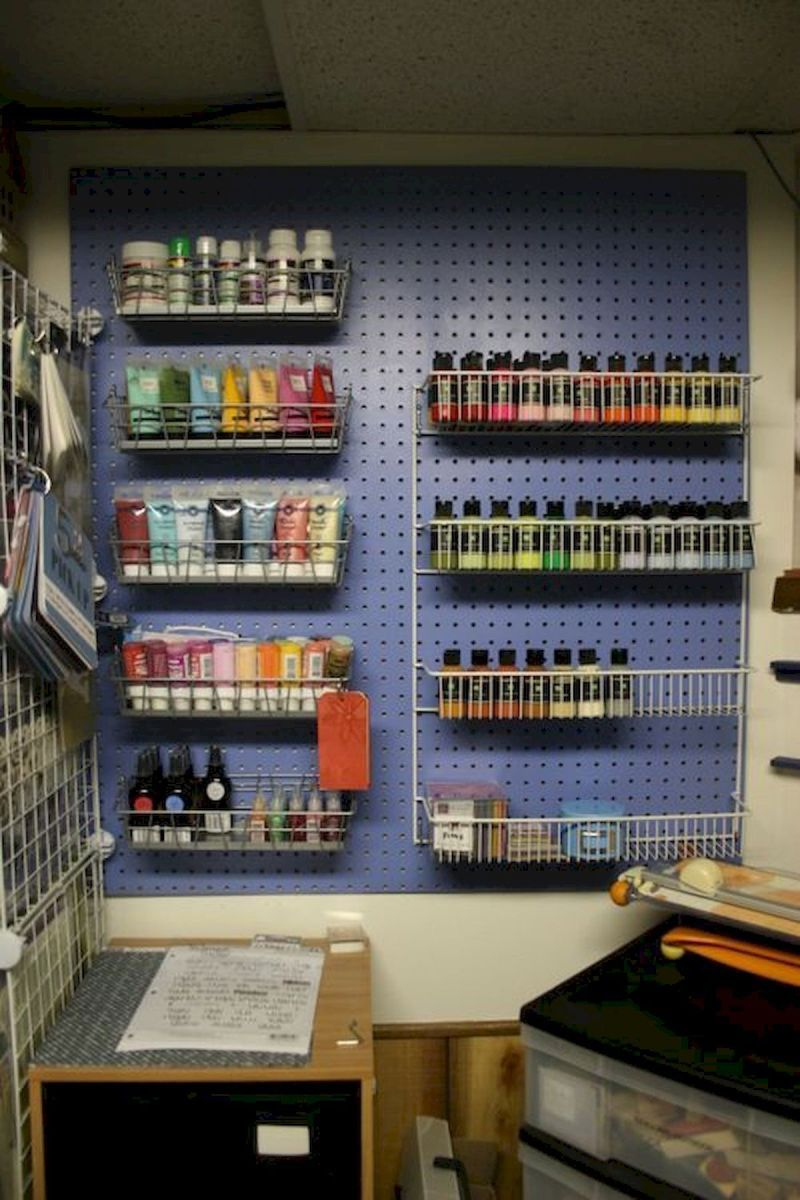
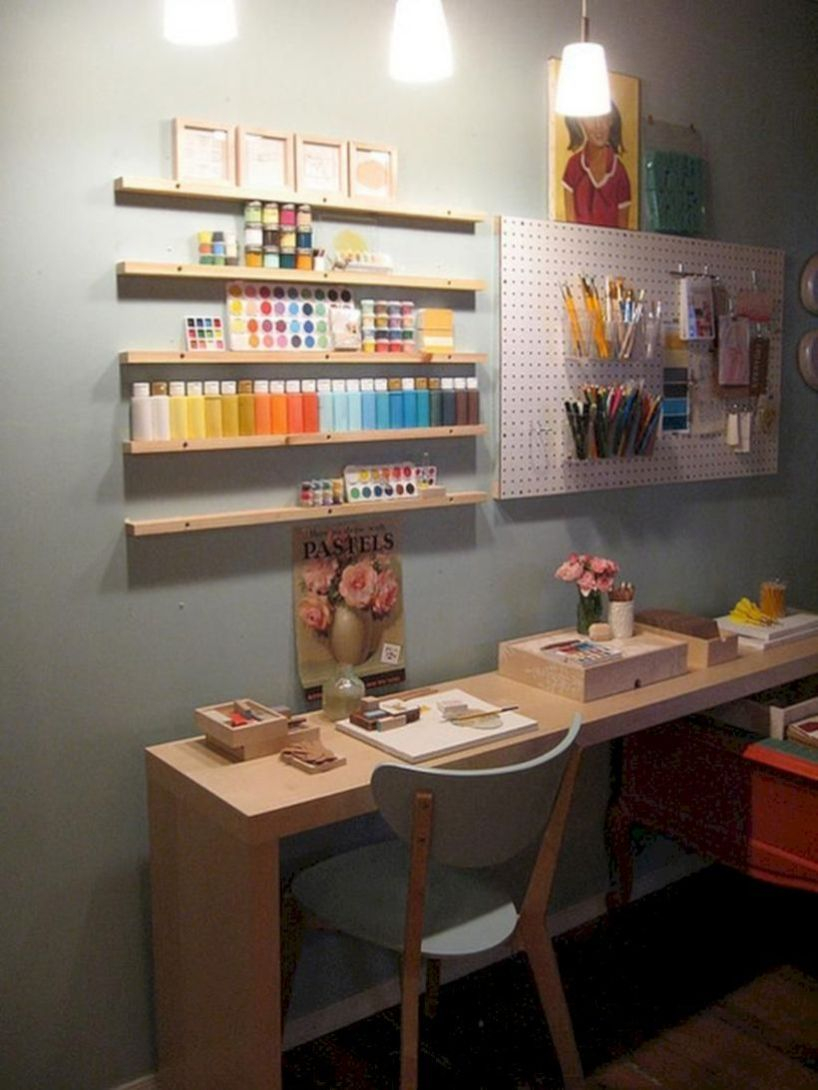
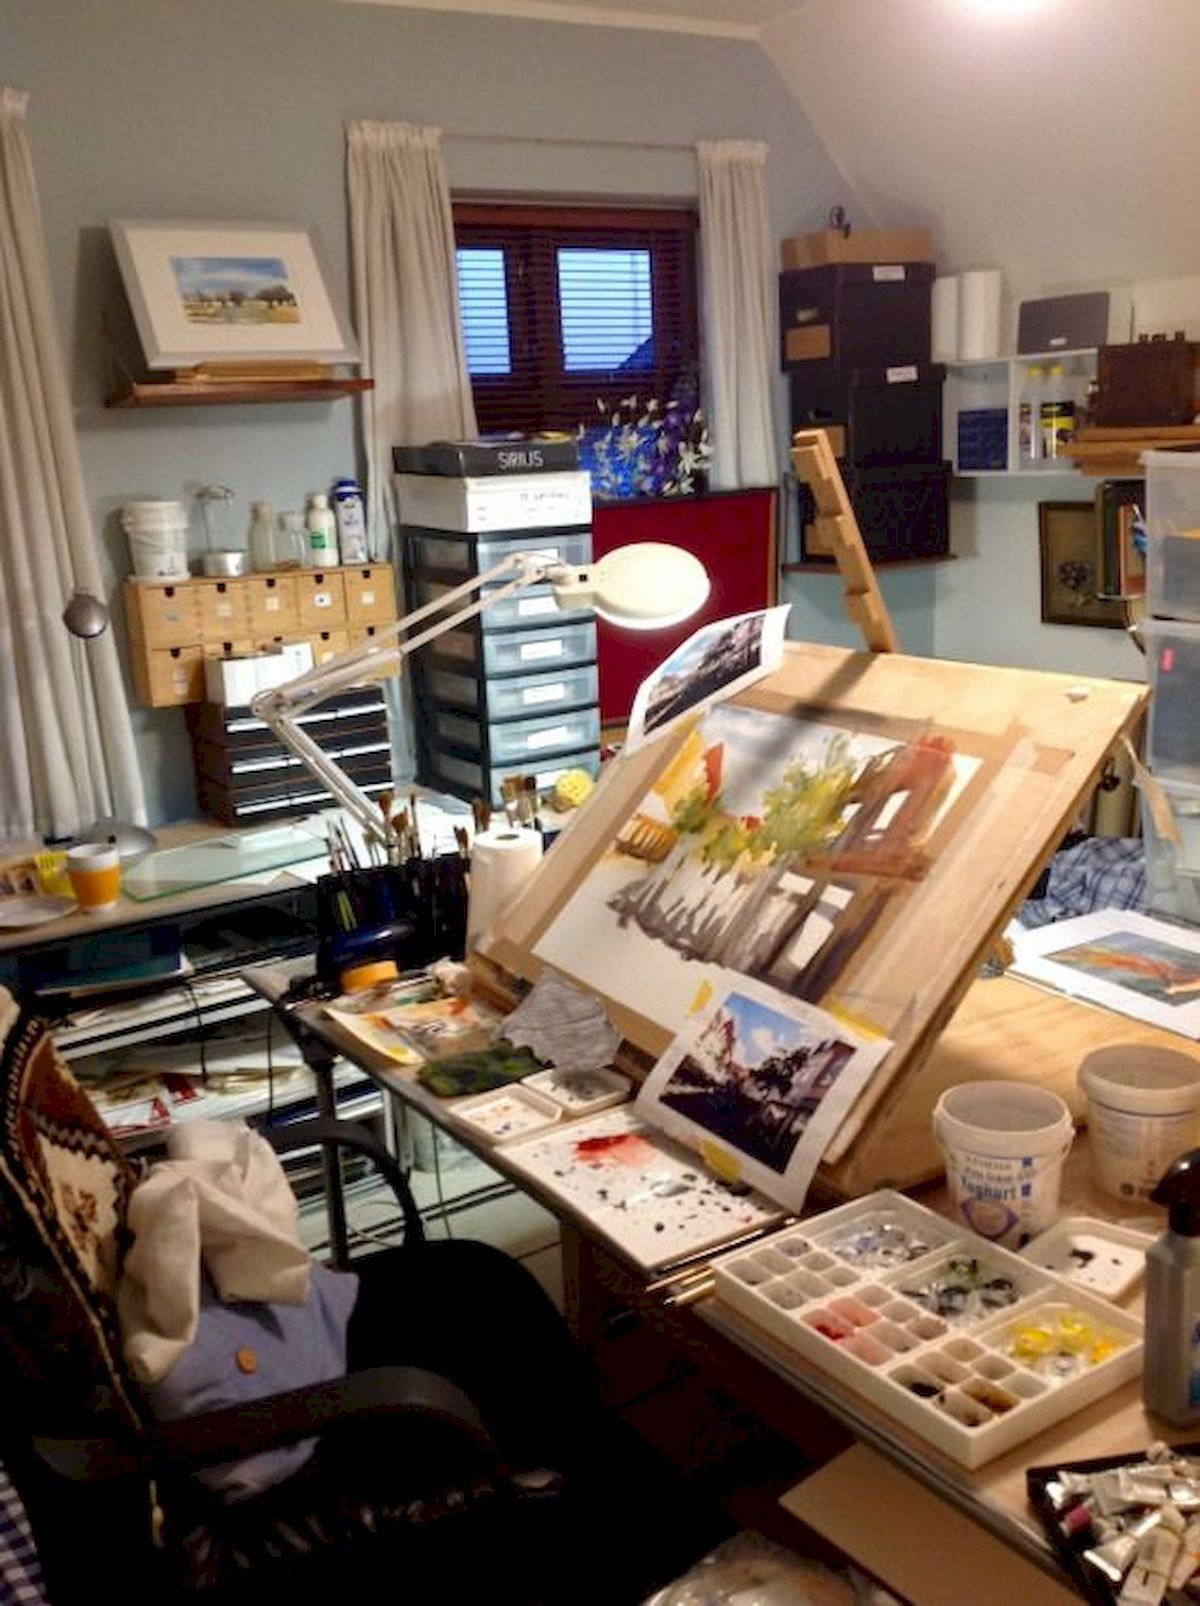
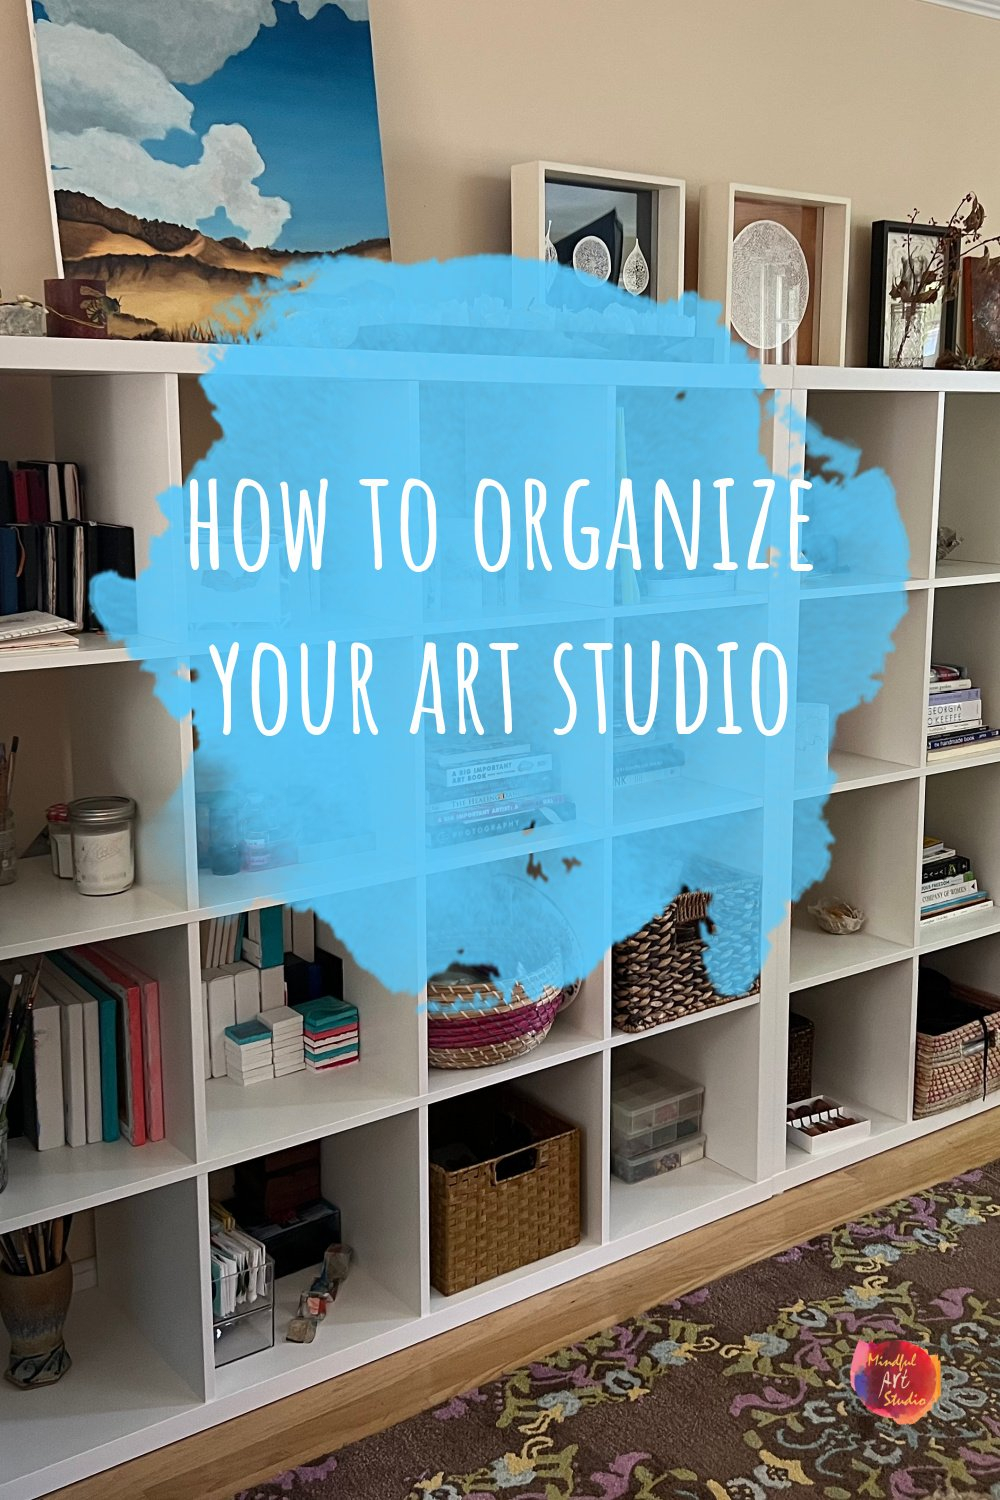
- Storage Solutions: Invest in smart storage. Clear containers, drawers, and shelves are your friends. Label everything! This saves a lot of time and prevents confusion. Consider pegboards for tools, rolling carts for portability, and wall-mounted storage to maximize space.
- Zone Your Space: Divide your art space into functional zones: a painting area, a drawing area, a storage area, etc. This helps you focus on specific tasks and keeps things organized.
- Vertical Space: Use vertical space to your advantage. Shelves, wall-mounted organizers, and even repurposed furniture can all help you maximize your storage capabilities.
Think about how you work and organize your space in a way that supports your process.
Create a System for Maintenance: Keeping the Chaos at Bay
Decluttering is a one-time event. Maintaining an organized art space is an ongoing process. You can’t just tidy up once and expect it to stay that way.
- Daily Tidy-Up: Make it a habit to tidy up at the end of each art session. Put away your tools, wipe down surfaces, and dispose of any trash. It doesn’t have to take long, but it makes a huge difference.
- Weekly Deep Clean: Set aside a few minutes each week for a more thorough clean. Dust, vacuum, wipe down surfaces, and reorganize supplies as needed.
- Regular Purges: Schedule a more extensive decluttering session every few months. Re-evaluate your supplies and get rid of anything you’re no longer using.
Consistency is key. By establishing these habits, you can prevent your art space from becoming a cluttered disaster again.
Embrace Minimalism (or at Least, Intentionalism): The Power of Less
You don’t have to become a full-blown minimalist, but embracing the principles of minimalism can be incredibly beneficial.
- Focus on Essentials: Instead of accumulating a vast collection of supplies, focus on the essentials that you actually use and love.
- Quality Over Quantity: Invest in high-quality tools and materials that will last longer and perform better. You’ll actually use them more, as opposed to buying cheap ones that are likely to be discarded.
- Intentional Purchases: Before you buy anything new, ask yourself: Do I really need this? Will I actually use it? Does it align with my artistic goals?
By being more mindful of your purchases, you can prevent clutter from accumulating in the first place, and in turn, you’ll create a more streamlined and inspiring space. This strategy also helps you to avoid spending, saving money in the long run.
Seek Inspiration and Adapt: Tailoring Your Space to You
Your art space is a reflection of you and your creative process. Don’t be afraid to experiment and find what works best for you.
- Look for Inspiration: Browse online, visit other artists’ studios, and gather ideas. But don’t try to copy someone else’s space exactly.
- Adapt and Adjust: Your needs will change over time. Be prepared to adapt your organization system as your art practice evolves.
- Embrace Imperfection: Your art space doesn’t have to be perfect. It just has to be functional, inspiring, and a place where you feel comfortable creating. And remeber, there is no perfect art space, just the one that suits you best.
Ultimately, the most important thing is to create a space that supports your artistic journey and allows you to flourish. And while it may take some work, the rewards – a clear mind, increased productivity, and a renewed sense of inspiration – are well worth the effort.
Decluttering your art space is more than just a spring cleaning exercise; it’s an investment in your creativity. By assessing, purging, organizing, and maintaining your space, you can create an environment that fuels your artistic endeavors. Remember, this is a journey, not a destination. Be patient with yourself, experiment with different strategies, and don’t be afraid to make mistakes. The key is to find a system that works for you, and to continually adapt and refine it as your art practice evolves. So, take a deep breath, grab a box (or three), and begin the transformative process of reclaiming your creative sanctuary. Your art – and your mind – will thank you for it. Good luck, and happy creating.
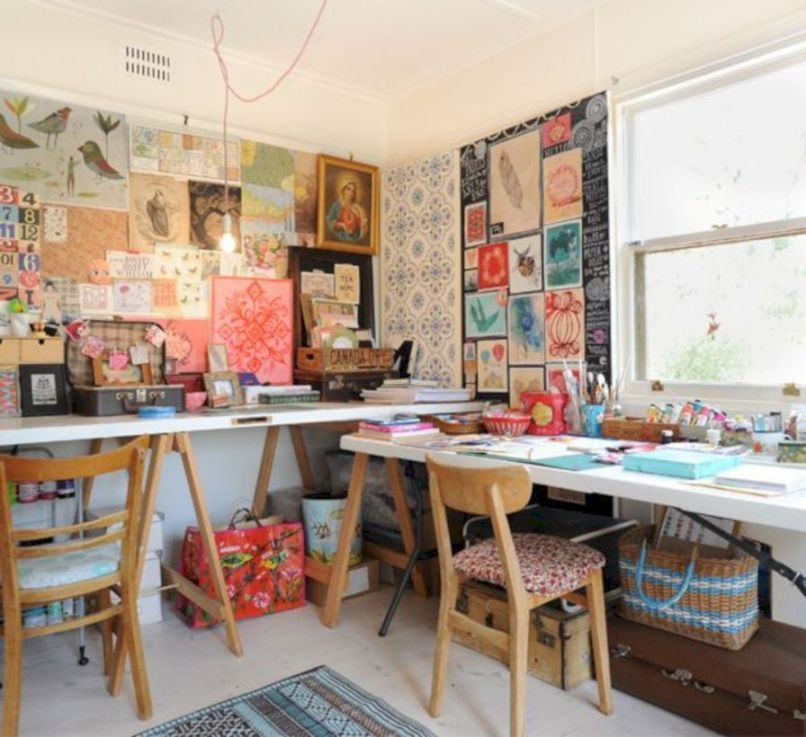
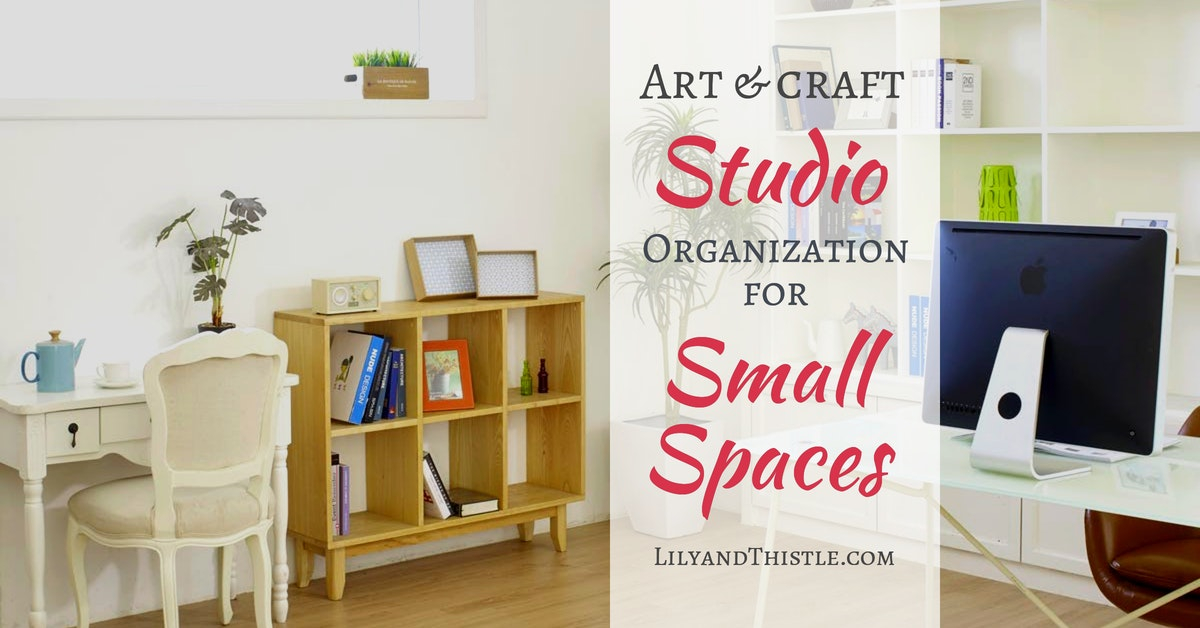
[sps_html tag=”img” src=”https://cdn.theartssection.com/wp-content/uploads/2025/06/art-and-craft-studio-organization-for-small-spaces-lily-amp-thistle-pertaining-to.jpg” alt=”Art And Craft Studio Organization For Small Spaces - Lily &Amp; Thistle pertaining to” style=”width: 100%; height: auto;”]
[sps_html tag=”img” src=”https://cdn.theartssection.com/wp-content/uploads/2025/06/65-amazing-diy-art-studio-small-spaces-ideas-12-art-studio-at-home-with-art-studio-organization-mastering-space-and-workflow.jpg” alt=”65 Amazing Diy Art Studio Small Spaces Ideas (12) | Art Studio At Home … with Art Studio Organization Mastering Space and Workflow” style=”width: 100%; height: auto;”]
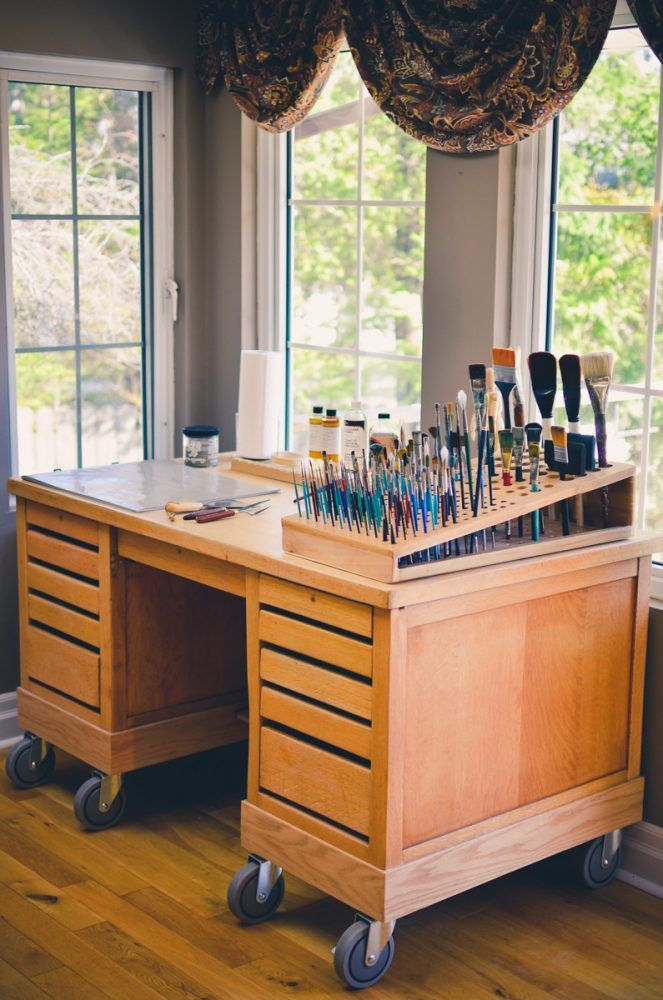
[sps_html tag=”img” src=”https://cdn.theartssection.com/wp-content/uploads/2025/06/how-to-organize-an-art-studio-at-home-moku-art-studio-with.jpg” alt=”How To Organize An Art Studio At Home — Moku Art Studio with” style=”width: 100%; height: auto;”]
[sps_html tag=”img” src=”https://cdn.theartssection.com/wp-content/uploads/2025/06/creative-art-studio-organization-ideas-for-workspace-desks-15-for.jpg” alt=”Creative Art Studio Organization Ideas For Workspace Desks 15 … for” style=”width: 100%; height: auto;”]
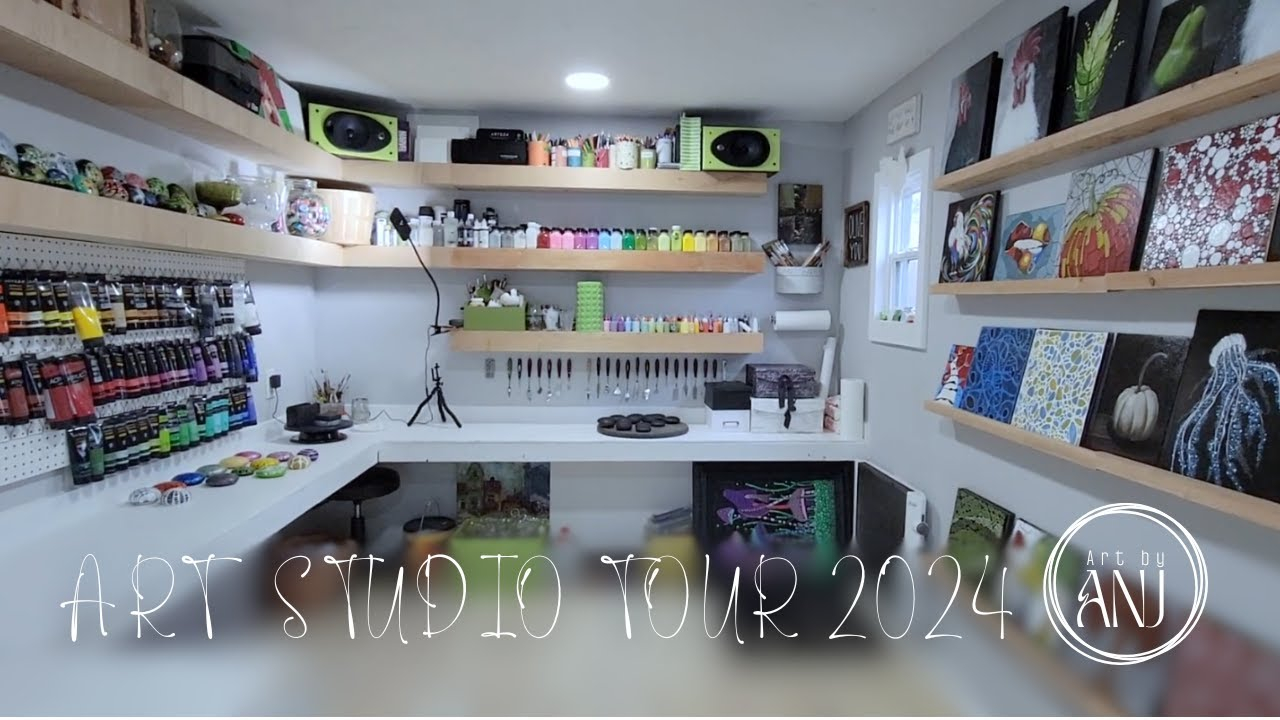
[sps_html tag=”img” src=”https://cdn.theartssection.com/wp-content/uploads/2025/06/my-creative-space-art-studio-organizing-amp-tour-f09f929a-youtube-throughout.jpg” alt=”My Creative Space | Art Studio Organizing &Amp; Tour 💚 - Youtube throughout” style=”width: 100%; height: auto;”]