Hey everyone. Welcome back. I’m so thrilled to be delving into the world of wood staining with you all today. It’s a topic I’m super passionate about, and something that can completely transform the look and feel of any wooden surface. From a simple deck to a cherished antique, the right stain can bring out the natural beauty of the wood grain and protect it for years to come. This isn’t just about slapping on some color. It’s about understanding the wood, the stain, and the desired outcome. So, let’s get started and make sure you’re well-equipped for your next project. I promise, it’s easier than you think. And it’s going to be fun, I promise.
Wood stain, it’s more than just a color, isn’t it. It’s a statement. It’s a way to protect and enhance the natural beauty of wood. But with so many options out there, choosing the right stain can feel a bit overwhelming. Don’t worry, though. That’s what I’m here for. Over the years, I’ve experimented with countless stains on everything from furniture to fences, and I’ve learned a thing or two along the way. This guide is designed to break down the process into manageable steps, helping you select the perfect stain for your needs, and avoid some common pitfalls along the way. Let’s get into it.
Understanding Stain Types: A Quick Breakdown
First things first: let’s talk about the different types of wood stain. This is a super important first step, because the type of stain you pick will impact how it looks, how long it lasts, and how easy it is to apply.
Oil-Based Stains: These are the classic choice. They penetrate the wood, providing rich color and good protection. They’re great for both indoor and outdoor projects. The downside? They take longer to dry, and the clean-up involves solvents.
Water-Based Stains: These are becoming increasingly popular due to their low odor and easy clean-up (soap and water!). They dry faster than oil-based stains, and they’re also less likely to yellow over time. However, they might not penetrate the wood as deeply as oil-based stains.
Gel Stains: Gel stains are thick, almost like a jelly. They’re ideal for vertical surfaces, because they’re less prone to dripping. They sit on the surface of the wood, rather than penetrating it, which can be a good option for projects where you want to control the color more precisely.
Hybrid Stains: These combine the benefits of different stain types, offering a balance of penetration, durability, and ease of use. They are a great option, but make sure you read the label and understand the pros and cons.
Think of it like this: oil-based stains are like a hearty, slow-cooked meal, while water-based stains are the quick and healthy option. Choose the one that best suits your needs, and your project.
Choosing the Right Color: Considering Wood & Desired Effect
Color is probably the most fun, and it can also be the most daunting, part of the stain selection process. The color you choose will dramatically impact the final look of your project. Here’s how to make a great choice:
Consider the Wood Species: Different woods take stain differently. For instance, pine is prone to blotching, so you might need a pre-stain wood conditioner. Oak, with its open grain, can absorb stain beautifully, showing off the grain’s character.
Think About the Existing Color: If you’re staining over existing wood, the original color will influence the final result. You may need to sand the surface or use a stripping agent to get a clean slate.
Test, Test, Test: Always, always test the stain on a piece of scrap wood first. This is the only way to see how the color will look on your chosen wood, and how the stain will react.
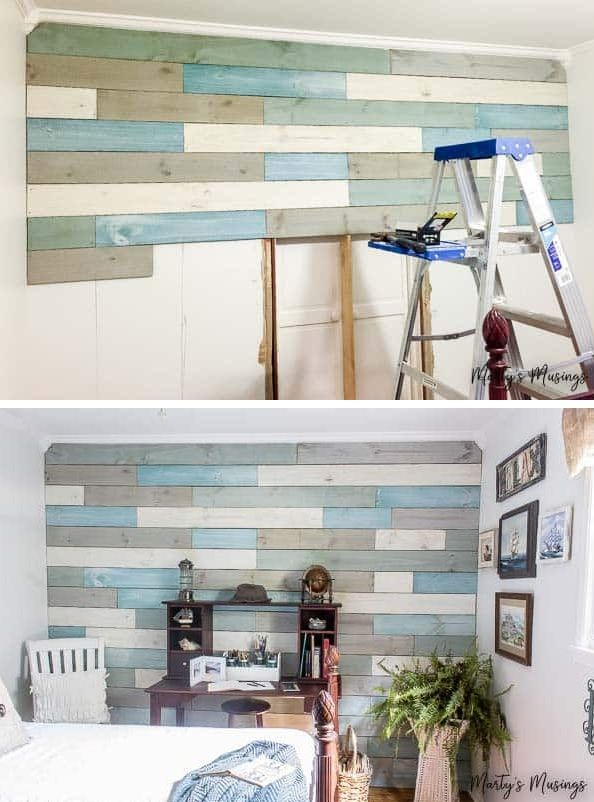
Visualize the Final Look: Do you want a natural look, or a more dramatic color? Do you want the grain to be prominent, or less so? Having a clear idea of your desired outcome will help you narrow down your choices.
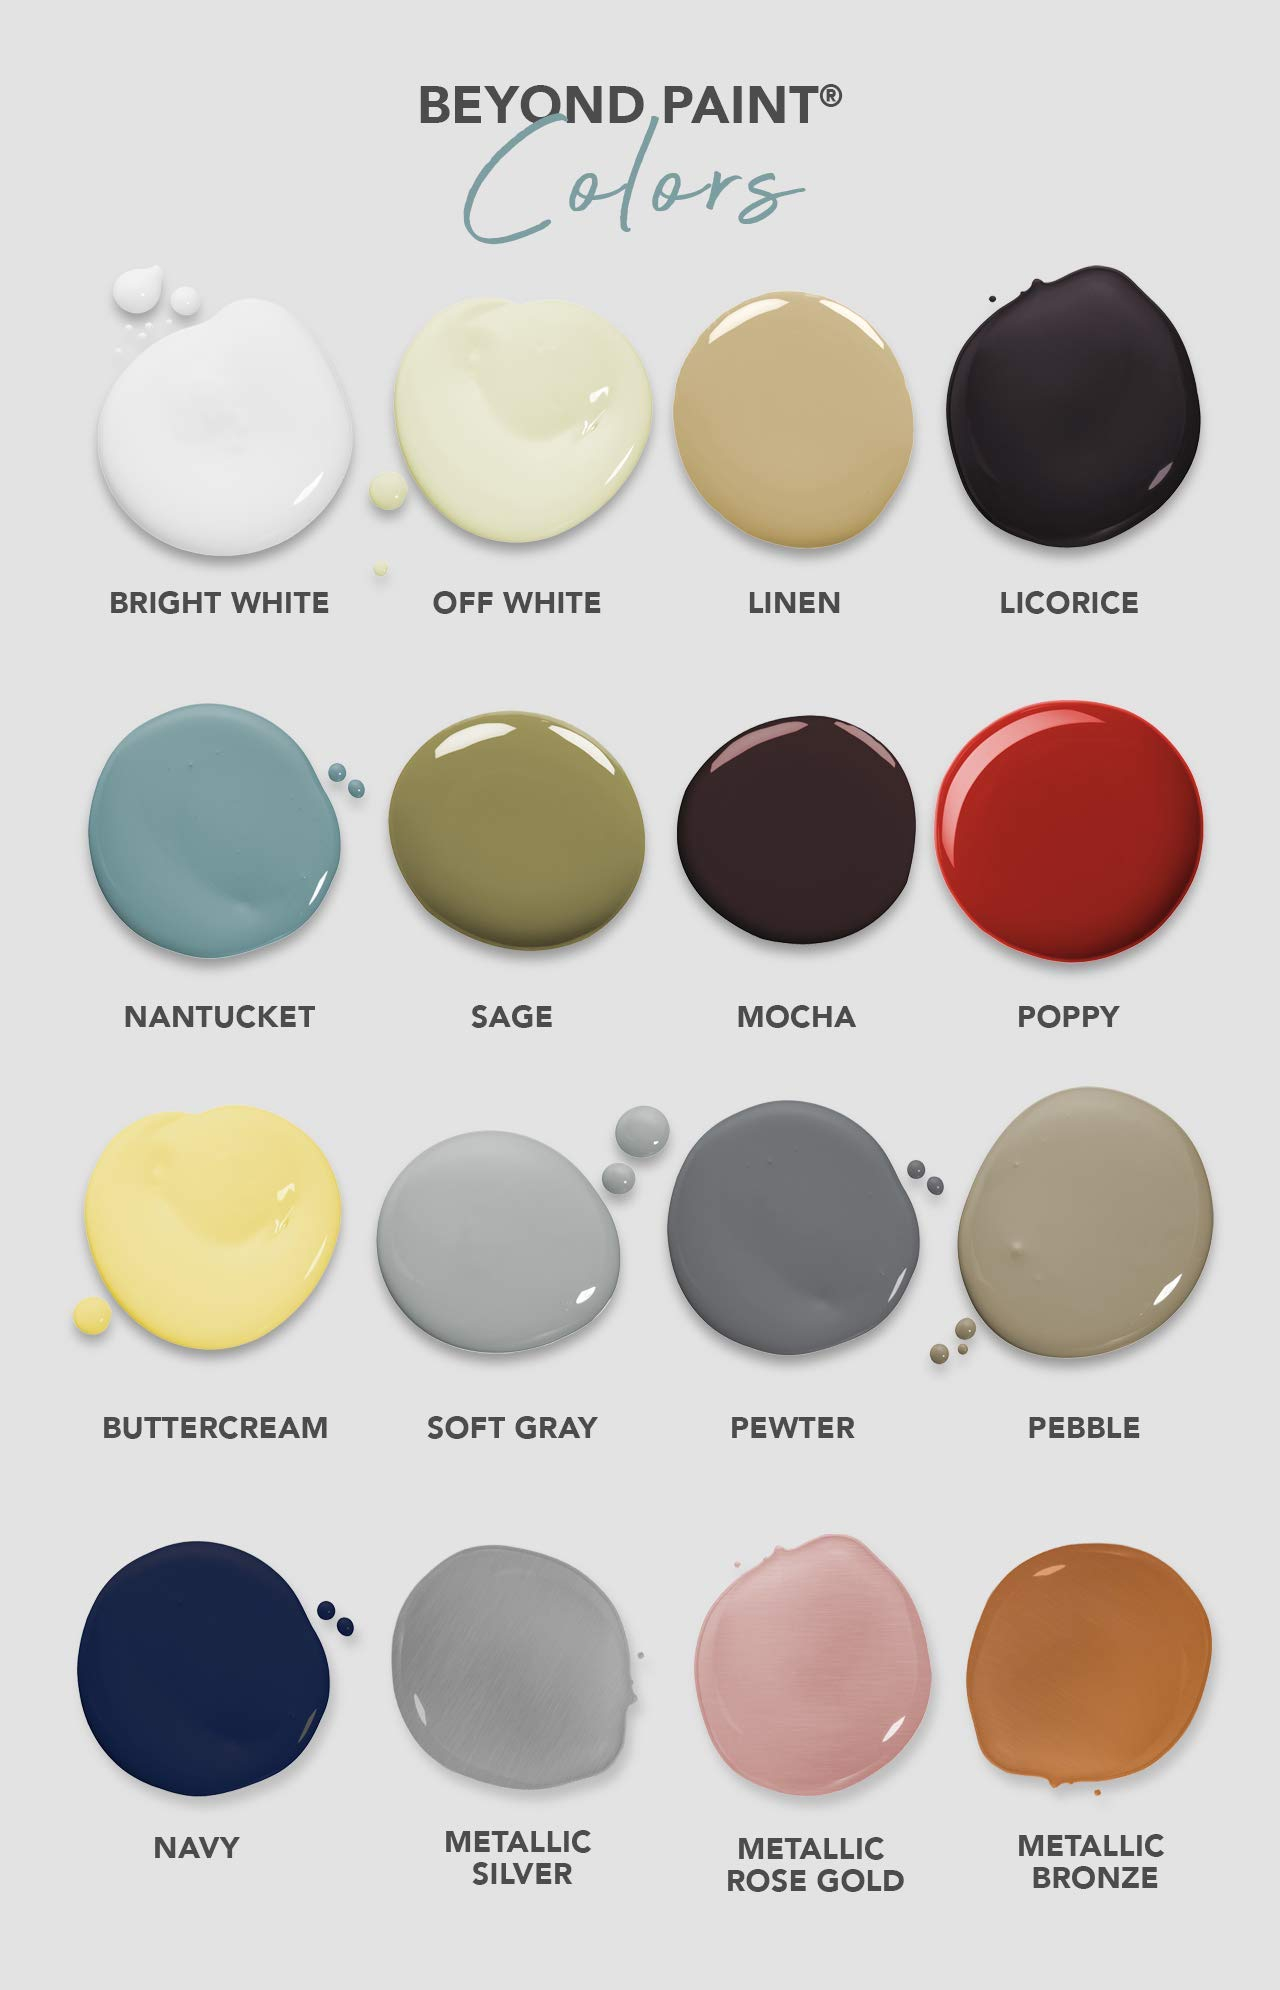
Don’t be afraid to experiment: Color mixing can be fun. I like to blend stains to get just the right shade, so don’t be afraid to mix a few to achieve the perfect tone and hue.
Preparing Your Wood: The Key to a Flawless Finish
Preparation is 90% of the work. Seriously. If you skip this step, you’re setting yourself up for disappointment. Proper preparation ensures the stain adheres properly and looks its best. Here’s what you need to do:
Sanding: Sanding is the most important step. It opens the wood grain, allowing the stain to penetrate. Start with a coarser grit sandpaper (like 80 or 100 grit) and work your way up to a finer grit (180 or 220 grit) for a smooth finish. Always sand in the direction of the wood grain.
Cleaning: Remove all dust and debris after sanding. A tack cloth is your best friend here. Any dust left behind will interfere with the stain’s adhesion.
Wood Conditioner (Optional, but Recommended): Especially for softwoods like pine, a wood conditioner helps to prevent blotching, which is when the stain absorbs unevenly.
Patching (If Needed): Fill any nail holes or imperfections with wood filler, then sand it smooth after it dries.
Remember the saying: “You can’t make a silk purse from a sow’s ear.” The same goes for wood staining. The better the prep, the better the result.
Applying the Stain: Techniques & Tips
Okay, you’ve chosen your stain, you’ve prepped your wood. Now for the fun part: applying the stain. Here’s the low-down:
Tools: You can use a brush, a rag, or a foam applicator. Brushes are good for detailed work and larger areas, but rags can provide more control and a smoother finish. Foam applicators are great for even coverage.
Application: Apply the stain evenly, following the wood grain. Don’t overload the surface. It’s better to apply multiple thin coats than one thick one.
Wiping (Important): After a few minutes (check the stain’s instructions), wipe off the excess stain with a clean rag. This is crucial, because the excess stain is what makes the finish look uneven.
Multiple Coats: For a deeper color, apply multiple coats, allowing each coat to dry completely before applying the next. Usually, two coats is sufficient.
Drying Time: Always follow the manufacturer’s instructions for drying time. Don’t rush the process; it’s tempting, I know, but patience is a virtue in this case.
Ventilation: Work in a well-ventilated area to avoid breathing in fumes. Safety first, always.
Protecting Your Masterpiece: Sealers and Topcoats
Once your stain is dry, you’ll want to protect it with a sealer or topcoat. This adds durability and helps to prevent scratches, water damage, and fading.
Types of Sealers/Topcoats: There are many options, including polyurethane, varnish, lacquer, and tung oil. Polyurethane is a popular choice for its durability. Varnish offers a beautiful finish and good protection.
Application: Apply the sealer or topcoat in thin, even coats, following the manufacturer’s instructions. Sand lightly between coats (with fine-grit sandpaper) to ensure a smooth finish.
Number of Coats: Usually, two or three coats of a topcoat are sufficient.
Choosing the Right Sheen: Topcoats come in different sheens, from matte to high-gloss. Matte provides a more natural look, while gloss offers a more formal, shiny finish. Consider the look you’re after and the level of protection needed.
Outdoor Projects: For outdoor projects, choose a topcoat specifically designed for exterior use, with UV protection to prevent fading.
Troubleshooting Common Staining Problems
Even the most experienced DIYers run into problems sometimes. Here are some common issues and how to fix them:
Blotching: This is when the stain absorbs unevenly, resulting in a patchy appearance. Using a wood conditioner before staining can help prevent this.
Uneven Color: This can be caused by uneven application or not wiping off the excess stain. Make sure to apply the stain evenly and wipe it off thoroughly.
Brush Marks: If you’re using a brush, make sure you’re using a high-quality brush and applying the stain evenly, following the wood grain.
Runs and Drips: Gel stains are less prone to this, but if you’re using a liquid stain, be careful not to apply too much at once. Wipe up any runs or drips immediately.
Not Drying Properly: This can be caused by applying the stain too thick, or by not allowing enough ventilation. Ensure the area is well-ventilated and apply thin coats.
Color Too Dark/Light: If the color is too dark, try sanding it down and reapplying a lighter coat. If it’s too light, you can apply another coat. Remember, you can always go darker, but it’s harder to go lighter.
Don’t get discouraged. Staining is a process. Learn from your mistakes, and you’ll get better with each project.
So there you have it. A comprehensive guide to help you choose the perfect wood stain. Remember, the key is to understand the basics, prepare your wood properly, and take your time. Don’t be afraid to experiment, and most importantly, have fun. Wood staining is a rewarding process that can bring new life to your projects and your home. Now get out there, and start staining. I can’t wait to see what you create. And please, share your projects with me. I love seeing what you all do. Happy staining, everyone. And thanks for joining me today.
[sps_html tag=”img” src=”https://cdn.theartssection.com/wp-content/uploads/2025/06/our-kitchen-renovation-with-beyond-paint-the-bucket-list-narratives-intended-for-beyond-paint-the-ultimate-guide-to-stunning-feature-wall-materials.jpg” alt=”Our Kitchen Renovation With Beyond Paint - The Bucket List Narratives … intended for Beyond Paint The Ultimate Guide to Stunning Feature Wall Materials” style=”width: 100%; height: auto;”]
[sps_html tag=”img” src=”https://cdn.theartssection.com/wp-content/uploads/2025/06/15-stunning-accent-wall-ideas-you-can-do-the-family-handyman-for-beyond-paint-the-ultimate-guide-to-stunning-feature-wall-materials.jpg” alt=”15 Stunning Accent Wall Ideas You Can Do | The Family Handyman for Beyond Paint The Ultimate Guide to Stunning Feature Wall Materials” style=”width: 100%; height: auto;”]
[sps_html tag=”img” src=”https://cdn.theartssection.com/wp-content/uploads/2025/06/exploring-the-boundless-possibilities-of-beyond-paint-all-in-one-color-within-beyond-paint-the-ultimate-guide-to-stunning-feature-wall-materials.jpg” alt=”Exploring The Boundless Possibilities Of Beyond Paint All-In-One Color … within Beyond Paint The Ultimate Guide to Stunning Feature Wall Materials” style=”width: 100%; height: auto;”]
[sps_html tag=”img” src=”https://cdn.theartssection.com/wp-content/uploads/2025/06/wall-color-in-bedroom-in-beyond-paint-the-ultimate-guide-to-stunning-feature-wall-materials-scaled.jpg” alt=”Wall Color In Bedroom in Beyond Paint The Ultimate Guide to Stunning Feature Wall Materials” style=”width: 100%; height: auto;”]
[sps_html tag=”img” src=”https://cdn.theartssection.com/wp-content/uploads/2025/06/beyond-paint-faq-at-michael-reynolds-blog-for.png” alt=”Beyond Paint Faq At Michael Reynolds Blog for” style=”width: 100%; height: auto;”]