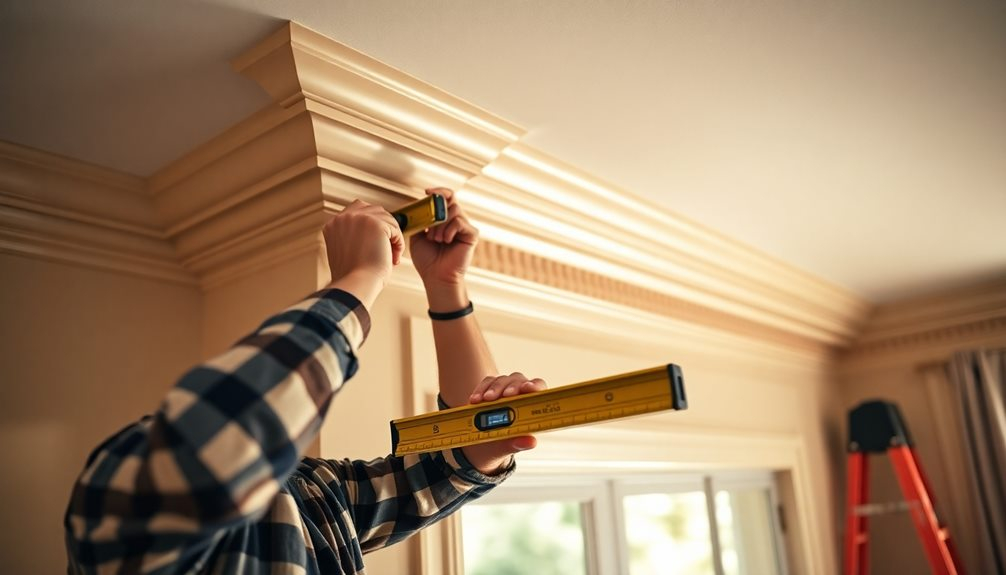
For many, the mere mention of crown molding conjures images of complex angles, frustrating gaps, and a general sense of DIY dread. It’s often viewed as the Everest of interior trim, a challenge reserved for seasoned carpenters. But what if I told you that with the right understanding, a bit of patience, and a few clever tricks, you too can transform your living areas with this elegant architectural detail? As someone who has spent decades navigating the nuances of trim work, I’m here to tell you that crown molding is not some mythical beast, it’s a conquerable project. Let’s peel back the layers of mystique and build your confidence, piece by piece.
Crown molding, at its heart, is more than just decorative trim placed where walls meet ceilings. It’s a design element that adds a profound sense of sophistication, completes a room’s aesthetic, and can even make a space feel grander and more polished. Think of it as the finishing touch, the jewelry that elevates an outfit. Without it, a room can feel unfinished, its edges stark and unadorned. Yet, the perceived difficulty often stops people in their tracks. My goal here is to bridge that gap, to take you from feeling overwhelmed to confidently wielding a miter saw, creating beautiful, seamless transitions in your home. This isn’t just about cutting wood; it’s about crafting an atmosphere.
Understanding the Beast: Anatomy and Types of Crown Molding
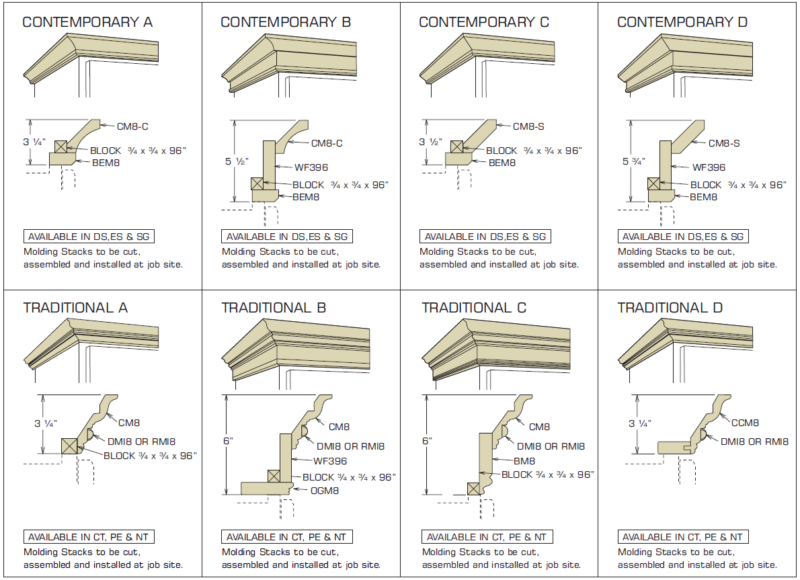
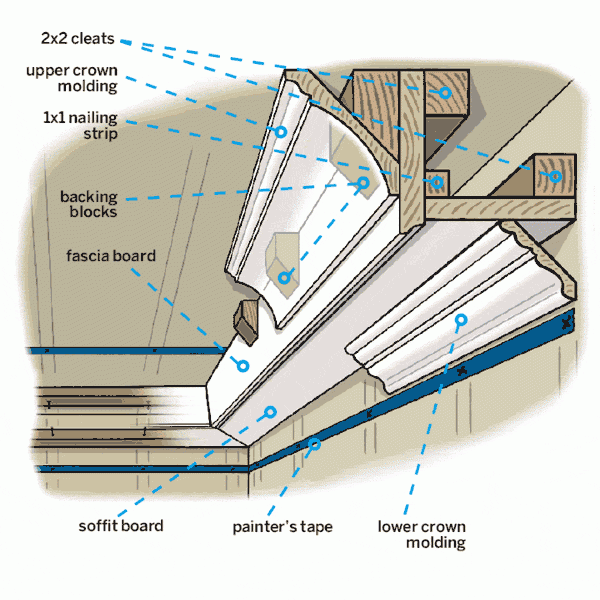
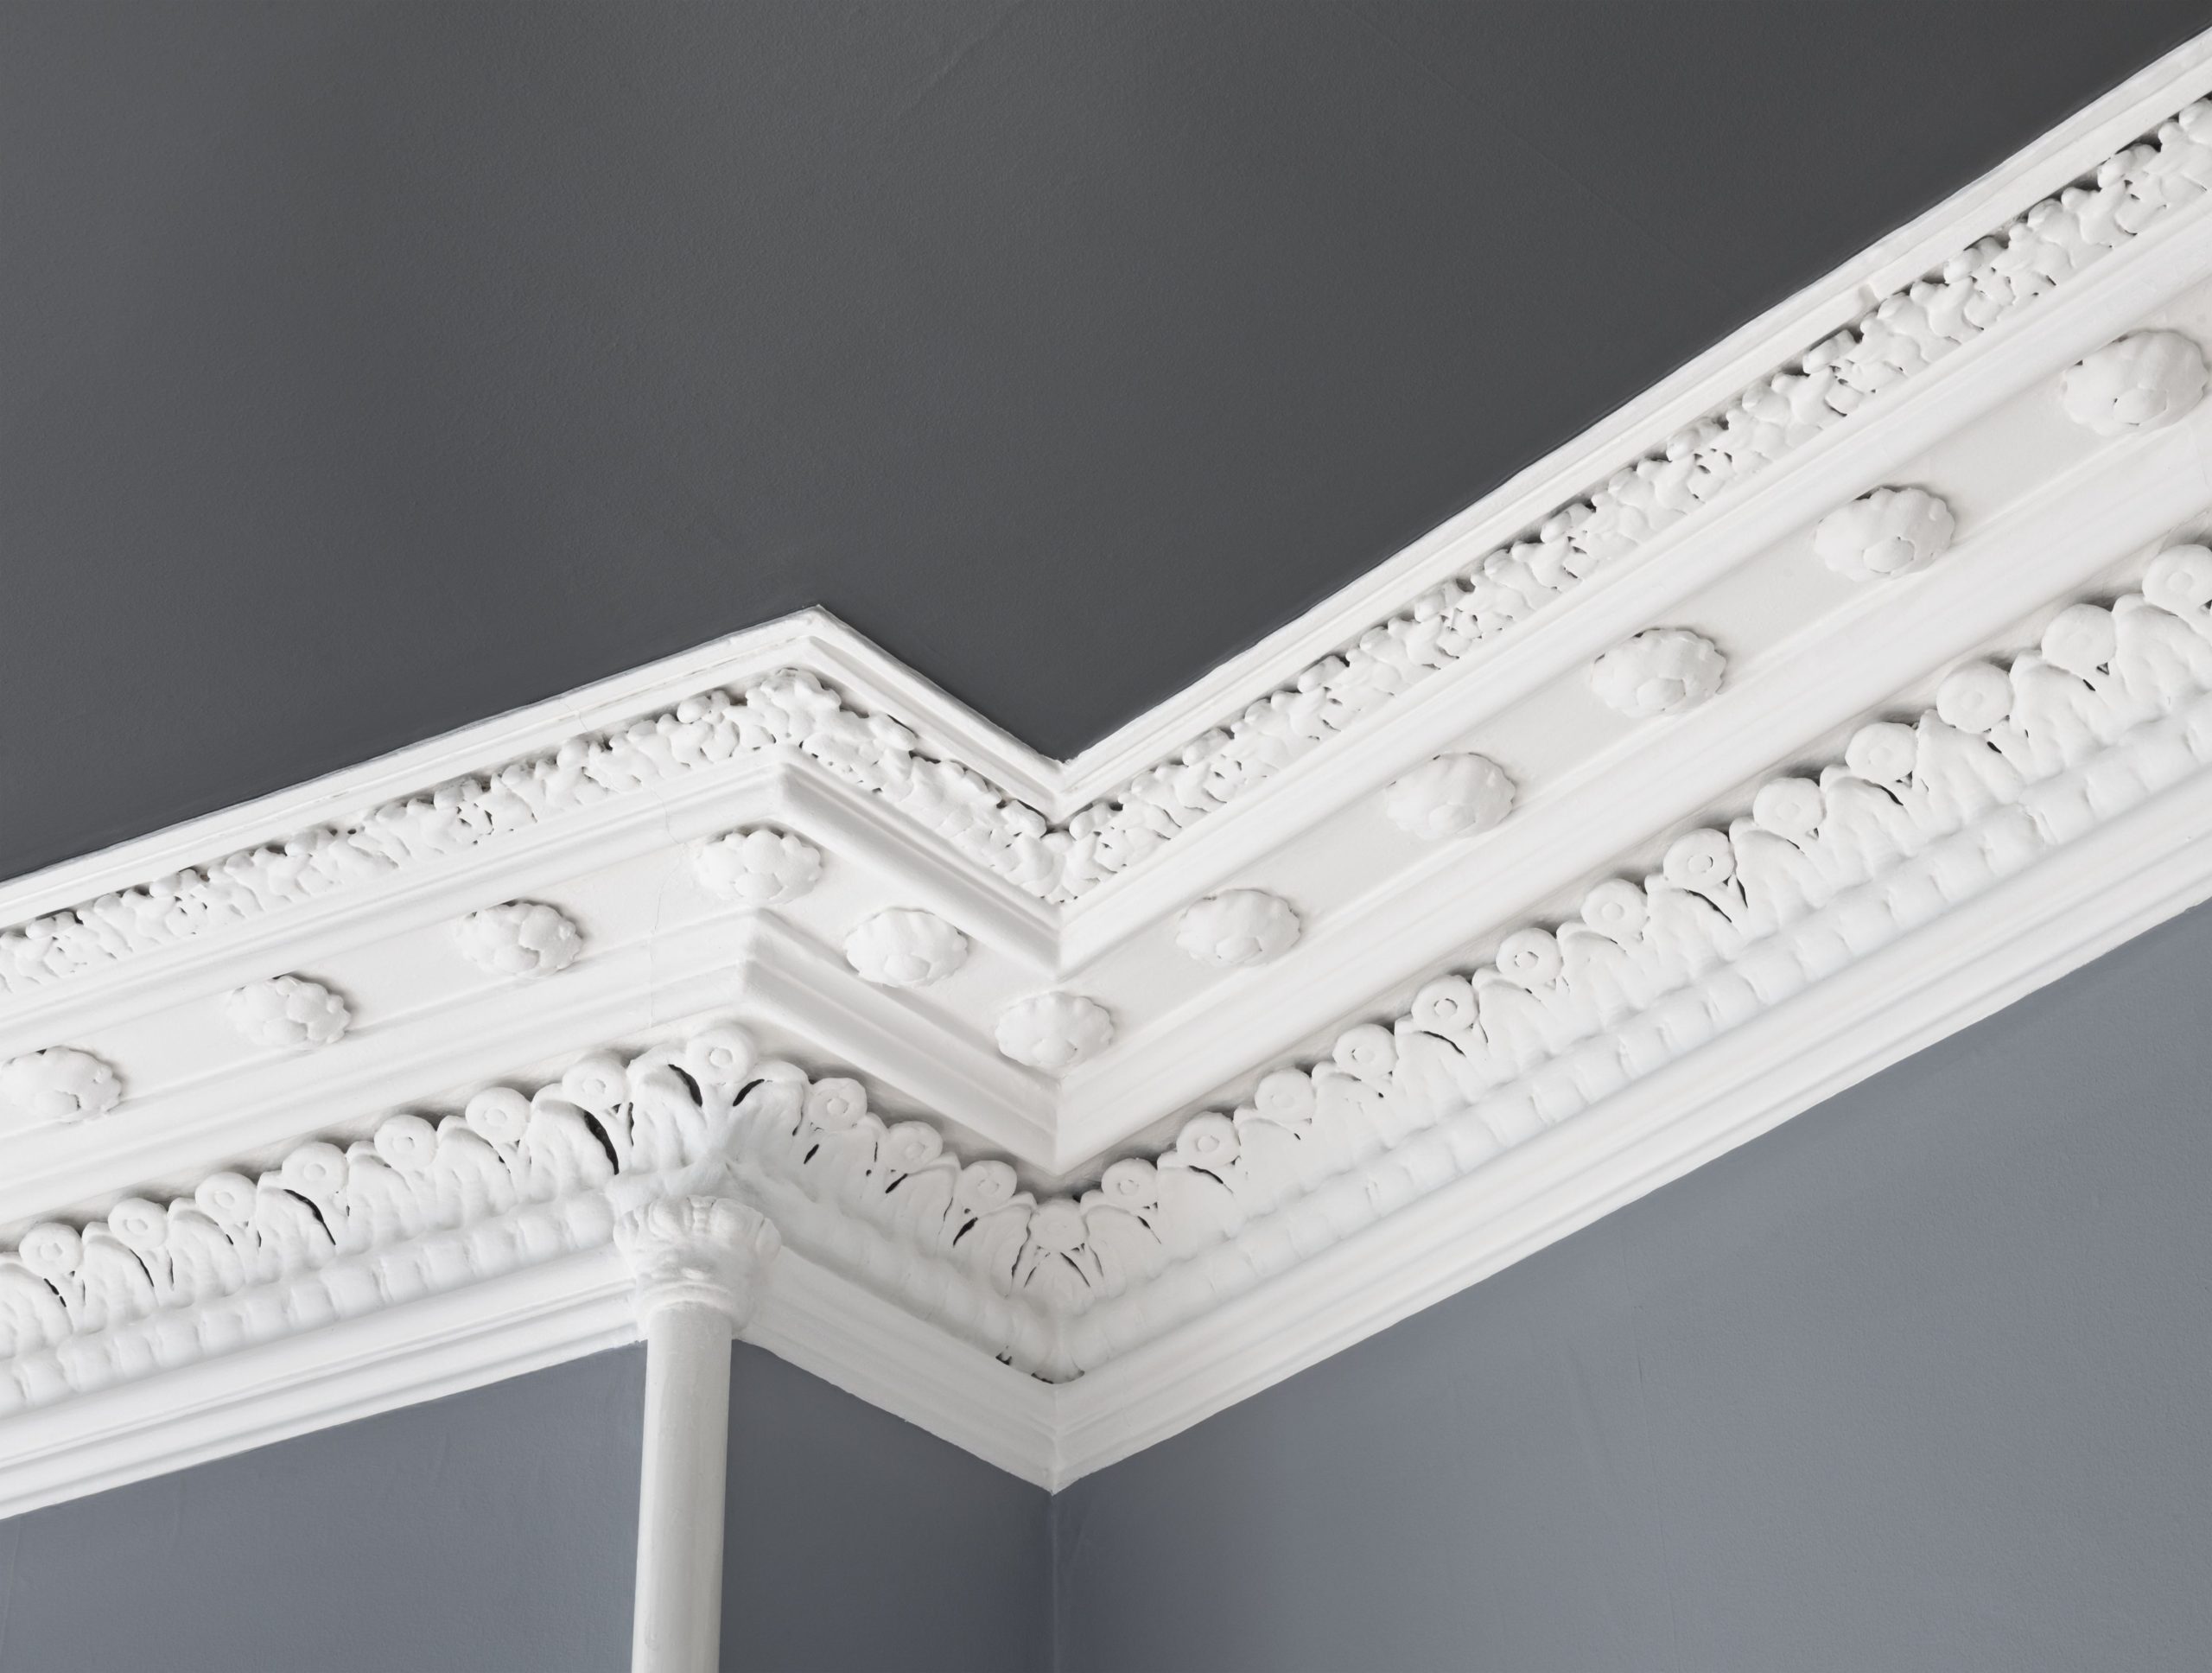
Before we even think about cutting, it’s vital to grasp what crown molding actually is and the variations available. Essentially, it’s a decorative strip of material – typically wood, but also MDF, polyurethane, or even plaster – that bridges the joint between the top of an interior wall and the ceiling. The trickiest part, and what often causes the most apprehension, is that it’s installed at an angle, not flat against either surface.
There are numerous profiles, from simple cove designs to elaborate ogees with multiple curves and steps. Choosing the right profile depends on your home’s style and the scale of the room. A grand, ornate profile might overwhelm a small, modern room, while a minimalist design could get lost in a large, traditional space. Material choice also plays a big role. Wood offers classic beauty and durability but can be more challenging to work with. MDF is cost-effective and paint-ready, though it’s susceptible to moisture. Polyurethane is lightweight and flexible, great for curved walls but can be pricier. Knowing your materials and profiles is the first step in taming this particular beast.
The Toolkit of a Conqueror: Essential Tools You’ll Need
You wouldn’t attempt to climb a mountain without the right gear, and installing crown molding is no different. Having the correct tools makes all the difference between a frustrating ordeal and a satisfying project. Here’s my go-to list:
- Miter Saw: This is your absolute MVP. A compound miter saw is best, as it allows for both bevel (tilt) and miter (angle) cuts. Don’t skimp here; a good quality saw will pay dividends in accuracy.
- Measuring Tape: Obvious, but crucial. Get a reliable one.
- Pencil: For marking your cuts.
- Safety Glasses: Non-negotiable. Protect those peepers!
- Stud Finder: To locate wall studs for secure fastening.
- Nail Gun (Brad or Finish): While you can hand-nail, a nail gun makes the job infinitely faster and cleaner. 18-gauge brad nails are usually sufficient.
- Wood Glue: For butt joints and miters to add strength and prevent separation.
- Caulk Gun and Paintable Caulk: For filling small gaps and nail holes, creating a seamless look.
- Wood Filler: For larger imperfections or nail holes.
- Sanding Block/Paper: To smooth out any rough edges.
- Coping Saw: This is where the pros shine. A coping saw is used for interior corners, creating a perfect fit that hides imperfections, unlike a mitered joint which can open up over time. More on this later!
- Crown Molding Jig or Protractor: These can be incredibly helpful for finding precise angles, especially if your walls aren’t perfectly square.
The Angle Advantage: Mastering Miter Cuts and Coping
This is often where the intimidation factor peaks. Crown molding doesn’t lie flat on your saw; it sits at an angle, just as it will on your wall. The ‘spring angle’ of your molding dictates how it rests. Most common crown moldings have a 38-degree or 45-degree spring angle. You’ll need to set your miter saw to the correct bevel and miter settings.
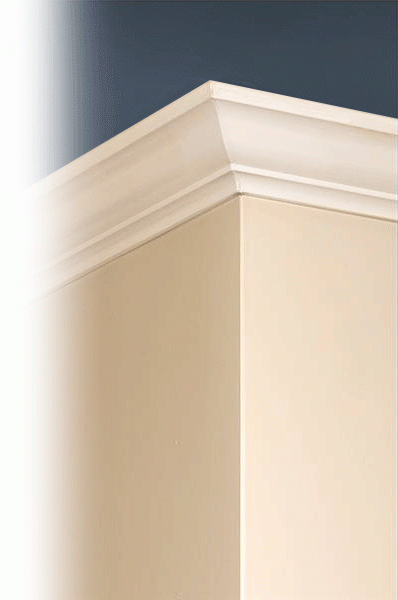
For outside corners, both pieces of molding will be mitered at 45 degrees, with the saw’s bevel set to a specific angle (this depends on your molding’s spring angle, but often around 31.6 or 33.9 degrees for common crown). The key is to ‘trick’ your saw by placing the molding against the fence and base as it would sit on the wall/ceiling.
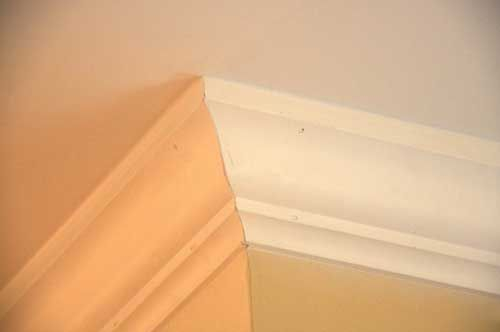
For inside corners, you have two main options: miter or cope. While mitering inside corners (two 45-degree cuts meeting) seems easier, it’s often problematic. Houses settle, walls aren’t perfectly square, and those mitered joints can open up over time, creating unsightly gaps. This is where coping becomes your best friend.
Coping involves cutting the profile of one piece of molding into the end of another. One piece is cut square, and the other is cut with a coping saw, following the exact contour of the molding’s profile. This creates a ‘male’ and ‘female’ joint that fits together snugly, even if the corner isn’t perfectly 90 degrees. It’s a bit of an art form, but once you master it, your inside corners will look professional and stay tight for years. My advice? Embrace the coping saw; it’s a game-changer.
The Installation Process: From Wall to Flawless Finish
Alright, tools in hand, angles understood, let’s get this molding up!
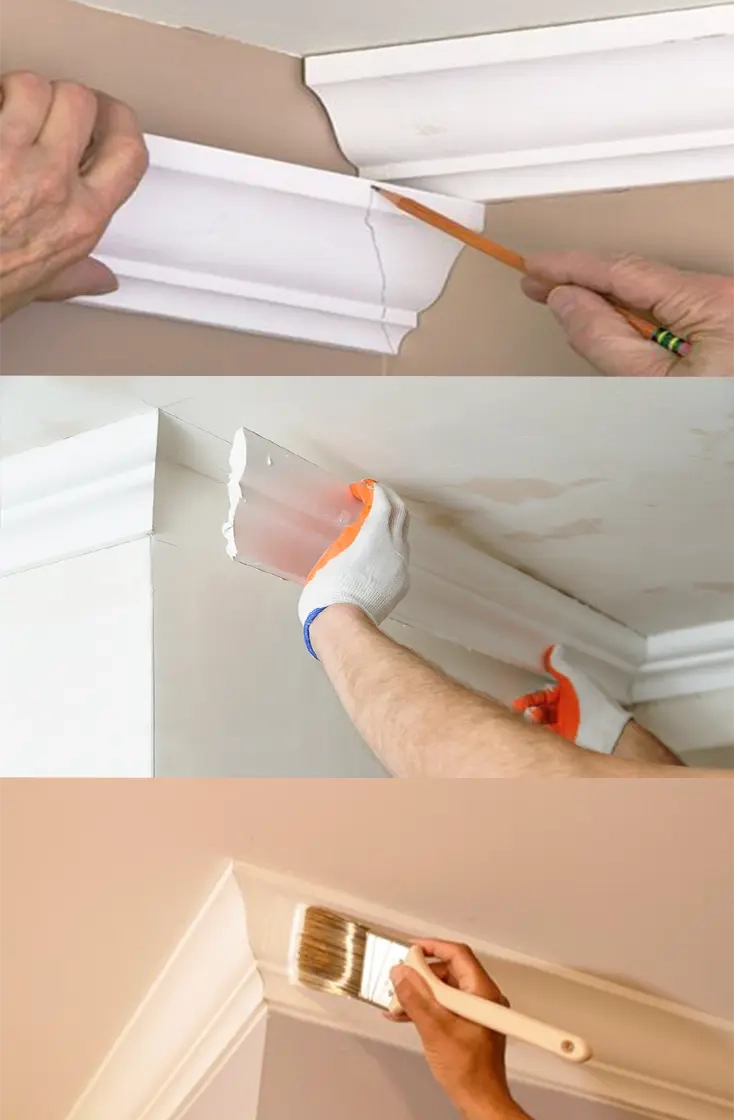
- Measure and Mark: Always measure twice, cut once. Start with your longest walls. Mark the location of your wall studs along the ceiling line – this is where you’ll nail your molding for security.
- Cut Your First Piece: Begin with an inside corner or a straight run. If starting with an inside corner, cut one piece square and cope the other. For outside corners, cut both miters.
- Test Fit: Before nailing, always dry-fit your pieces. Check your angles. Do they meet snugly? Are there any gaps? Make minor adjustments if needed.
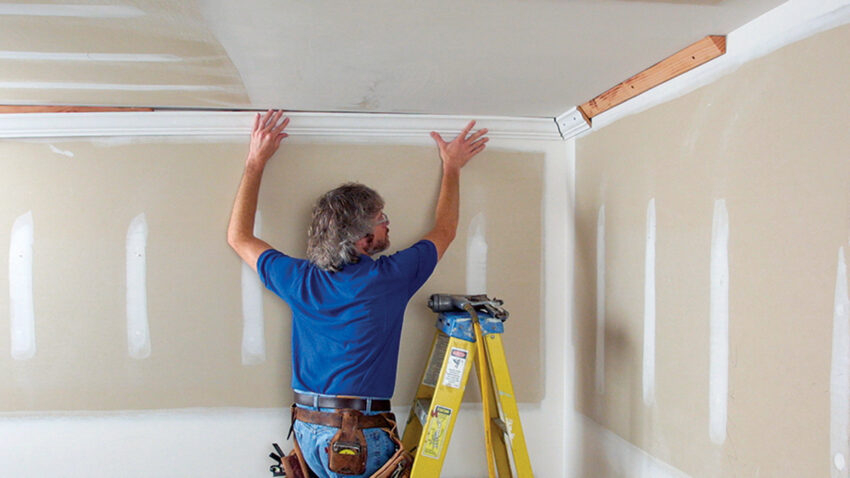
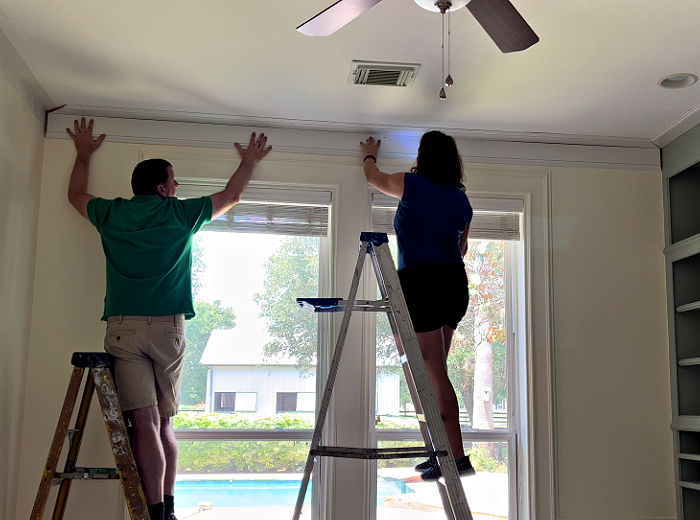
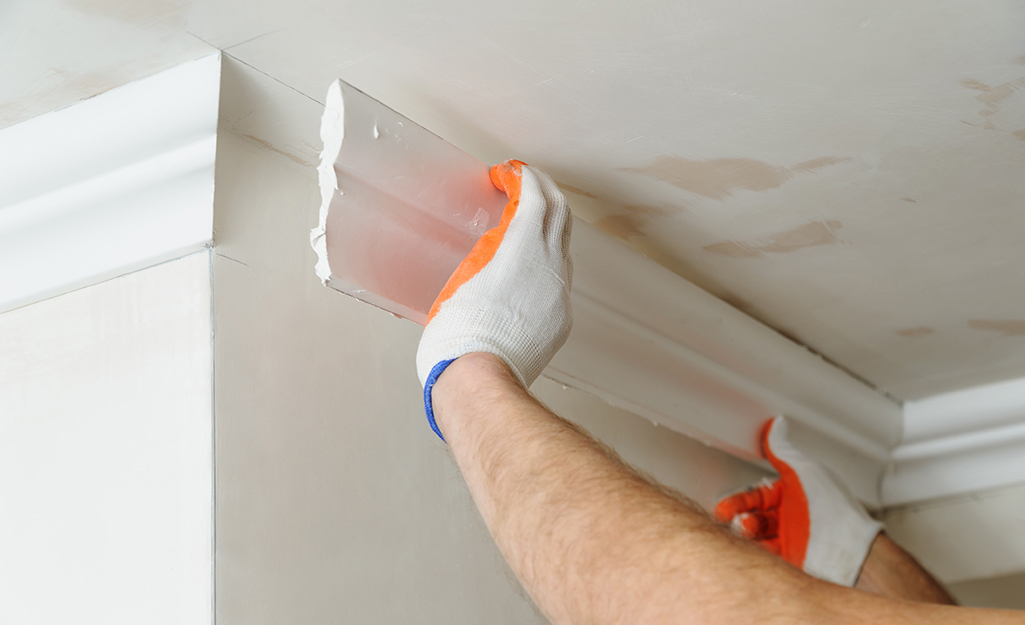
- Nail It Up: Apply a thin bead of wood glue to your mitered or coped joints for added strength. Position the molding and nail it into the studs using your nail gun. Angle your nails slightly for a better hold, going into both the wall and ceiling joists if possible.
- Work Around the Room: Continue cutting and installing, working your way around the room. Remember to measure each piece individually; don’t assume opposite walls are the same length.
- Butt Joints for Long Runs: For walls longer than your molding pieces, you’ll need a butt joint. Cut both ends at a 45-degree angle (one forward, one backward) to create a scarf joint. This joint is less noticeable than a straight butt joint and provides more surface area for glue.
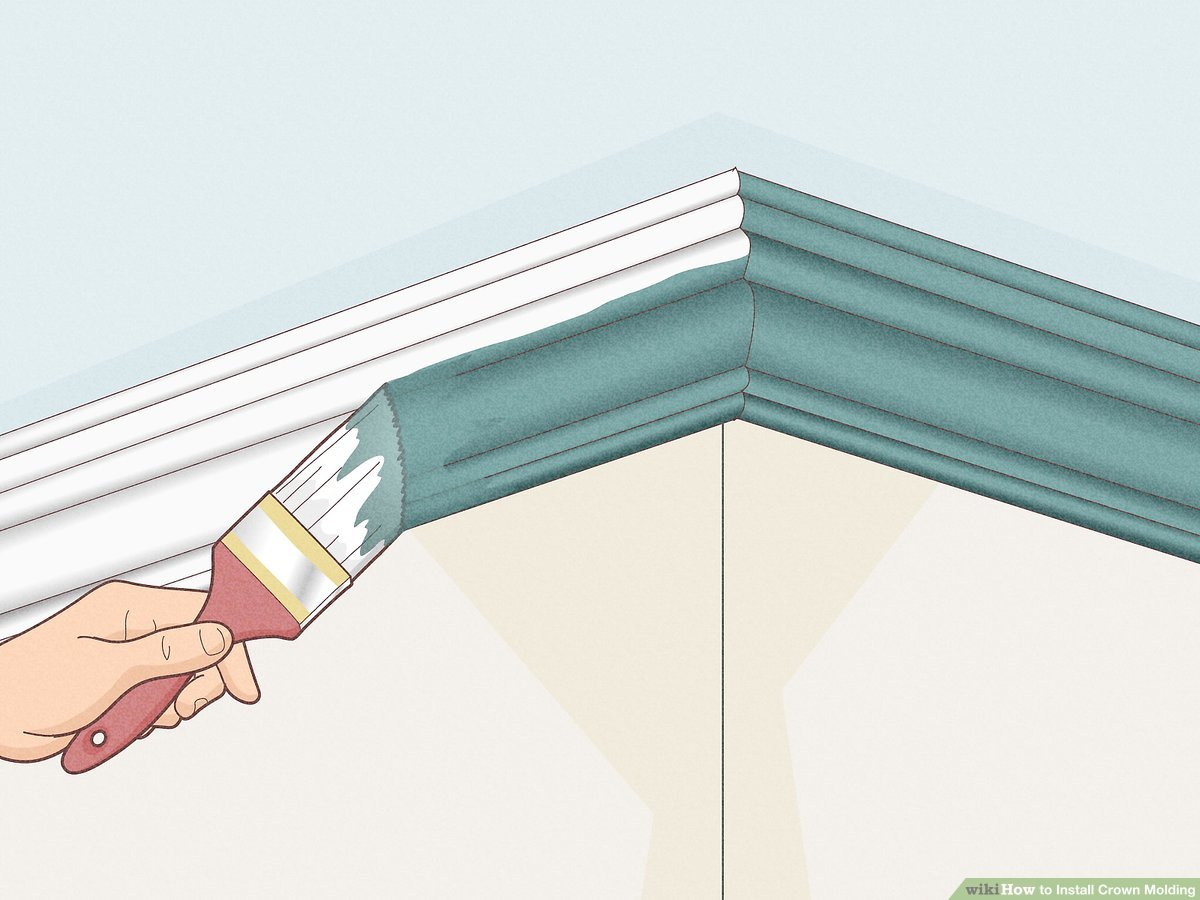
- Finishing Touches: Once all the molding is installed, it’s time for the magic. Fill all nail holes with wood filler and let it dry. Caulk any small gaps between the molding and the wall or ceiling with paintable caulk. Smooth with a wet finger. Once dry, sand lightly and then paint! This final stage truly transforms the work from ‘installed’ to ‘beautifully finished’.
Troubleshooting Common Pitfalls: When Things Go Sideways
Let’s be real, DIY projects rarely go off without a hitch. Crown molding presents its own set of unique challenges, but most can be overcome with a bit of know-how.
- Gaps in Corners: This is the most common issue. If you mitered inside corners, they will likely gap. This is why coping is superior. For existing gaps, a bead of caulk can hide smaller ones. For larger gaps, you might need to recut or use a bit of wood filler.
- Wavy Walls/Ceilings: Old houses, especially, rarely have perfectly straight surfaces. This can make fitting crown molding a nightmare. Don’t try to force the molding; you’ll just create more problems. Instead, nail the molding securely where you can, and then use caulk to fill any remaining gaps. For significant waves, sometimes a very thin shim behind the molding, hidden by caulk, can help.
- Splintering Wood: This happens, especially with cheaper wood or dull saw blades. Always use a sharp blade designed for fine cuts. If splintering occurs, wood filler and sanding can usually fix it.
- Measuring Errors: We’ve all been there. Cut a piece too short? Don’t despair. If it’s only slightly short, you might be able to cheat it with caulk and paint. Otherwise, chalk it up to a learning experience and recut. Better to waste a small piece of molding than have a glaring error.
- Uneven Ceilings: If your ceiling dips or rises, it can be a real headache. Try to follow the general line of the ceiling, even if it means the molding isn’t perfectly level. Visually, this is often less noticeable than a perfectly level molding with a huge gap above or below it. Again, caulk is your friend here.
Maintenance and Longevity: Keeping Your Crown Jewel Shining
Once your beautiful crown molding is installed and painted, you’ll want to keep it looking its best for years to come. The good news is that crown molding is relatively low maintenance.
Regular Cleaning: Dust can accumulate, so a quick wipe-down with a damp cloth or a feather duster during your regular cleaning routine is usually all that’s needed.
Addressing Cracks: Over time, especially with changes in temperature and humidity, small hairline cracks can appear in the caulk joints. This is entirely normal. Simply reapply a thin bead of paintable caulk, smooth it, and touch up with paint. This is a simple fix that keeps your molding looking fresh.
Paint Touch-Ups: If your molding gets scuffed or dinged, a quick touch-up with the original paint color will make it look new again. Keep a small amount of your molding paint on hand for this purpose.
Pest Control: While not common, in older homes, sometimes pests like carpenter ants can find their way into wood trim. Regular inspections and addressing any moisture issues will help prevent this.
By following these simple maintenance tips, your crown molding will continue to enhance your home’s beauty and value for decades. It’s an investment not just in your home’s appearance, but in your own DIY prowess!
From the initial trepidation to the final stroke of paint, the journey of installing crown molding is incredibly rewarding. It’s a project that truly transforms a room, adding a layer of architectural elegance that speaks volumes about attention to detail. I’ve seen countless homeowners, initially daunted, emerge from this challenge with a newfound sense of accomplishment. Remember, perfection isn’t the goal; progress and a beautiful, finished product are. The minor imperfections are often part of the charm, a testament to your hands-on effort. So, take a deep breath, arm yourself with the right tools and knowledge, and step boldly into the world of crown molding. You’ll not only elevate your home but also your own DIY confidence. The crown is waiting for you to install it. And trust me, the view from the top is absolutely worth it.
[sps_html tag=”img” src=”https://cdn.theartssection.com/wp-content/uploads/2025/07/a-complete-guide-to-crown-molding-adding-elegance-to-your-home-in-scaled.jpg” alt=”A Complete Guide To Crown Molding: Adding Elegance To Your Home … in” style=”width: 100%; height: auto;”]
[sps_html tag=”img” src=”https://cdn.theartssection.com/wp-content/uploads/2025/07/transform-your-room-a-guide-to-installing-crown-molding-pertaining-to-crown-molding-installation-demystified-a-homeowners-perspective.jpg” alt=”Transform Your Room: A Guide To Installing Crown Molding pertaining to Crown Molding Installation Demystified A Homeowner's Perspective” style=”width: 100%; height: auto;”]
[sps_html tag=”img” src=”https://cdn.theartssection.com/wp-content/uploads/2025/07/how-to-install-crown-molding-quick-guide-with-pictures-homeowner-with-regard-to.jpg” alt=”How To Install Crown Molding (Quick Guide With Pictures) | Homeowner … with regard to” style=”width: 100%; height: auto;”]
[sps_html tag=”img” src=”https://cdn.theartssection.com/wp-content/uploads/2025/07/how-to-cut-crown-molding-using-easy-templates-artofit-with.gif” alt=”How To Cut Crown Molding Using Easy Templates – Artofit with” style=”width: 100%; height: auto;”]
[sps_html tag=”img” src=”https://cdn.theartssection.com/wp-content/uploads/2025/07/crown-molding-fresh-effects-painting-inside.webp” alt=”Crown Molding | Fresh Effects Painting inside” style=”width: 100%; height: auto;”]