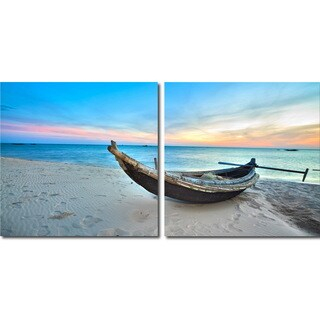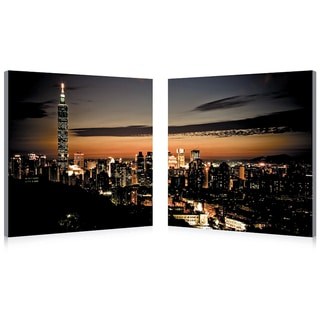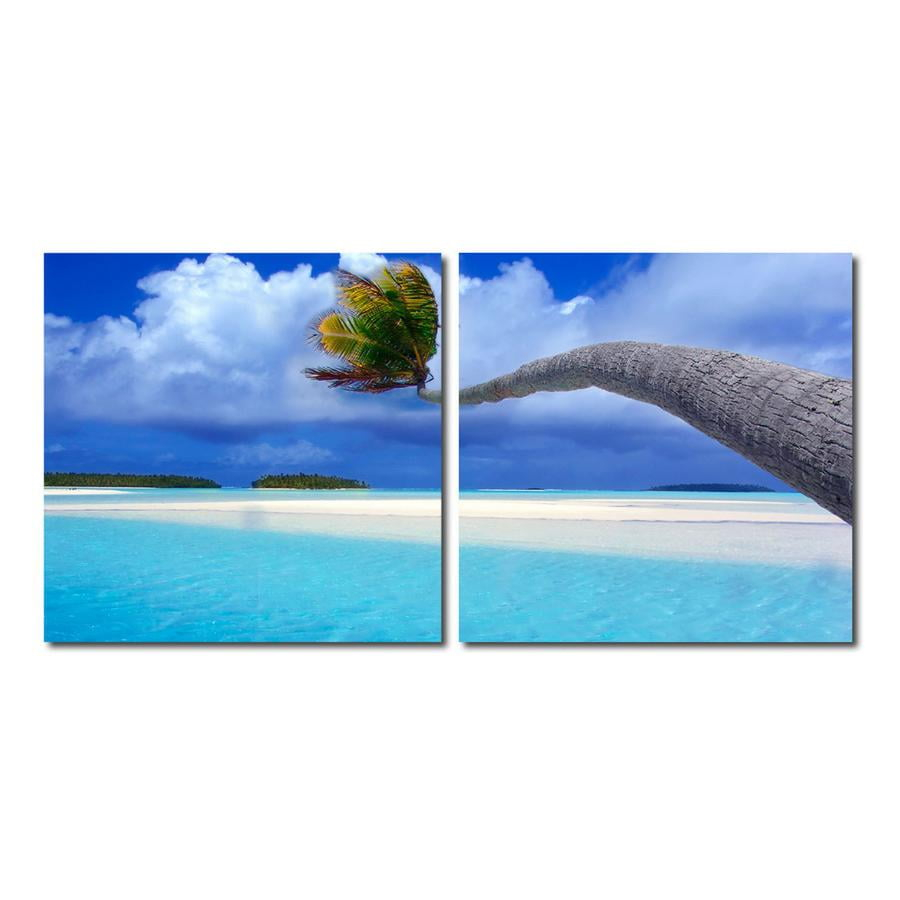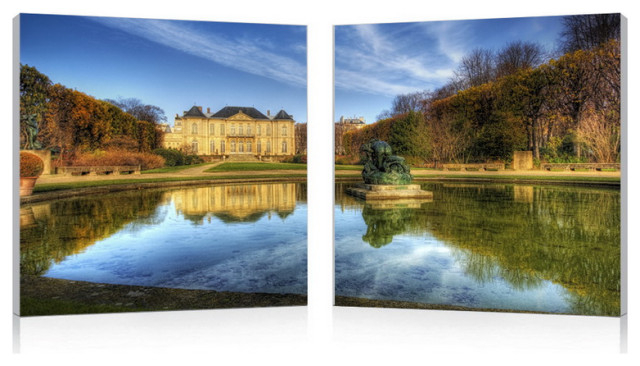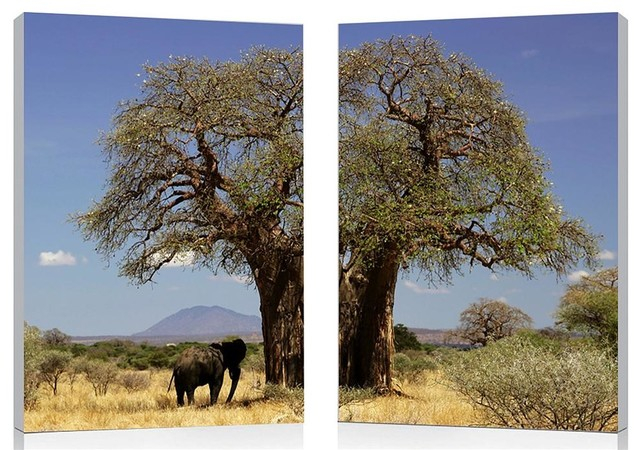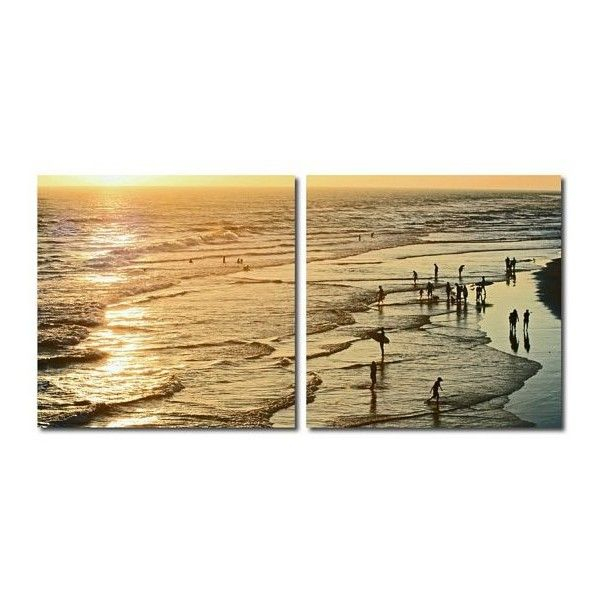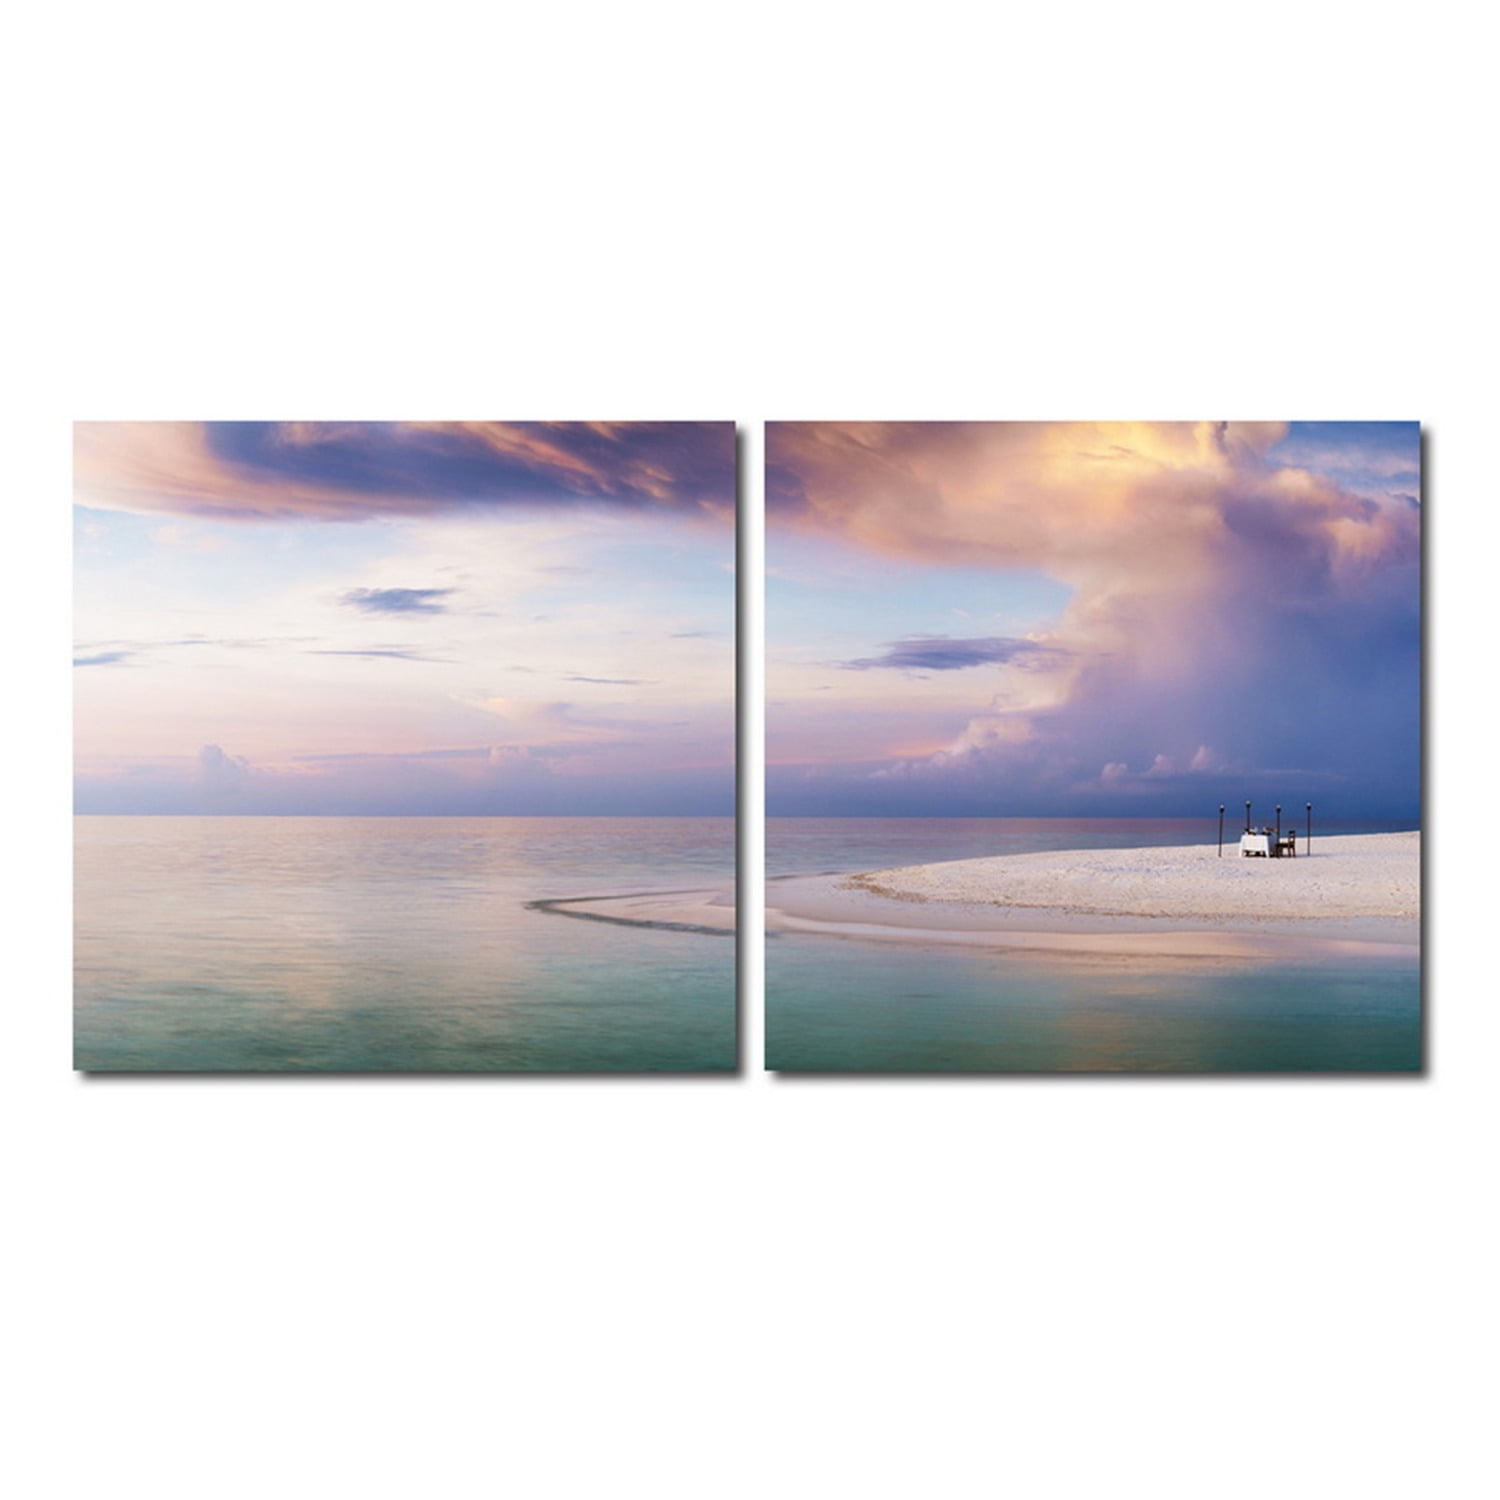
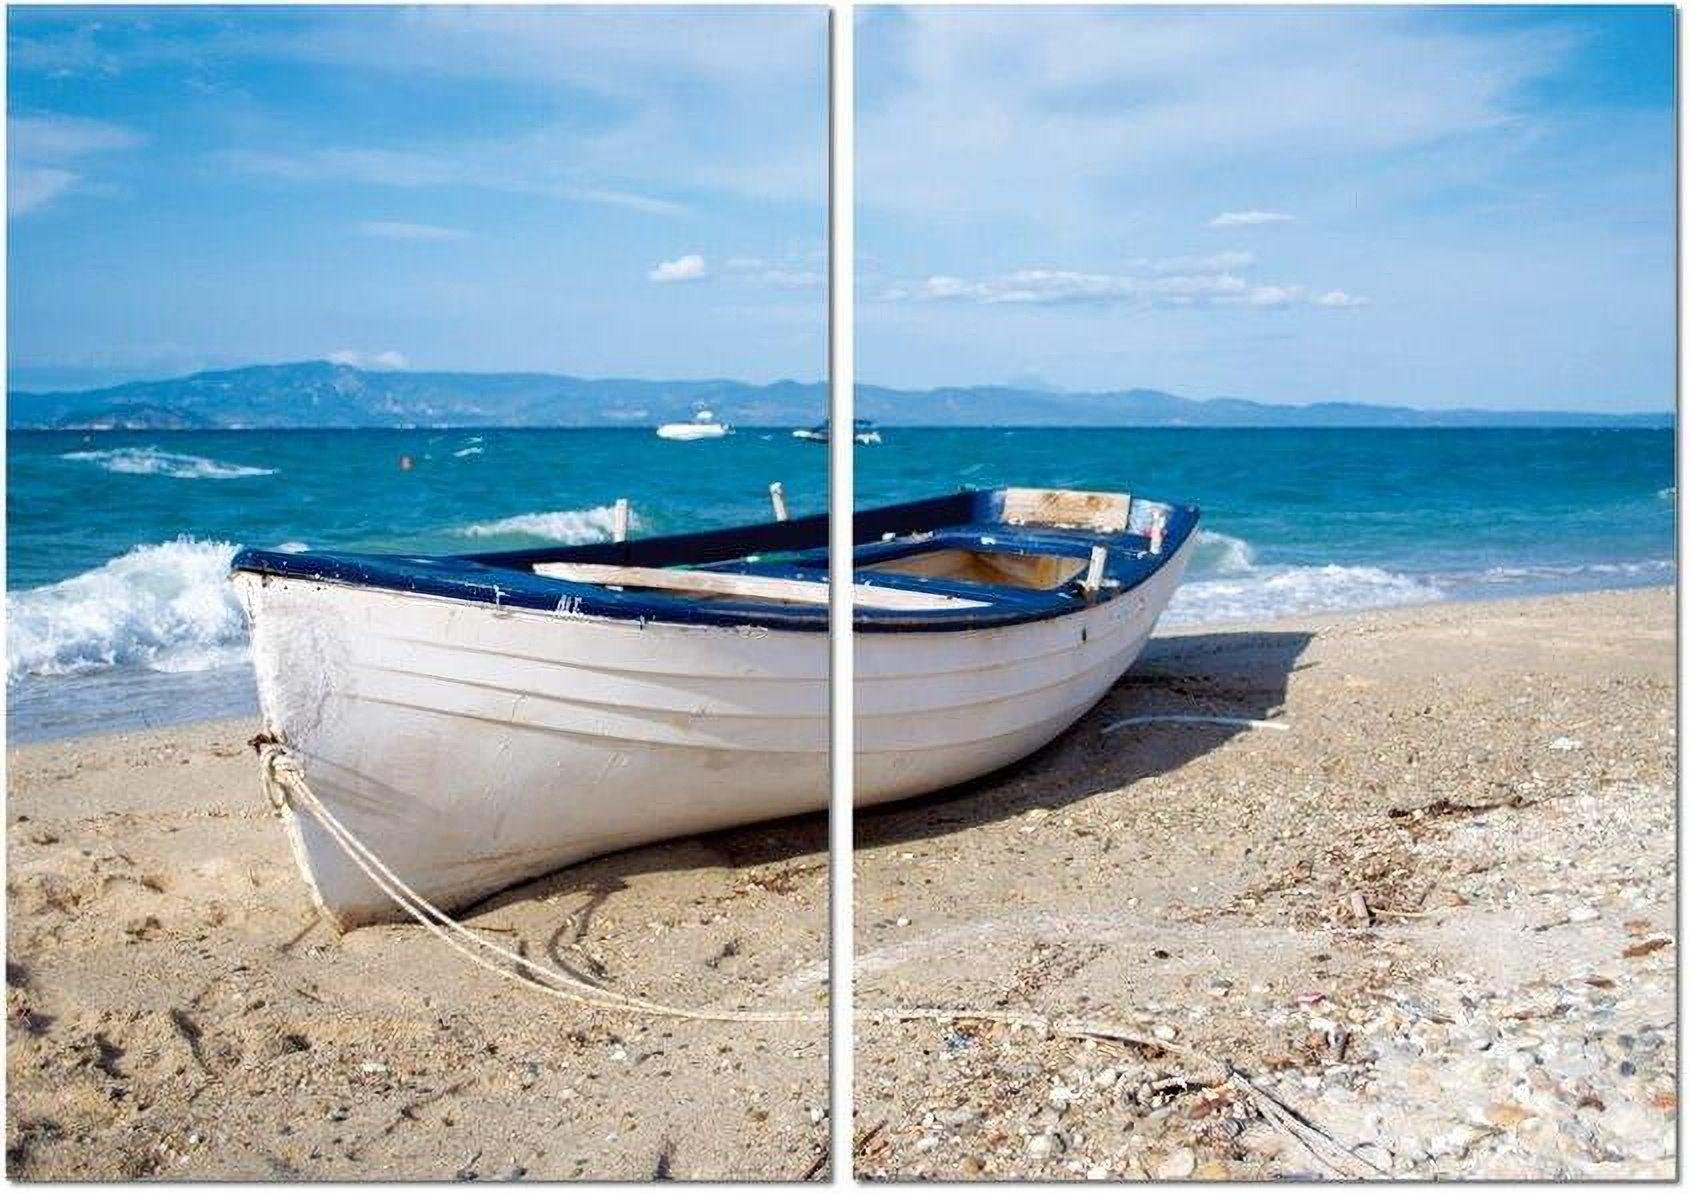
The diptych – a pair of photographs presented side-by-side – is a powerful tool in the photographer’s toolbox. It’s more than just two pictures next to each other; it’s a conversation, a visual poem, a chance to tell a story that’s greater than the sum of its parts. This article will navigate the ins-and-outs of this remarkable format, providing you with insights and practical tips to craft your own compelling diptychs. Get ready to explore the realm of visual storytelling and unlock the potential of two images to create a powerful impact.
Photography, at its core, is about capturing moments and conveying thoughts. But what if you could tell a more complex, more nuanced story with just two images? That’s the magic of the diptych. This format, borrowed from the art world, offers photographers a unique way to engage their audience. It allows for comparisons, contrasts, and the creation of unexpected connections. From the subtle to the striking, the diptych format can elevate your work and change the way you see the world.
Understanding the Diptych: More Than Just Two Photos
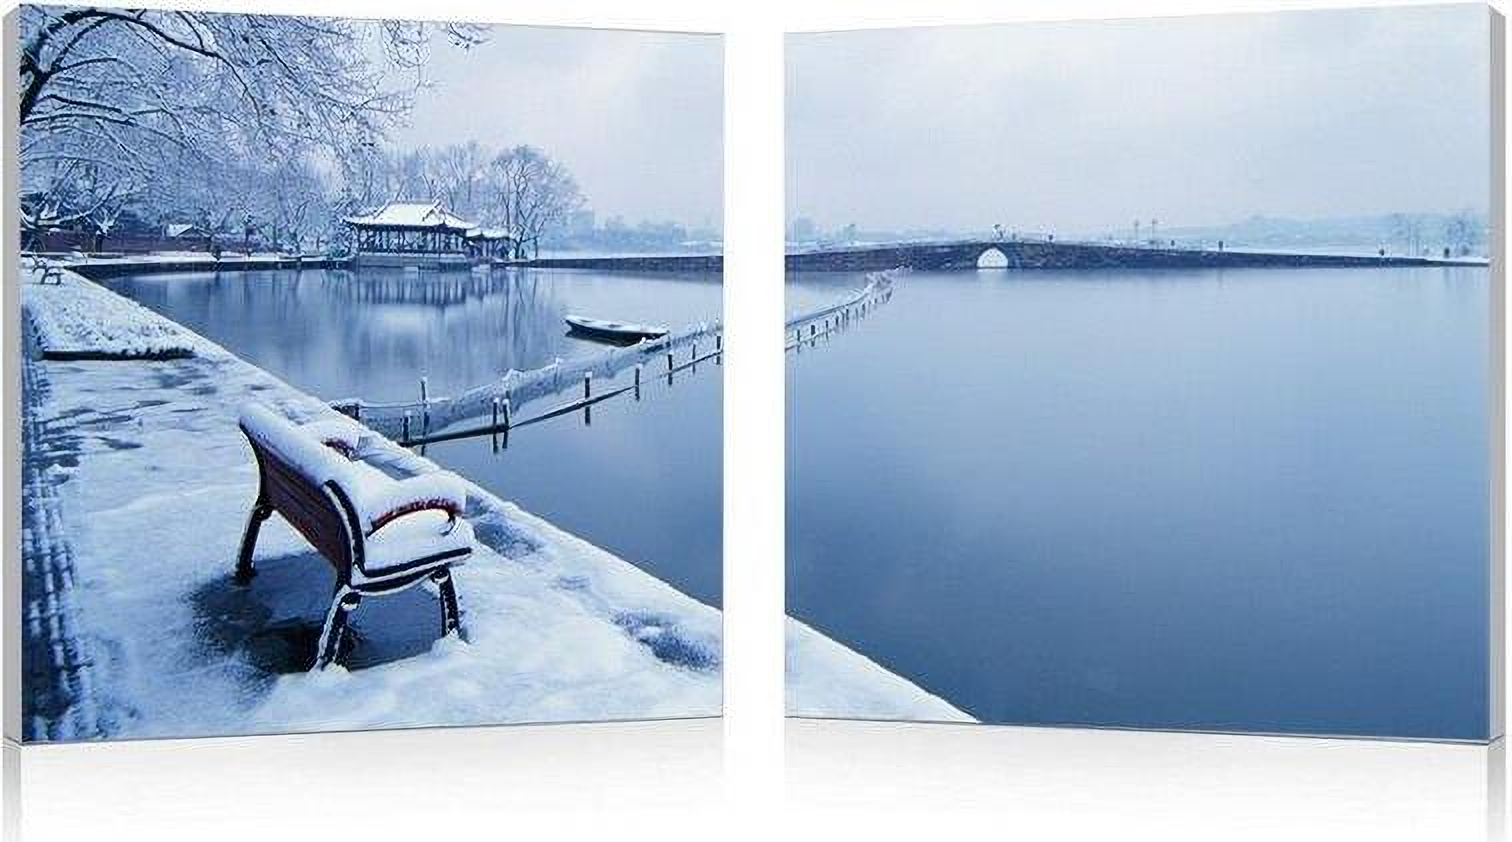
At its heart, a diptych is a pair of images intended to be viewed together. But the true power of a diptych comes from the relationship between those two images. They can be similar, contrasting, or even seemingly unrelated; the key is that they interact. This interaction can manifest in several ways:
- Contrast: Juxtaposing images with opposite themes, styles, or colors. Think light and shadow, old and new.
- Comparison: Showing two sides of a subject, or two instances of the same event.
- Narrative: Telling a story across two frames, perhaps showing a before-and-after or cause-and-effect.
- Conceptual: Creating a visual metaphor or exploring an abstract idea through the pairing.
It’s about creating a dialogue, a call and response between the images. The viewer’s mind actively works to bridge the gap, to find the connection, and in doing so, becomes an active participant in the storytelling.
Finding the Right Pair: Conceptualizing Your Diptych
The most crucial step is the concept. What story do you want to tell? What message do you want to convey? Here are some ideas to get you started:
- Thematic Exploration: Choose a broad theme – ‘urban decay,’ ‘human connection,’ or ‘the passage of time’ – and find two images that explore that theme in different ways.
- Visual Echoes: Look for similar shapes, colors, or patterns in your images. These visual links can create a sense of harmony or tension.
- Opposites Attract: Consider pairing images that are in direct contrast – a busy street scene beside an empty beach, for example.
- Character Study: Use one image to introduce a person or place, and the second to reveal something about their personality or environment.
Think about the emotions you want to evoke. Do you want to create a sense of unease, joy, or curiosity? The concept will drive your image selection – and it is this that will make your diptych truly unforgettable.
Technical Considerations: Composition and Presentation
Once you have your concept, it’s time to think about the technical aspects. This includes:
- Image Selection: Choose photos that are technically sound – well-exposed, in focus, and with a strong composition. This is a must.
- Matching Styles: Consider if the images should have a similar style (black and white, color, film grain) to create cohesion or if a stark contrast is more fitting for your concept.
- Compositional Flow: Think about how the images will flow together. Does one image lead the eye to the other? Do the images interact in a way that strengthens the overall impact?
- Spacing: The space between the images is crucial. Too much space, and they feel disconnected. Too little, and they feel cramped. Experiment to find the right balance.
- Presentation: Consider how you’ll present the diptych. Will it be printed, displayed online, or both? Think about the size, framing, and any accompanying text.
Real-World Examples: Inspiring Diptychs and How They Work
Let’s look at some examples and break down what makes them so effective:
Example 1: The ‘Before and After’: Imagine a diptych showing a weathered, abandoned building next to a photograph of its newly renovated interior. This juxtaposition creates a clear narrative of restoration and change. The viewer immediately understands the transition and the story it tells.
Example 2: The ‘Visual Rhyme’: Perhaps you have two images; one of a close-up of a wrinkled hand and another of the bark of an old tree. The textures and patterns create a visual connection, suggesting themes of age, time, and resilience. The images work together to create a more profound meaning.
Example 3: The ‘Contrast’: A diptych that presents a vibrant, crowded market scene next to a tranquil, empty landscape. The contrasting images highlight the differences between nature and civilization, or perhaps the energy of a bustling city and the peace of the countryside. The contrast makes the viewers think about the images differently.
By studying these examples, you can start to recognize the different strategies used to create compelling diptychs and apply them to your own work.
Tips for Creating Powerful Diptychs
Here are some practical tips to help you create effective diptychs:
- Shoot with the Diptych in Mind: If you know you want to create a diptych, shoot with both images in mind. Look for opportunities for the pair to work together.
- Take Your Time: Don’t rush the process. Experiment with different pairings, angles, and compositions.
- Get Feedback: Show your diptychs to others and ask for their feedback. Fresh eyes can often see connections you missed.
- Edit Intentionally: Don’t be afraid to edit your images to create a stronger visual connection. This might involve adjusting the color, contrast, or cropping.
- Embrace Experimentation: Don’t be afraid to experiment with different concepts and styles. The best diptychs often come from trying something new.
- Be Patient: Creating a great diptych takes time and practice, so don’t be disheartened if your first attempts aren’t perfect. Keep practicing, and you’ll get there.
Beyond the Basics: Expanding Your Diptych Horizons
Once you’ve mastered the basics, you can begin to experiment and push the boundaries of the diptych format.
- Thematic Series: Create a series of diptychs that explore a specific theme or concept in depth. This allows you to create a more cohesive and comprehensive body of work.
- Combining Media: Consider incorporating other media, such as text or audio, to enhance your diptychs.
- Interactive Diptychs: Create diptychs that invite audience interaction, such as those that change depending on the viewer’s perspective.
- Unconventional Pairings: Don’t be afraid to try unconventional pairings and break the ‘rules’. The most innovative diptychs often come from pushing the limits of the format.
The key is to keep exploring, keep experimenting, and keep telling stories.
The diptych format is a powerful tool for visual storytelling. It encourages photographers to think beyond individual images and to consider the relationship between images. By understanding the principles of the diptych – from concept and composition to presentation – you can harness its potential to create captivating and thought-provoking work. So go out there, find your pairs, and start telling your stories, two images at a time. The world is waiting to see what you create; don’t be afraid to create something amazing. And remmember, the best art often comes from pushing boundaries and trying new things. Happy shooting and keep exploring the world of photography.
[sps_html tag=”img” src=”https://cdn.theartssection.com/wp-content/uploads/2025/05/baxton-studio-cerulean-stillness-mounted-photography-print-diptych-inside-baxton-studio-port-elizabeth-nightlife-mounted-photography-print-diptych.jpg” alt=”Baxton Studio Cerulean Stillness Mounted Photography Print Diptych … inside Baxton Studio Port Elizabeth Nightlife Mounted Photography Print Diptych” style=”width: 100%; height: auto;”]
[sps_html tag=”img” src=”https://cdn.theartssection.com/wp-content/uploads/2025/05/baxton-studio-wading-in-the-waves-mounted-photography-print-diptych-intended-for-a-deep-dive-into-the-diptych-format-in-photography.jpg” alt=”Baxton Studio Wading In The Waves Mounted Photography Print Diptych intended for A Deep Dive into the Diptych Format in Photography” style=”width: 100%; height: auto;”]
[sps_html tag=”img” src=”https://cdn.theartssection.com/wp-content/uploads/2025/05/baxton-studio-french-chateaux-mounted-photography-print-diptych-in-baxton-studio-port-elizabeth-nightlife-mounted-photography-print-diptych.jpg” alt=”Baxton Studio French Chateaux Mounted Photography Print Diptych … in Baxton Studio Port Elizabeth Nightlife Mounted Photography Print Diptych” style=”width: 100%; height: auto;”]
[sps_html tag=”img” src=”https://cdn.theartssection.com/wp-content/uploads/2025/05/baxton-studio-windswept-palm-mounted-photography-print-diptych-with-baxton-studio-port-elizabeth-nightlife-mounted-photography-print-diptych.jpeg” alt=”Baxton Studio Windswept Palm Mounted Photography Print Diptych … with Baxton Studio Port Elizabeth Nightlife Mounted Photography Print Diptych” style=”width: 100%; height: auto;”]
[sps_html tag=”img” src=”https://cdn.theartssection.com/wp-content/uploads/2025/05/baxton-studio-tree-of-life-mounted-photography-print-diptych-throughout-baxton-studio-port-elizabeth-nightlife-mounted-photography-print-diptych.jpg” alt=”Baxton Studio Tree Of Life Mounted Photography Print Diptych … throughout Baxton Studio Port Elizabeth Nightlife Mounted Photography Print Diptych” style=”width: 100%; height: auto;”]