In the ever-evolving realm of digital storytelling, the ability to craft immersive and convincing worlds is paramount. One of the most powerful tools at our disposal is the skillful application of light and shadow within 3D tile environments. This article serves as a comprehensive guide, helping you understand and implement these techniques to elevate your visual narratives and make them truly unforgettable. We’ll journey through the fundamentals and advance to advanced strategies, equipping you with the knowledge and inspiration to create breath-taking scenes. Get ready to illuminate your creativity.
Imagine standing in a bustling city square, bathed in the warm glow of the setting sun. Or, picture yourself exploring a mysterious forest, where dappled sunlight dances through the leaves, casting intricate shadows on the forest floor. These experiences, so vivid and real, are often achieved through the clever interplay of light and shadow. When it comes to 3D tile visualizations, these elements become even more crucial. They’re not just aesthetic enhancements; they are the very foundations of realism, depth, and emotional impact. Mastering the art of integrating 3D tiles with light and shadow is about more than just making things look pretty; it’s about telling stories, evoking feelings, and transporting your audience to another world. We will unpack the secrets of this amazing skill.
Understanding the Basics: Light, Shadow, and 3D Tiles
Before we dive into the nitty-gritty, let’s establish a solid foundation. In any 3D environment, light is the source of illumination, and shadow is the absence of it. Shadows are created when an object blocks the path of light. The type, direction, and intensity of light, as well as the characteristics of the surfaces it interacts with, determine the appearance of the shadows.
3D tiles, on the other hand, are pre-modeled, reusable assets that make up your environment. Think of them as building blocks for your digital world. They can represent anything from buildings and roads to trees and rocks. The effectiveness of your 3D tile visualizations hinges on how well you integrate these tiles with light and shadow. Here’s why:
- Realism: Proper lighting and shadowing add depth and make the scene seem real.
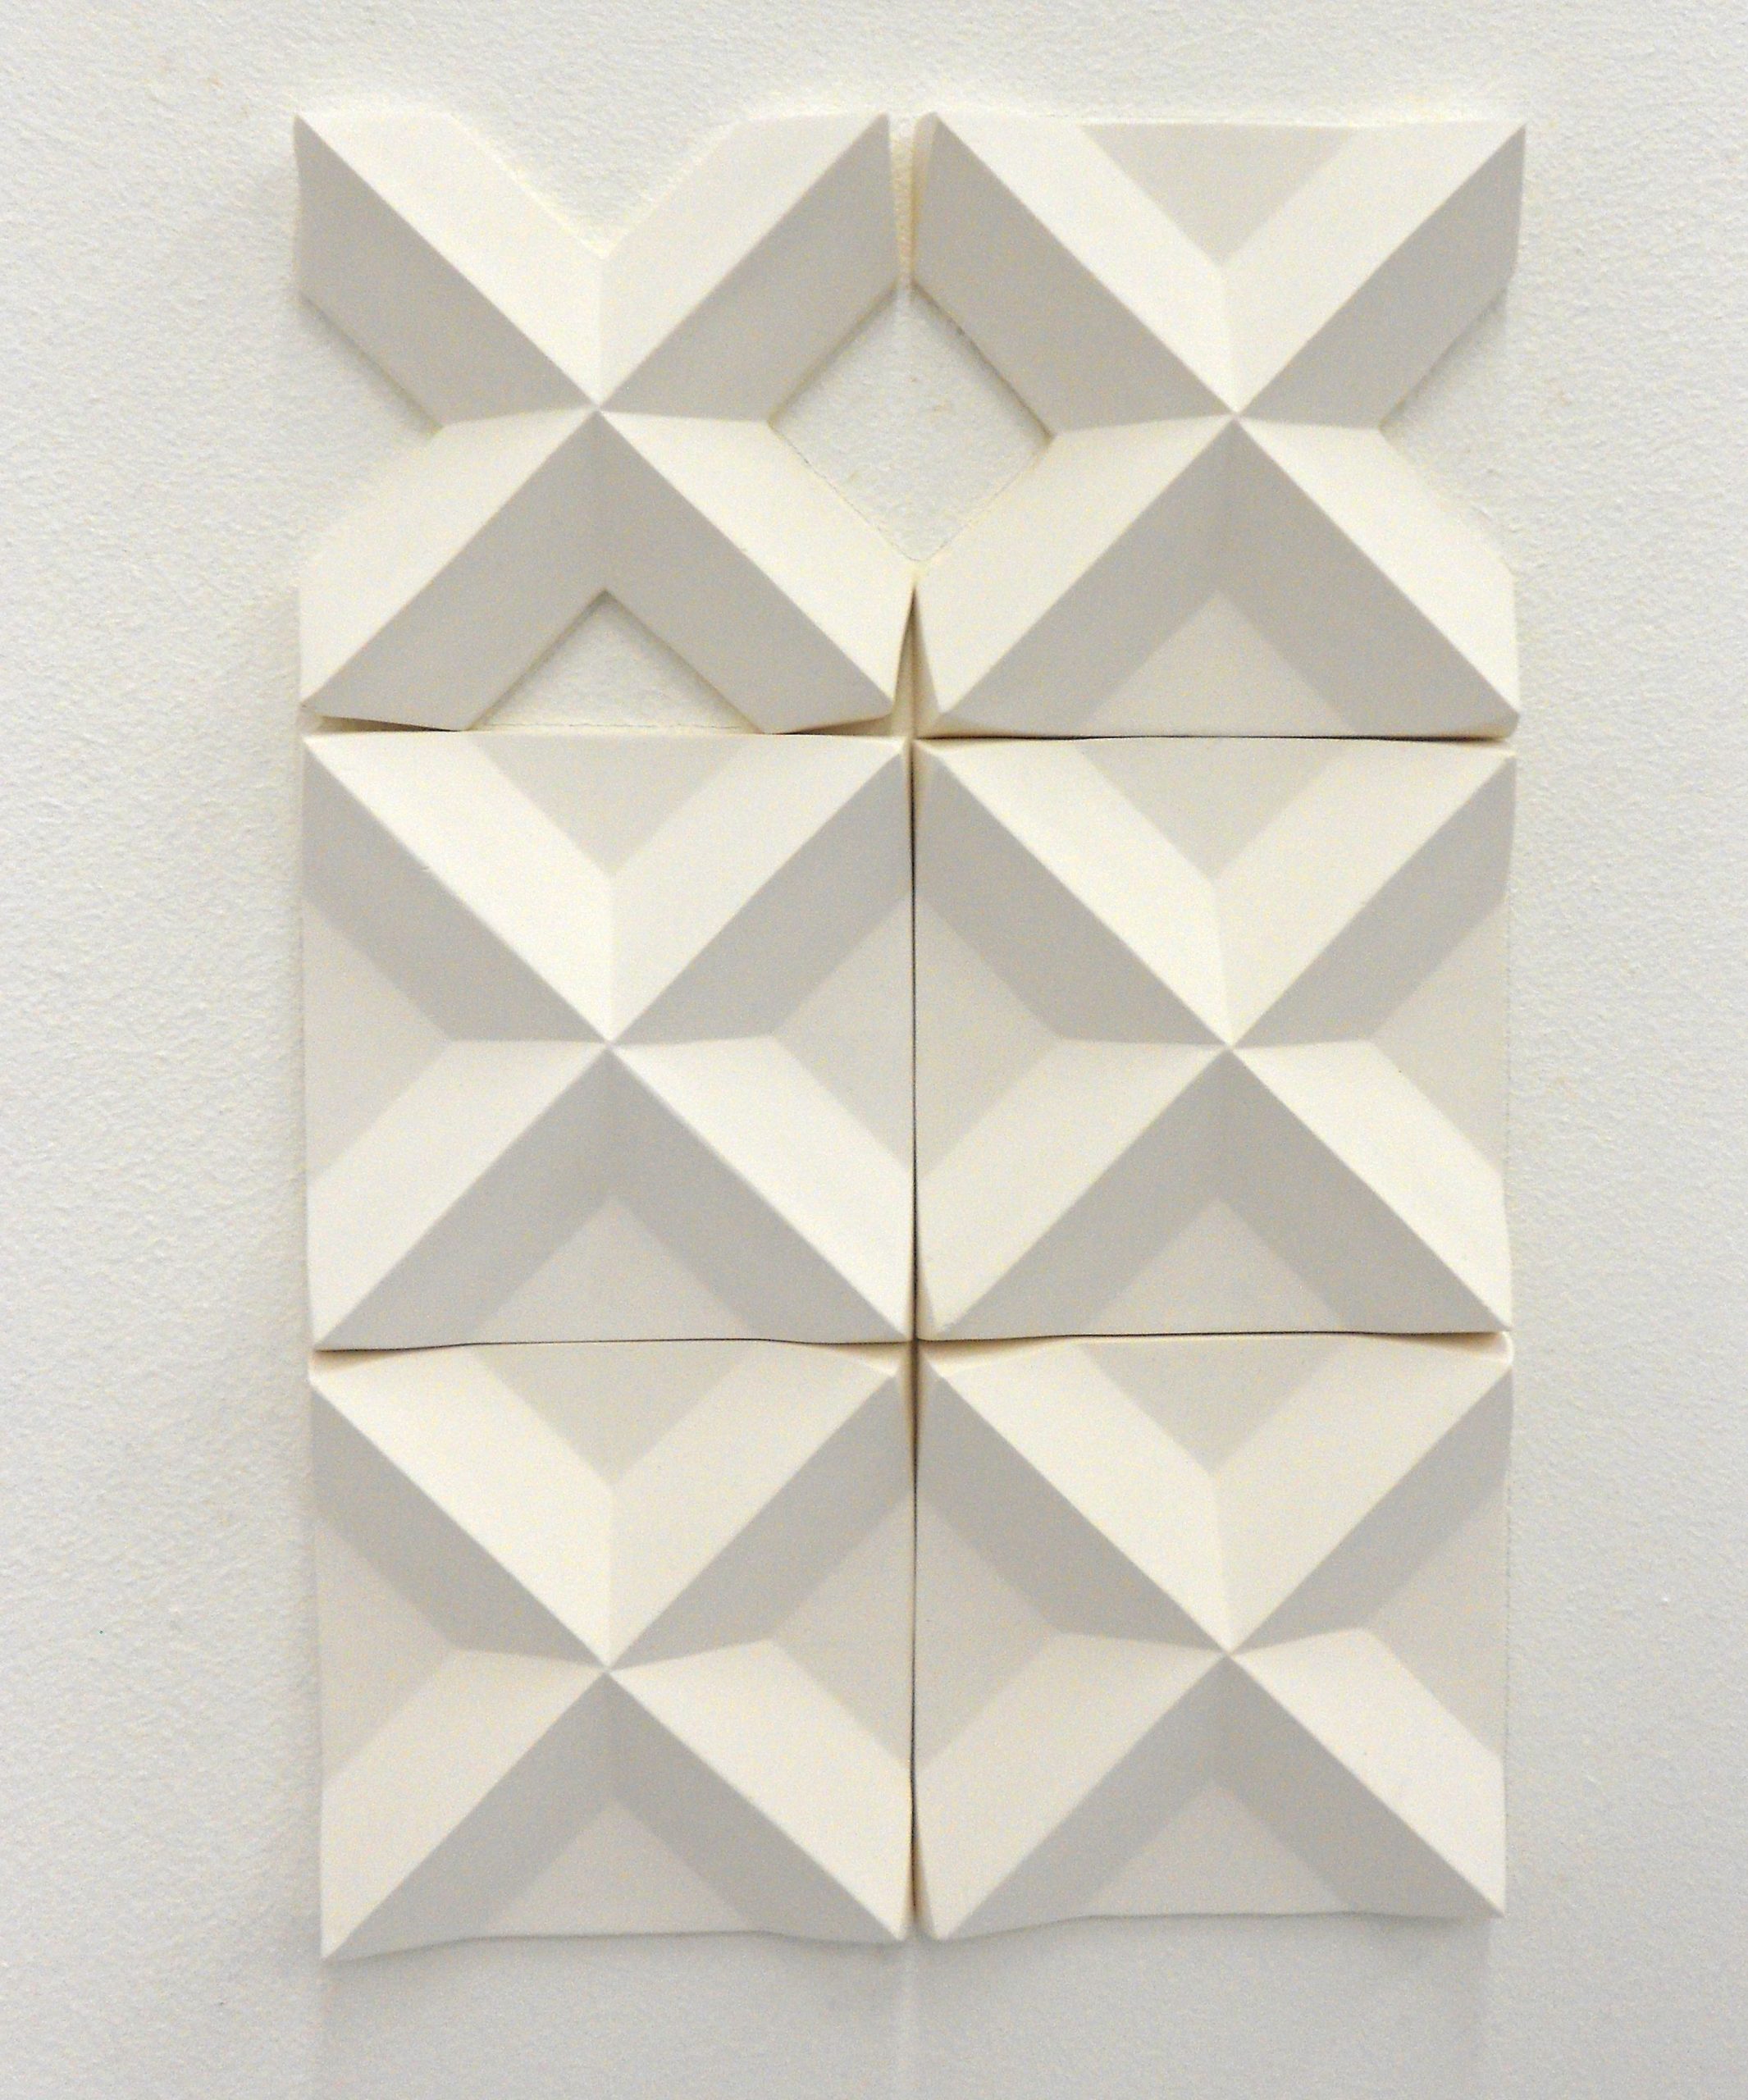
- Depth and Dimension: Shadows create the illusion of depth, making objects appear three-dimensional.
- Atmosphere: Light and shadow can set the mood, from a sunny day to a dark, spooky night.
- Focus: Lighting can guide the viewer’s eye and highlight important elements in your scene.
It sounds complicated, but it’s really a process. Let’s get started!
Types of Light and Their Impact on Shadows
Different types of lights cast different kinds of shadows. Understanding these differences is key to achieving the desired effect.
- Directional Light: Simulates sunlight. It casts parallel shadows that stretch across the scene. These shadows are often sharp, depending on the sun’s angle.
- Point Light: Radiates light equally in all directions, like a light bulb. Shadows are softer and get less intense the further they are from the light source.
- Spot Light: A cone-shaped light source, like a flashlight. It creates focused shadows that change shape depending on the angle.
- Ambient Light: A global light source that illuminates everything in the scene, without shadows. It’s used to brighten the scene and reduce the harshness of shadows, but it’s important to use it sparingly so that you don’t wash out the scene.
Experimenting with these various light types is essential. Try mixing them to achieve a more dynamic and realistic look. For example, you might use a directional light for the sun and add point lights to simulate street lamps at night. Or even use a spot light for a dramatic effect.
Mastering Shadow Techniques within 3D Tile Environments
The way shadows interact with 3D tiles is crucial. Here are some techniques to consider:
- Shadow Maps: These are pre-calculated images that store information about shadows. They’re a common way to render shadows quickly, especially in large environments. Be sure to adjust the resolution of your shadow maps for optimal detail. High resolutions will give better shadows, but will take more processing power.
- Ray Tracing: A more advanced technique that simulates the path of light rays. Ray tracing produces very realistic shadows, but can be computationally intensive. Its a great tool to use for more detailed scenes.
- Soft Shadows vs. Hard Shadows: The softness or hardness of a shadow depends on the light source’s size and distance. A larger light source will create softer shadows, while a smaller light source will create harder shadows. Consider this when setting up your scene.
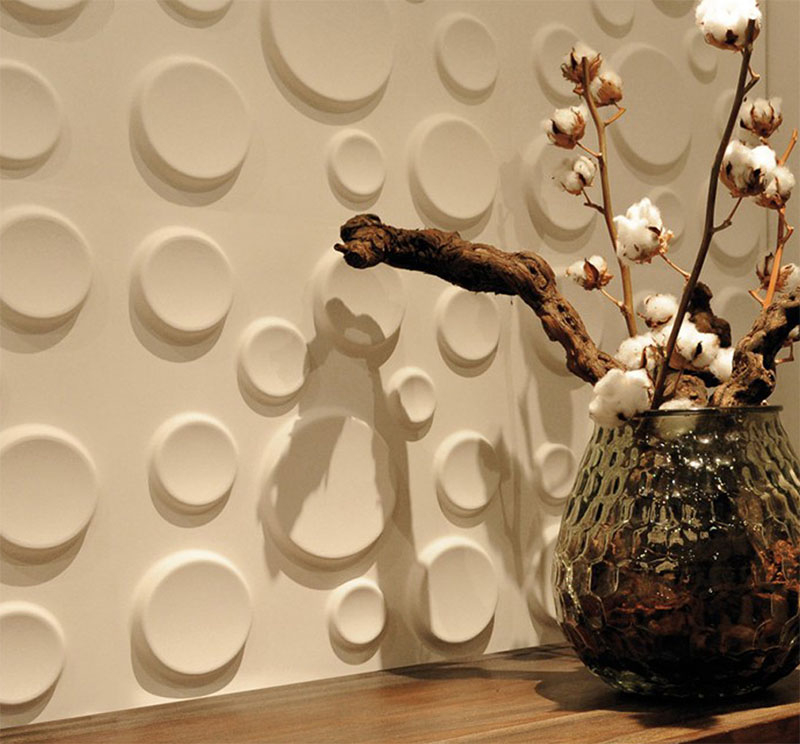
- Contact Shadows: These are small shadows near the point of contact between an object and a surface. They add depth and realism. They are great for making things look like they are really touching the surface.
- Baking Shadows: Pre-calculating the shadows and applying them to your 3D tiles can optimize performance, especially for static scenes. This can be a big help for performance.
Material Properties and Their Role in Light Interaction
The materials of your 3D tiles greatly influence how light interacts with them. Different materials reflect, absorb, and scatter light in different ways.
- Diffuse Materials: These materials scatter light evenly, creating a matte appearance. Think of a rough concrete surface. They’re great for giving a lot of detail.
- Specular Materials: These materials reflect light in a concentrated manner, creating highlights. Consider a shiny metal surface. This adds a lot of contrast.
- Roughness/Glossiness: These properties control how sharp or blurred the reflections are. Rough surfaces have blurred reflections, while glossy surfaces have sharp reflections.
- Transparency/Opacity: These properties determine how much light passes through a material. Transparent materials allow light to pass through, while opaque materials block it.
Experiment with different material properties to create a variety of effects. For example, a wet road surface will have a higher level of glossiness than a dry one. Also, try using different materials for different parts of the scene.
Practical Tips for Integrating Light and Shadow with 3D Tiles
Here are some actionable tips you can use to improve your 3D tile visualizations:
- Plan Your Lighting: Before you start, think about the time of day, the weather, and the mood you want to create. This will influence your choice of lighting.
- Use Realistic Light Colors: Avoid unrealistic colors. The sun is typically warm (yellow/orange), and shadows are typically cooler (blue/gray).
- Consider the Environment: Take into account the surrounding environment. For example, a building will cast shadows on the surrounding tiles.
- Balance Light and Shadow: Don’t overdo it. Too much light can wash out the scene, and too much shadow can make it look gloomy. Find a good balance.
- Pay Attention to Detail: Small details, such as contact shadows and subtle reflections, can make a big difference.
- Optimize for Performance: Complex lighting setups can be computationally expensive. Use techniques like baking shadows and optimizing your material properties to improve performance.
- Iterate and Refine: Don’t be afraid to experiment and make adjustments. Lighting is an art, and it takes practice to master it.
And one more, don’t be afraid to fail. Its how we learn!
Real-World Examples and Case Studies
To truly understand the power of light and shadow in 3D tile visualizations, let’s look at some real-world examples:
- Cityscapes: Imagine a sprawling cityscape at dusk. The warm glow of streetlights contrasts with the cool shadows cast by towering skyscrapers. This is a perfect example of using light to create atmosphere and guide the viewer’s eye.
- Forest Scenes: Picture a dense forest scene, with sunlight filtering through the trees, creating dappled shadows on the forest floor. This uses the interplay of light and shadow to create depth and realism.
- Historical Reconstructions: Consider a reconstruction of an ancient city, where the angle of the sun is used to realistically depict the time of day and the shadows cast by the buildings. This adds a sense of history and context.
These examples illustrate the wide range of applications for light and shadow in 3D tile visualizations. By studying these examples, you can gain inspiration and learn how to apply these techniques in your own projects. See how they utilize different methods to draw the eye. And don’t be afraid to try something new.
Crafting compelling visual stories with 3D tiles, light, and shadow is a journey, not a destination. By understanding the fundamentals, experimenting with different techniques, and paying attention to detail, you can transform your digital environments from static scenes into vibrant, engaging experiences. Remember that the key is to tell a story, evoke emotions, and transport your audience to another world. So, go forth, experiment with light and shadow, and unlock the full potential of your visual narratives. The only limit is your imagination. Go create, and most importantly, have fun. Good luck, and happy creating.
[sps_html tag=”img” src=”https://cdn.theartssection.com/wp-content/uploads/2025/06/pin-on-3d-wall-tiles-intended-for-texture-light-and-shadow-the-creative-possibilities-of-3d-tile-in-design-scaled.jpg” alt=”Pin On 3D Wall Tiles intended for Texture, Light, and Shadow The Creative Possibilities of 3D Tile in Design” style=”width: 100%; height: auto;”]
[sps_html tag=”img” src=”https://cdn.theartssection.com/wp-content/uploads/2025/06/25-creative-3d-wall-tile-designs-to-help-you-get-some-texture-on-your-inside-texture-light-and-shadow-the-creative-possibilities-of-3d-tile-in-design.jpg” alt=”25 Creative 3D Wall Tile Designs To Help You Get Some Texture On Your … inside Texture, Light, and Shadow The Creative Possibilities of 3D Tile in Design” style=”width: 100%; height: auto;”]
[sps_html tag=”img” src=”https://cdn.theartssection.com/wp-content/uploads/2025/06/multidimensional-3d-textured-tiles-creative-materials-wall-tiles-throughout-texture-light-and-shadow-the-creative-possibilities-of-3d-tile-in-design.jpg” alt=”Multidimensional 3D Textured Tiles | Creative Materials | Wall Tiles … throughout Texture, Light, and Shadow The Creative Possibilities of 3D Tile in Design” style=”width: 100%; height: auto;”]
[sps_html tag=”img” src=”https://cdn.theartssection.com/wp-content/uploads/2025/06/25-creative-3d-wall-tile-designs-to-help-you-get-some-texture-on-your-walls-with-regard-to-texture-light-and-shadow-the-creative-possibilities-of-3d-tile-in-design.jpg” alt=”25 Creative 3D Wall Tile Designs To Help You Get Some Texture On Your Walls with regard to Texture, Light, and Shadow The Creative Possibilities of 3D Tile in Design” style=”width: 100%; height: auto;”]
[sps_html tag=”img” src=”https://cdn.theartssection.com/wp-content/uploads/2025/06/easy-and-fast-installation-of-seamless-tiles-create-visually-appealing-with-regard-to-texture-light-and-shadow-the-creative-possibilities-of-3d-tile-in-design.jpg” alt=”Easy And Fast Installation Of Seamless Tiles Create Visually Appealing … with regard to Texture, Light, and Shadow The Creative Possibilities of 3D Tile in Design” style=”width: 100%; height: auto;”]