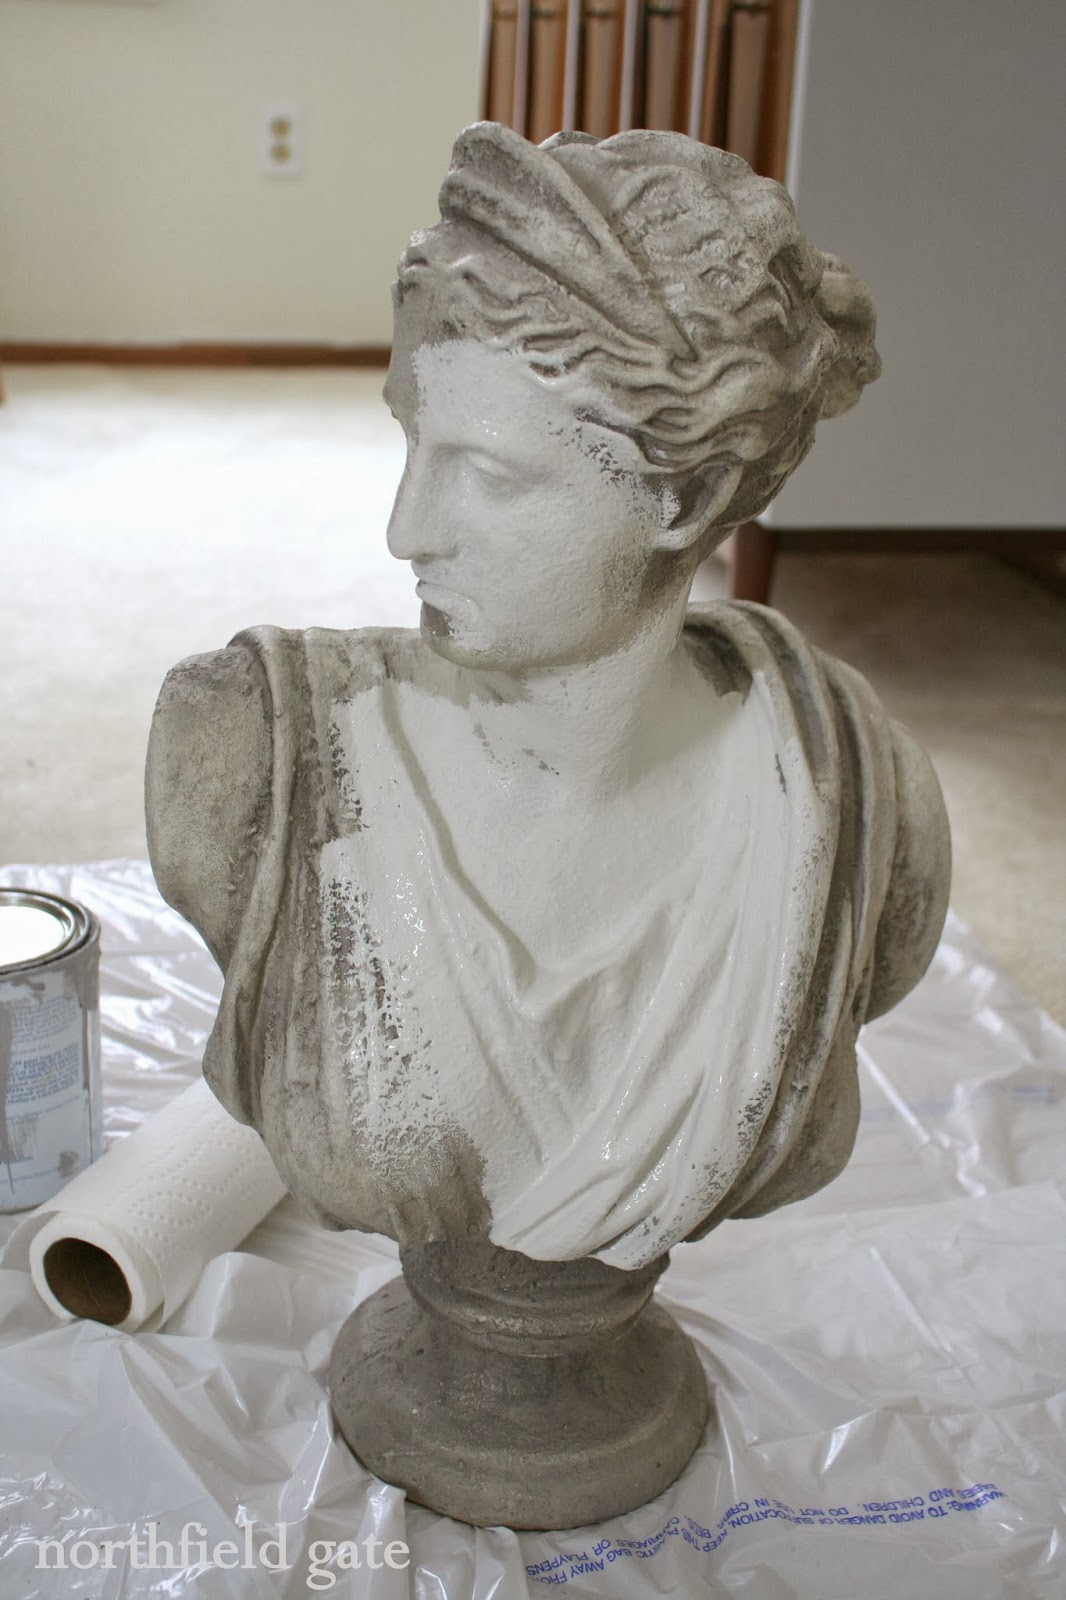
Have you ever stared at a beautifully sculpted resin miniature and felt like something was… missing. You look at the face, and instead of seeing a living character, you just see a painted piece of plastic. It is a common roadblock for many hobbyists. The secret to crossing that line from "neat model" to "living soul" lies almost entirely in two areas: the warmth of the skin and the spark in the eyes.
Getting these details right can feel incredibly intimidating. We have all seen the dreaded "google eye" effect where a miniature looks like it has had way too much coffee, or skin that looks more like chalky plaster than soft tissue. But here is the good news: you do not need to be a classical portrait painter to master this. With a few simple brushwork tricks, some patience, and the right approach to building up thin layers, you can make your busts look incredibly realistic. Let us break down how to make your resin figures truly breathe.
It All Starts with the Prep and Primer
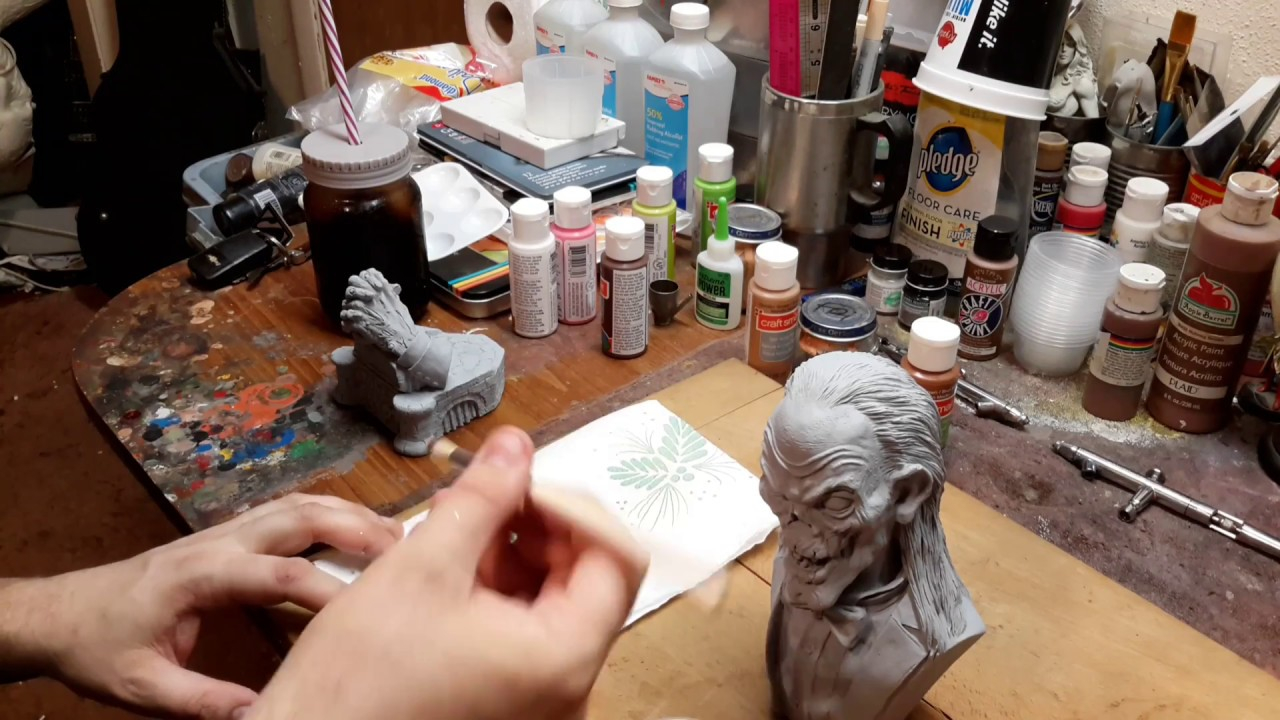
Before you even think about opening your paint pots, you have to get the surface ready. Resin is notorious for holding onto mold release agents, which are slippery oils used during casting. If you do not wash your bust in warm, soapy water first, your paint might literally slide right off. Once it is dry, how you prime it sets the stage for everything else.
For realistic skin, many painters love using a "zenithal" priming method. This simply means spraying the bust with a dark color from below (like black or dark brown) and a lighter color from above (like grey or white). What this does is create an instant roadmap of light and shadow. When you start applying your thin paint layers later, this pre-shading will peek through and do half the work for you.
Understanding the "Sandwich" of Skin Tones
Real skin is not just one solid color. If you look closely at your own hand, you will see hints of blue, green, red, and yellow underneath the surface. This is because skin is semi-translucent, meaning light penetrates the top layers and bounces off the blood vessels and tissue underneath. To mimic this on a resin bust, we use a technique called glazing.
Instead of thick paint, you want to use highly diluted paint that has the consistency of dirty water or skim milk. You start with a mid-tone base color, and then you slowly build up your highlights and shadows using these thin washes. This is often called a "layered glaze" workflow. By applying multiple transparent layers, the colors blend together naturally on the model, creating those soft, realistic transitions that make skin look soft and touchable.
The Magic of Temperature: Reds, Blues, and Yellows
One of the biggest mistakes beginners make is only using brown and white to paint skin. This usually results in a flat, muddy look. To make skin look alive, you need to play with color temperature. A great rule of thumb for faces is to divide them into three zones.
The forehead and upper areas of the face generally catch the most light and benefit from yellow and golden tones. The middle zone—the cheeks, nose, and ears—contains a lot of blood capillaries, so adding subtle glazes of red or rose here adds instant warmth and life. Finally, the lower face (especially on male figures with stubble, but also around the jawline on females) has cooler undertones, where a tiny touch of blue or green mixed into your shadow paint works wonders.
The Acrylic-Oil Workflow Secret
If you want to take your skin to the absolute next level, try combining acrylics and oil paints. Acrylics are fantastic for laying down your quick base coats and building up your main highlights because they dry so fast. But oils are the king of smooth transitions.
Because oil paints dry incredibly slowly, you can place a dot of shadow and a dot of highlight next to each other on the cheek of your bust, and then use a clean, soft brush to blend them together directly on the model. This gives you seamless, airbrush-like transitions without the hassle of actually using an airbrush. Just remember to let your acrylic base dry completely before applying oils over the top.
Capturing the Spark: Painting the Eyes
Eyes are the focal point of any bust. If the eyes are off, the whole model feels ruined. The trick to painting eyes is to avoid using pure white for the eyeballs. Human eyes are actually a soft off-white, light grey, or even a pale ivory. Pure white looks unnatural and causes that startled, flat look.
Start by painting the entire eye socket with a dark brown or black. This creates a natural shadow around the lids, acting like eyeliner. Next, paint the eyeball with your off-white color, leaving a thin border of that dark shadow visible. When it is time to paint the iris, do not just paint a circle; make sure the top and bottom of the iris are slightly covered by the eyelids. If the entire circle of the iris is visible, your character will look terrified.
Adding the Final Lifelike Details
Once your iris is painted (perhaps with a slightly darker ring around the outside edge and a lighter shade inside for depth), add a tiny black dot in the center for the pupil. But the real magic happens with the reflection.
To make the eye look wet and glossy, paint a tiny, crisp dot of pure white on the upper corner of the pupil, right where an imaginary light source would hit it. It is amazing how much this single dot of white instantly brings the character to life. To finish it off, apply a tiny drop of high-gloss varnish over the entire eye. This will catch real light in the room and make the eyes sparkle like actual glass.
Painting realistic faces is less about having a magic hand and more about understanding how light and color interact on a three-dimensional surface. By taking your time to wash and prime your model, building up thin glaze layers of warm and cool tones, and being careful with the placement of your eye details, you can achieve incredible results.
Do not worry if your first few attempts do not look perfect. Brush control and color mixing are skills that grow with practice. Grab a resin bust, thin down your paints, and enjoy the process of watching a character come to life right before your eyes.