Have you ever wondered how to turn simple plastic materials into beautiful artistic masterpieces? What if you could create stunning circular artwork using nothing more than PVC pipes and a little creativity? This isn’t just about making something pretty – it’s about discovering how everyday materials can become extraordinary expressions of imagination.
PVC circle art represents a fascinating intersection of practicality and creativity. These projects take humble materials like PVC pipes and transform them into captivating visual experiences. Whether you’re a seasoned artist looking for new mediums or someone curious about DIY crafts, mastering this technique opens up endless possibilities. The beauty lies not just in the final result but in understanding the process itself. Every bend, every cut, every connection tells a story of transformation. Think about it – you start with basic plastic tubing and end up with something that can grace any wall or space with elegance and purpose.
Understanding PVC Materials and Their Properties
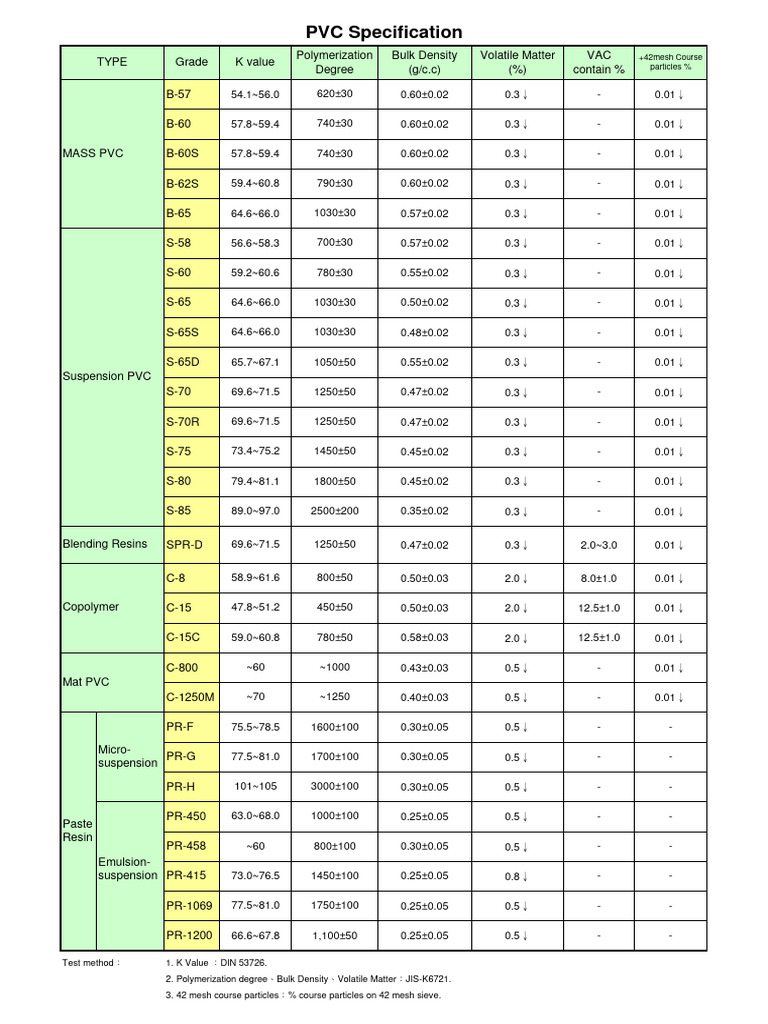
Before diving into creation, it’s crucial to understand what you’re working with. PVC, or polyvinyl chloride, is a versatile plastic that comes in various forms and thicknesses. For 12 inch circle art, you’ll typically want to work with standard PVC pipes that are about one inch in diameter. The material’s flexibility allows for creative shaping while maintaining structural integrity. When selecting your PVC, consider the wall thickness – thicker walls provide more stability for larger projects, while thinner walls offer greater ease of bending. The surface texture can vary, affecting how paint or other finishes adhere. Some PVC pipes have a smooth finish that works well for clean lines, while others might have a slightly rougher texture that can add character to your artwork. Understanding these properties helps you make informed decisions about which materials will best suit your vision.
Essential Tools and Equipment for Success
Having the right tools makes all the difference in achieving professional-looking results. You’ll need basic cutting tools like a sharp utility knife or PVC cutter for precise cuts. A heat gun or hair dryer becomes invaluable for softening PVC to make bends. Measuring tools such as a tape measure and protractor ensure accuracy in your circle dimensions. Sandpaper helps smooth rough edges after cutting. For joining pieces together, you’ll want to invest in appropriate PVC cement or solvent welding agents. Specialized tools like PVC bending guides can help maintain consistent curves. Don’t forget safety equipment – gloves protect your hands from sharp edges, and eye protection is essential when cutting or sanding. Some artists prefer to work with clamps to hold pieces in place during assembly. Having a good quality work surface, like a cutting mat or thick plywood, prevents damage to your workspace. The investment in proper tools pays off quickly in terms of both time and quality outcomes.
Planning Your Design Before Construction
The most successful PVC circle art projects begin with thoughtful planning. Start by sketching your concept – what kind of pattern do you envision? Consider whether you want geometric shapes, flowing curves, or abstract designs. Think about color schemes and how different elements will interact visually. Sketching helps you visualize proportions and identify potential challenges before you begin cutting. Many artists find it helpful to create a scaled drawing first, then scale up to actual measurements. Consider how light will play across your piece – some designs look better in certain lighting conditions. Planning also involves thinking about the overall size and scale of your project. Will it fit in a specific space? How will it hang or stand? These practical considerations often influence design choices. Some artists even create small mockups with cardboard or paper to test their concepts before committing to PVC. This preliminary work saves time and reduces frustration later in the process.
Measuring and Cutting Techniques for Precision
Precision in measurement and cutting is the foundation of successful PVC circle art. For a 12 inch circle, you need to calculate circumference accurately – that’s roughly 37.7 inches of material. However, remember that PVC expands slightly when heated, so plan accordingly. Use a measuring tape carefully, marking your cut points clearly. When cutting, always use a clean, sharp blade to prevent jagged edges. Some artists prefer to cut slightly longer than needed and trim afterward. For curved sections, you might need to make multiple smaller cuts rather than one large continuous cut. Cutting angles requires attention to detail – a protractor ensures accuracy when creating intersecting lines. After cutting, always sand edges smooth to prevent injury and improve the final appearance. Consider using a fine grit sandpaper to create a polished look. Take your time with measurements; rushing leads to mistakes that can be costly in terms of materials and time.
Bending and Shaping Methods for Flowing Forms
One of the most exciting aspects of PVC circle art is creating flowing, organic shapes. Heat is your best friend when it comes to bending PVC. Using a heat gun or hair dryer, apply even heat along the section you want to bend. Move the heat source back and forth slowly to avoid overheating and warping. Once the PVC becomes pliable, gently bend it into your desired shape. Work slowly and steadily, checking frequently to ensure you’re achieving the right curve. Some artists prefer to use a bending form – a mold or template that helps maintain consistent curves. For complex shapes, you might need to bend multiple sections and connect them later. The key is patience – rushing can cause the material to crack or break. Practice on scrap pieces first to get a feel for how the material responds to heat and pressure. Remember that PVC cools and holds its shape once it reaches room temperature.
Assembly and Joining Techniques for Strength
Once you’ve cut and shaped your pieces, it’s time to bring them together. The most common method uses PVC cement, which creates strong chemical bonds between pieces. Apply the cement to both surfaces before joining them together. Press firmly and hold for a few seconds to ensure proper adhesion. For more visible joints, consider using threaded fittings or couplers that allow for easier adjustments. Some artists prefer to use mechanical fasteners like screws or bolts for added strength, especially in larger pieces. When joining multiple segments, alignment is crucial – misaligned pieces create an unprofessional appearance. Test-fit pieces before applying cement to ensure everything fits properly. For decorative purposes, you might leave some joints exposed to show the construction process. Always allow adequate drying time before handling or hanging your finished piece.
Finishing Touches and Surface Treatments
The final stages of your PVC circle art project involve bringing out the details and protecting your investment. Sanding provides a smooth base for painting or coating. Start with coarse grit and progress to fine grit for the best results. Primer helps ensure paint adheres properly and creates a uniform base color. Acrylic paints work wonderfully with PVC surfaces, offering vibrant colors and good durability. Consider using specialized plastics paints for maximum longevity. Some artists prefer to use clear sealants to protect painted surfaces from fading or wear. Textured finishes can add depth and dimension to simple shapes. For a more sophisticated look, try metallic paints or special effects like glitter or embossing. Proper finishing not only enhances appearance but also extends the life of your artwork. Take care with ventilation when using paints or solvents – they can produce fumes that aren’t pleasant to breathe.
Troubleshooting Common Issues and Solutions
Every artist encounters problems, and PVC circle art is no exception. One common issue is PVC cracking during heating – this usually happens from overheating or uneven heating. Solution: reduce heat intensity and move heat source more slowly. Another frequent problem is poor adhesion when using cement – this often occurs due to insufficient cleaning or improper application. Clean surfaces thoroughly with acetone before applying cement. Uneven bending can happen when the material isn’t heated evenly or when too much pressure is applied. Practice proper heating techniques and gentle manipulation. If pieces don’t align properly, check your measurements and consider making small adjustments. Sometimes pieces are too tight or too loose – this can be corrected by adding shims or making minor modifications. Keeping a small toolkit of repair materials like extra cement or replacement pieces helps solve issues quickly. Remember that mistakes are learning opportunities – each challenge teaches you something valuable about working with PVC.
Safety Considerations and Best Practices
Working with PVC requires awareness of potential hazards. The primary concerns involve chemicals and heat. PVC cement contains solvents that can be harmful if inhaled or touched directly. Always work in well-ventilated areas and consider wearing a mask designed for chemical vapors. When heating PVC, be careful of burns from hot tools and materials. Never leave heated PVC unattended as it can continue to soften even after removing heat. Sharp edges from cutting can cause cuts, so always handle pieces carefully. Keep your workspace clean and organized to prevent accidents. Store tools properly away from children and pets. Some artists prefer to wear safety glasses when cutting or sanding. Regular maintenance of tools keeps them functioning properly and safely. Understanding the properties of the materials you’re working with helps prevent unexpected problems. Taking time for proper preparation and safety measures protects both your health and the quality of your work.
Creative Variations and Advanced Techniques
Once you’ve mastered the basics, the possibilities for creativity expand dramatically. Try layering different colored PVC pieces to create depth and visual interest. Incorporate LED lights within your circles for dramatic nighttime effects. Experiment with different PVC pipe sizes to create dimensional effects. Some artists combine PVC with other materials like wood or metal for mixed-media pieces. Advanced techniques include creating complex geometric patterns or organic forms that flow naturally. Consider adding textures through carving or etching before painting. Multi-layered circles can create interesting shadow effects when displayed. Some artists experiment with transparent or translucent PVC to create unique lighting effects. Push boundaries by combining traditional circle art with modern technology like sensors or interactive elements. These variations keep projects fresh and challenging, encouraging continued growth in your artistic skills.
Maintenance and Longevity of PVC Circle Art
Proper care ensures your PVC circle art remains beautiful for years. Regular cleaning with mild soap and water removes dirt and dust effectively. Avoid harsh chemicals that might damage the surface or finish. Check periodically for signs of wear or damage, especially in high-traffic areas. Touch-up painting may be necessary over time, particularly for outdoor installations. UV exposure can cause fading, so consider protective coatings for outdoor pieces. Handle with care to prevent scratches or dents that might affect appearance. Store pieces properly if they need to be moved or stored temporarily. Some artists apply additional protective layers to extend the life of their artwork. Understanding how environmental factors affect PVC helps you make informed decisions about placement and care. Regular maintenance is far easier than dealing with major repairs later.
Inspiration and Project Ideas
Looking for inspiration? Consider creating seasonal themes that change with the calendar. Holiday decorations, nature-inspired designs, or abstract patterns can provide endless variety. Some artists focus on specific color palettes that match home decor or personal preferences. Nature motifs like leaves, flowers, or waves translate beautifully into PVC circle forms. Abstract designs can be bold and contemporary, making powerful statements in any space. Collaborative projects with other artists or community groups can lead to impressive group installations. Consider making series of related pieces that work together in a collection. Simple geometric patterns can be elegant and timeless, while complex arrangements can showcase technical skill. Some artists explore cultural themes or historical references through their circle designs. The key is finding inspiration that resonates with your personal style and interests.
Creating 12 inch circle art with PVC transforms a simple material into something truly remarkable. The journey from raw plastic to finished artwork involves learning, experimenting, and developing a deep appreciation for the medium. Each project teaches valuable lessons about precision, patience, and creativity. Whether you’re making a single decorative piece or planning an entire installation, the techniques learned here provide a solid foundation. The beauty of PVC circle art lies in its accessibility – you don’t need expensive tools or materials to create something meaningful. The key is approaching each project with curiosity and willingness to learn. As you practice these methods, you’ll discover your own unique style and preferences. The satisfaction of completing a piece and seeing it come alive in your space is unmatched. This technique offers a bridge between practical craftsmanship and artistic expression, making it a rewarding pursuit for anyone interested in creative making. Remember, every expert was once a beginner – embrace the learning process and enjoy the journey of creating something beautiful from simple materials.
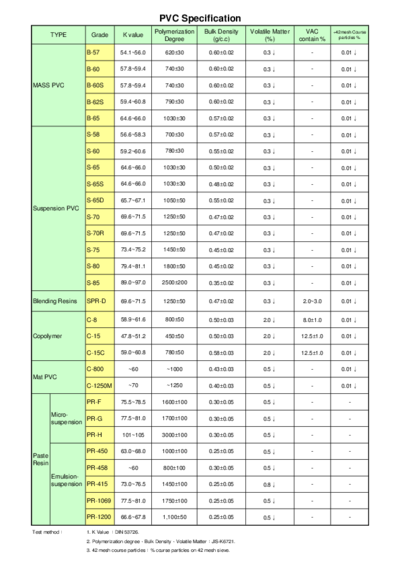
[sps_html tag=”img” src=”https://cdn.theartssection.com/wp-content/uploads/2025/11/grade-pvc-specification-pdf-polyvinyl-chloride-foam-regarding-12w-true-fit-pvc-center-circle-arts-crafts-viridian-green-44h.jpg” alt=”Grade Pvc Specification | Pdf | Polyvinyl Chloride | Foam regarding 12"W True Fit Pvc Center Circle Arts & Crafts, Viridian Green, 44"H” style=”width: 100%; height: auto;”]
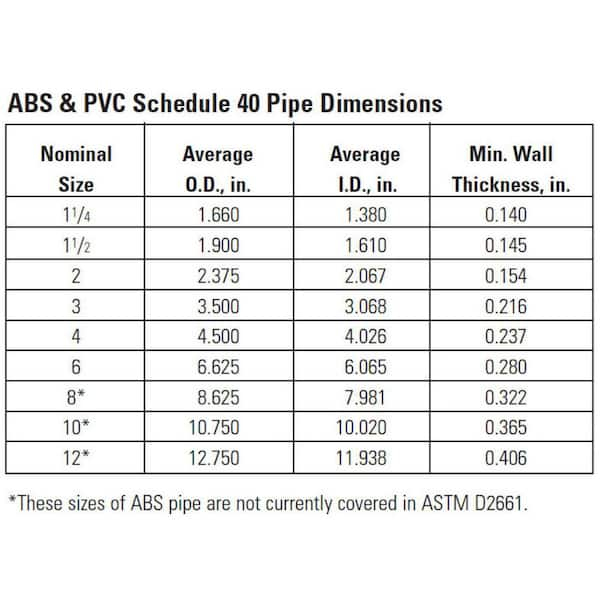
[sps_html tag=”img” src=”https://cdn.theartssection.com/wp-content/uploads/2025/11/pvc-schedule-40-pipe-dimensions-intended-for-understanding-the-technical-specifications-of-12-pvc-arts-amp-crafts.png” alt=”Pvc Schedule 40 Pipe Dimensions intended for Understanding the Technical Specifications of 12" PVC Arts & Crafts” style=”width: 100%; height: auto;”]
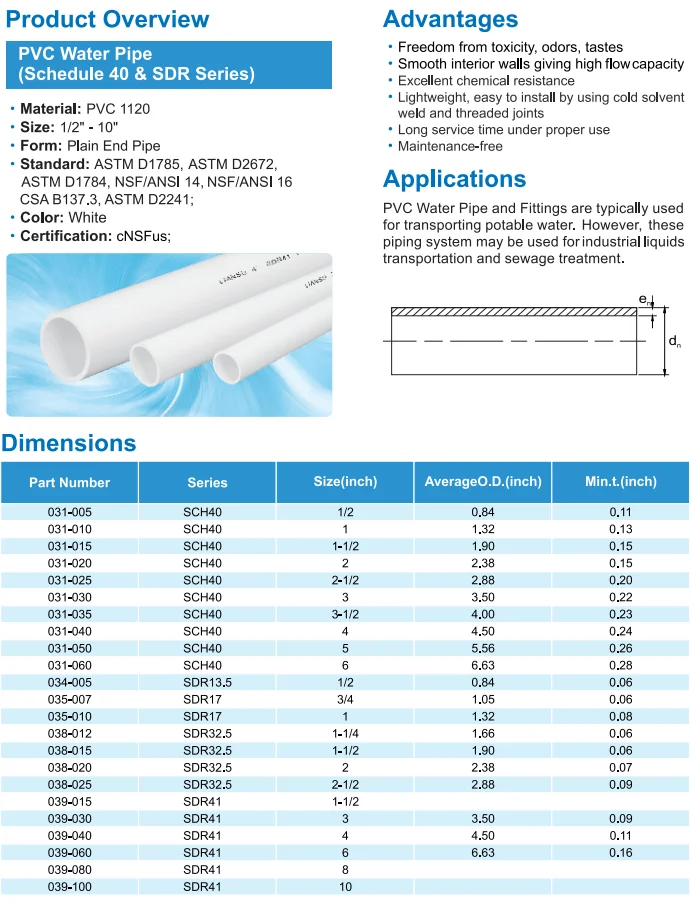
[sps_html tag=”img” src=”https://cdn.theartssection.com/wp-content/uploads/2025/11/pvc-pipe-measurement-chart-at-bennie-viveiros-blog-throughout-understanding-the-technical-specifications-of-12-pvc-arts-amp-crafts.jpg” alt=”Pvc Pipe Measurement Chart At Bennie Viveiros Blog throughout Understanding the Technical Specifications of 12" PVC Arts & Crafts” style=”width: 100%; height: auto;”]
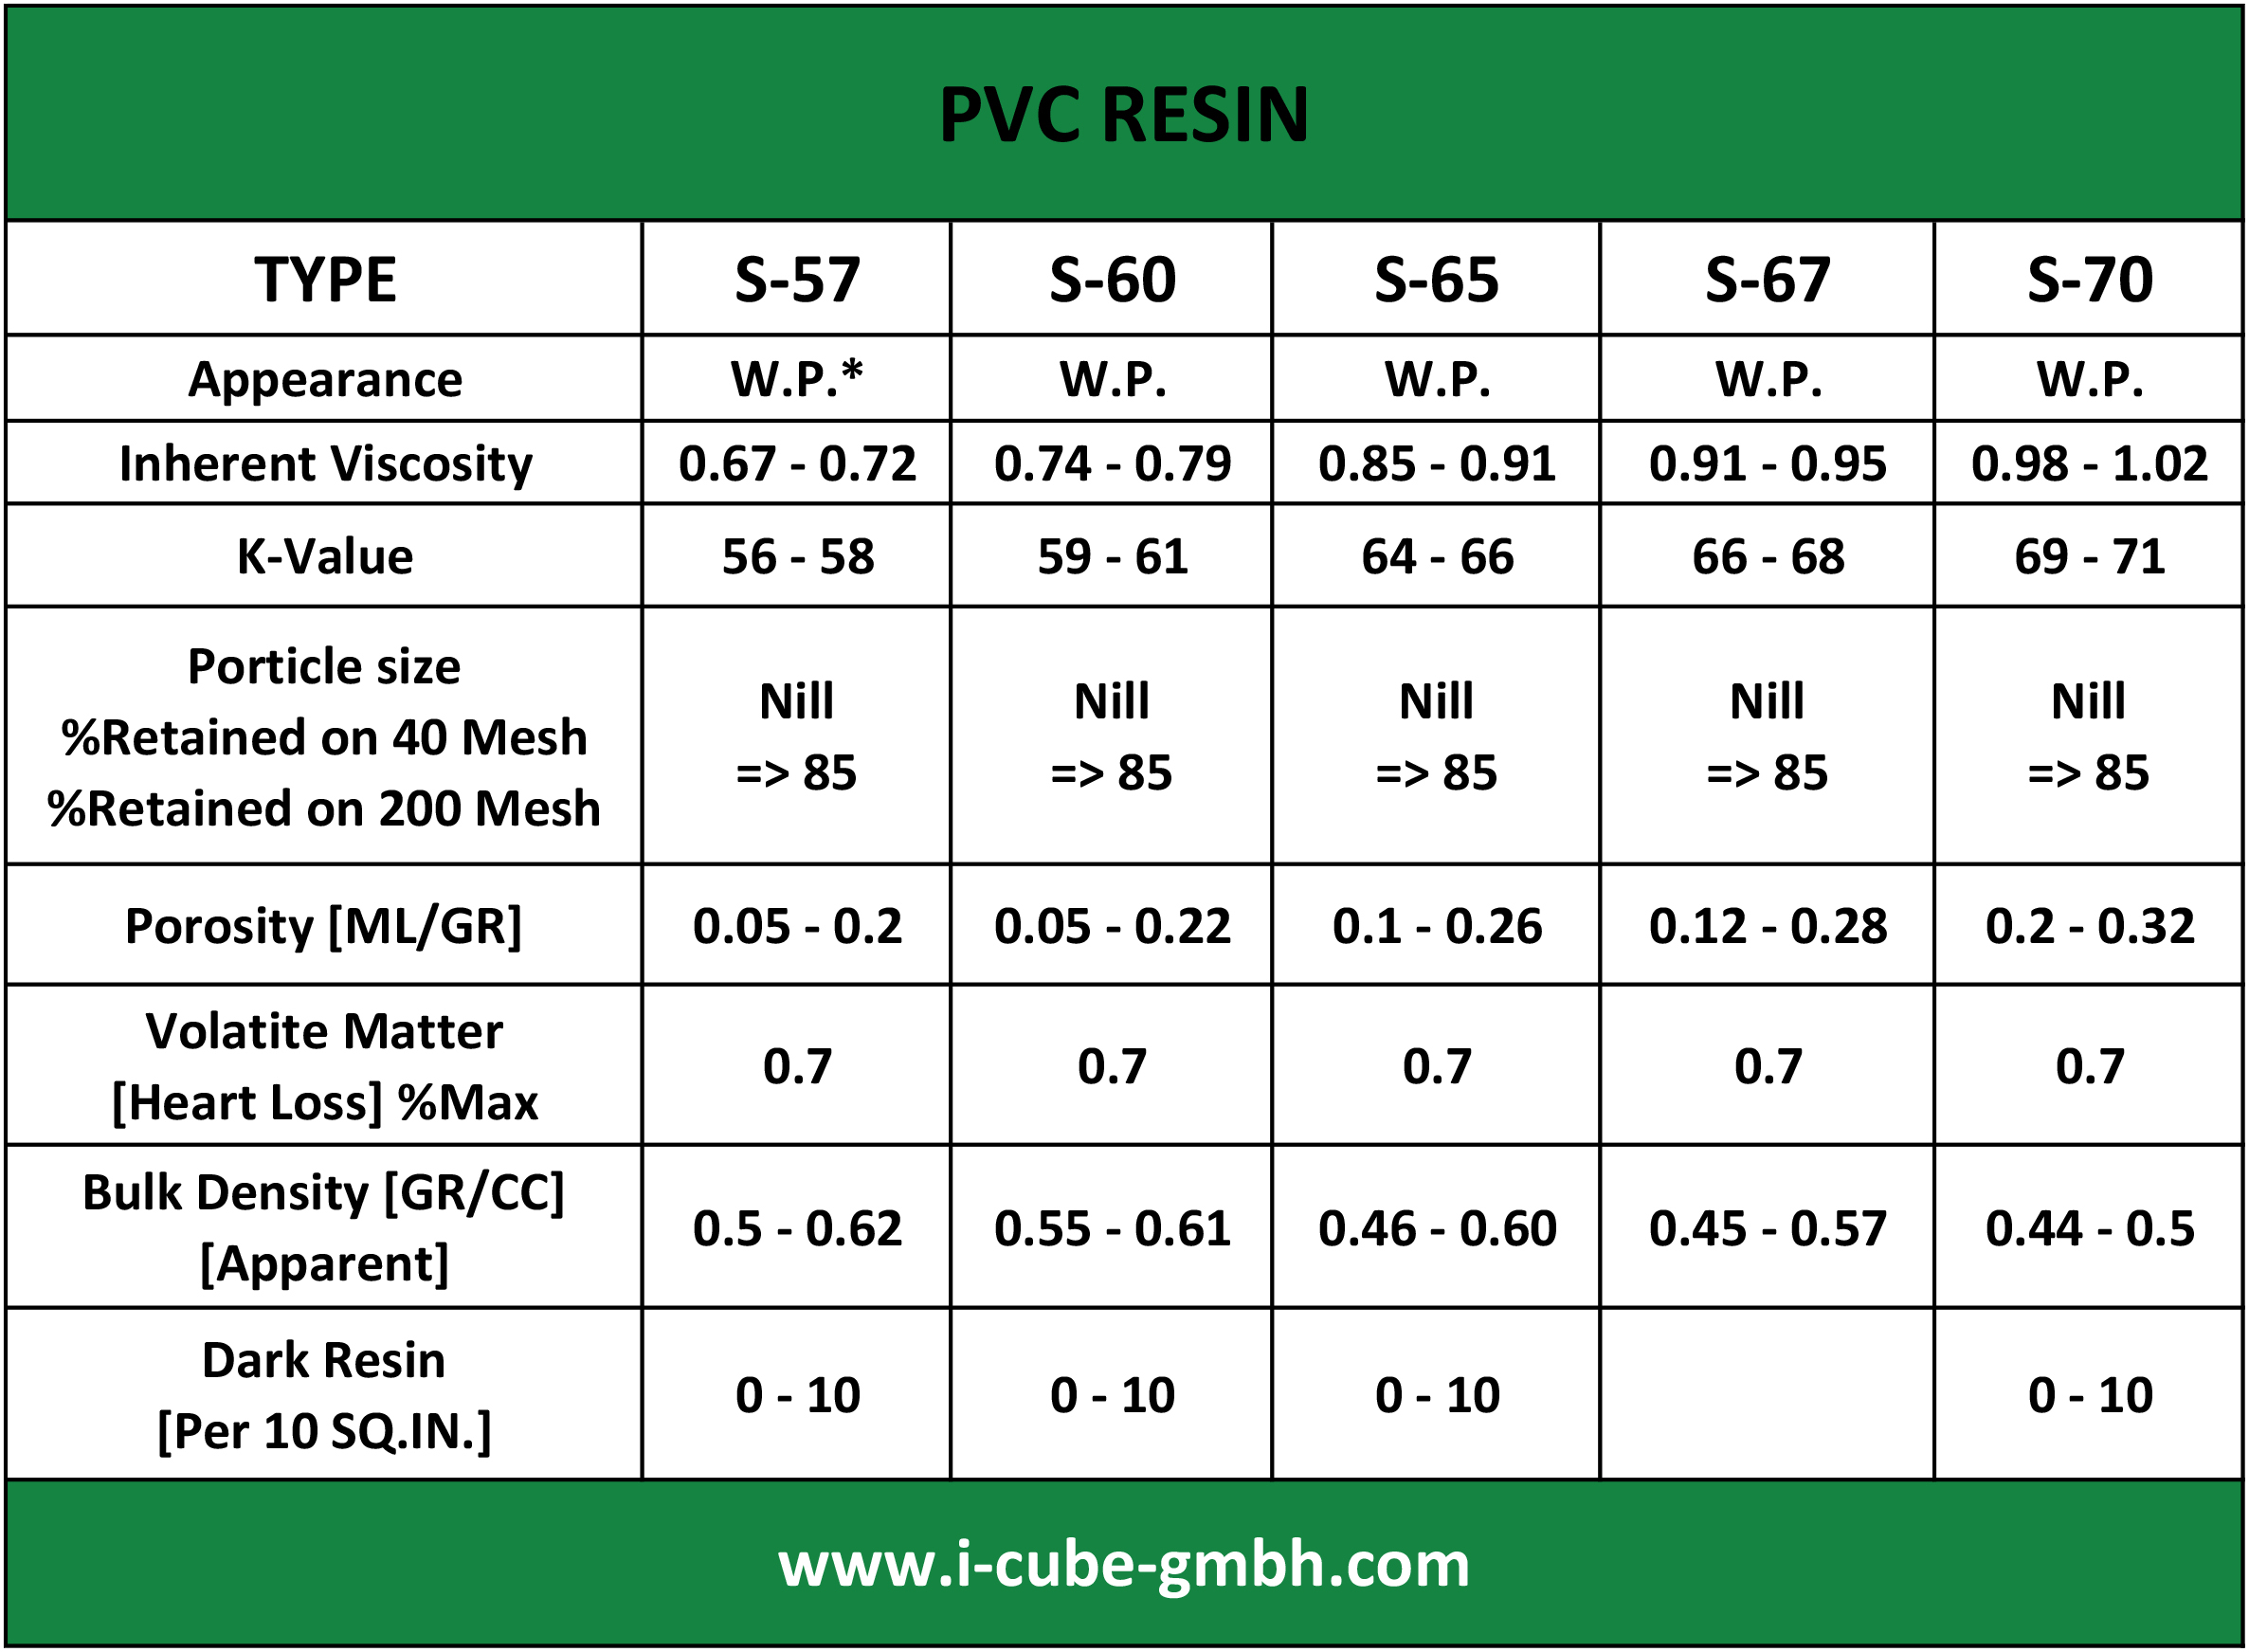
[sps_html tag=”img” src=”https://cdn.theartssection.com/wp-content/uploads/2025/11/pvc-grades-and-specification-with-regard-to-understanding-the-technical-specifications-of-12-pvc-arts-amp-crafts.png” alt=”Pvc Grades And Specification with regard to Understanding the Technical Specifications of 12" PVC Arts & Crafts” style=”width: 100%; height: auto;”]
[sps_html tag=”img” src=”https://cdn.theartssection.com/wp-content/uploads/2025/11/what-is-k-value-for-pvc-at-samantha-hanlon-blog-regarding-understanding-the-technical-specifications-of-12-pvc-arts-amp-crafts.jpg” alt=”What Is K Value For Pvc At Samantha Hanlon Blog regarding Understanding the Technical Specifications of 12" PVC Arts & Crafts” style=”width: 100%; height: auto;”]