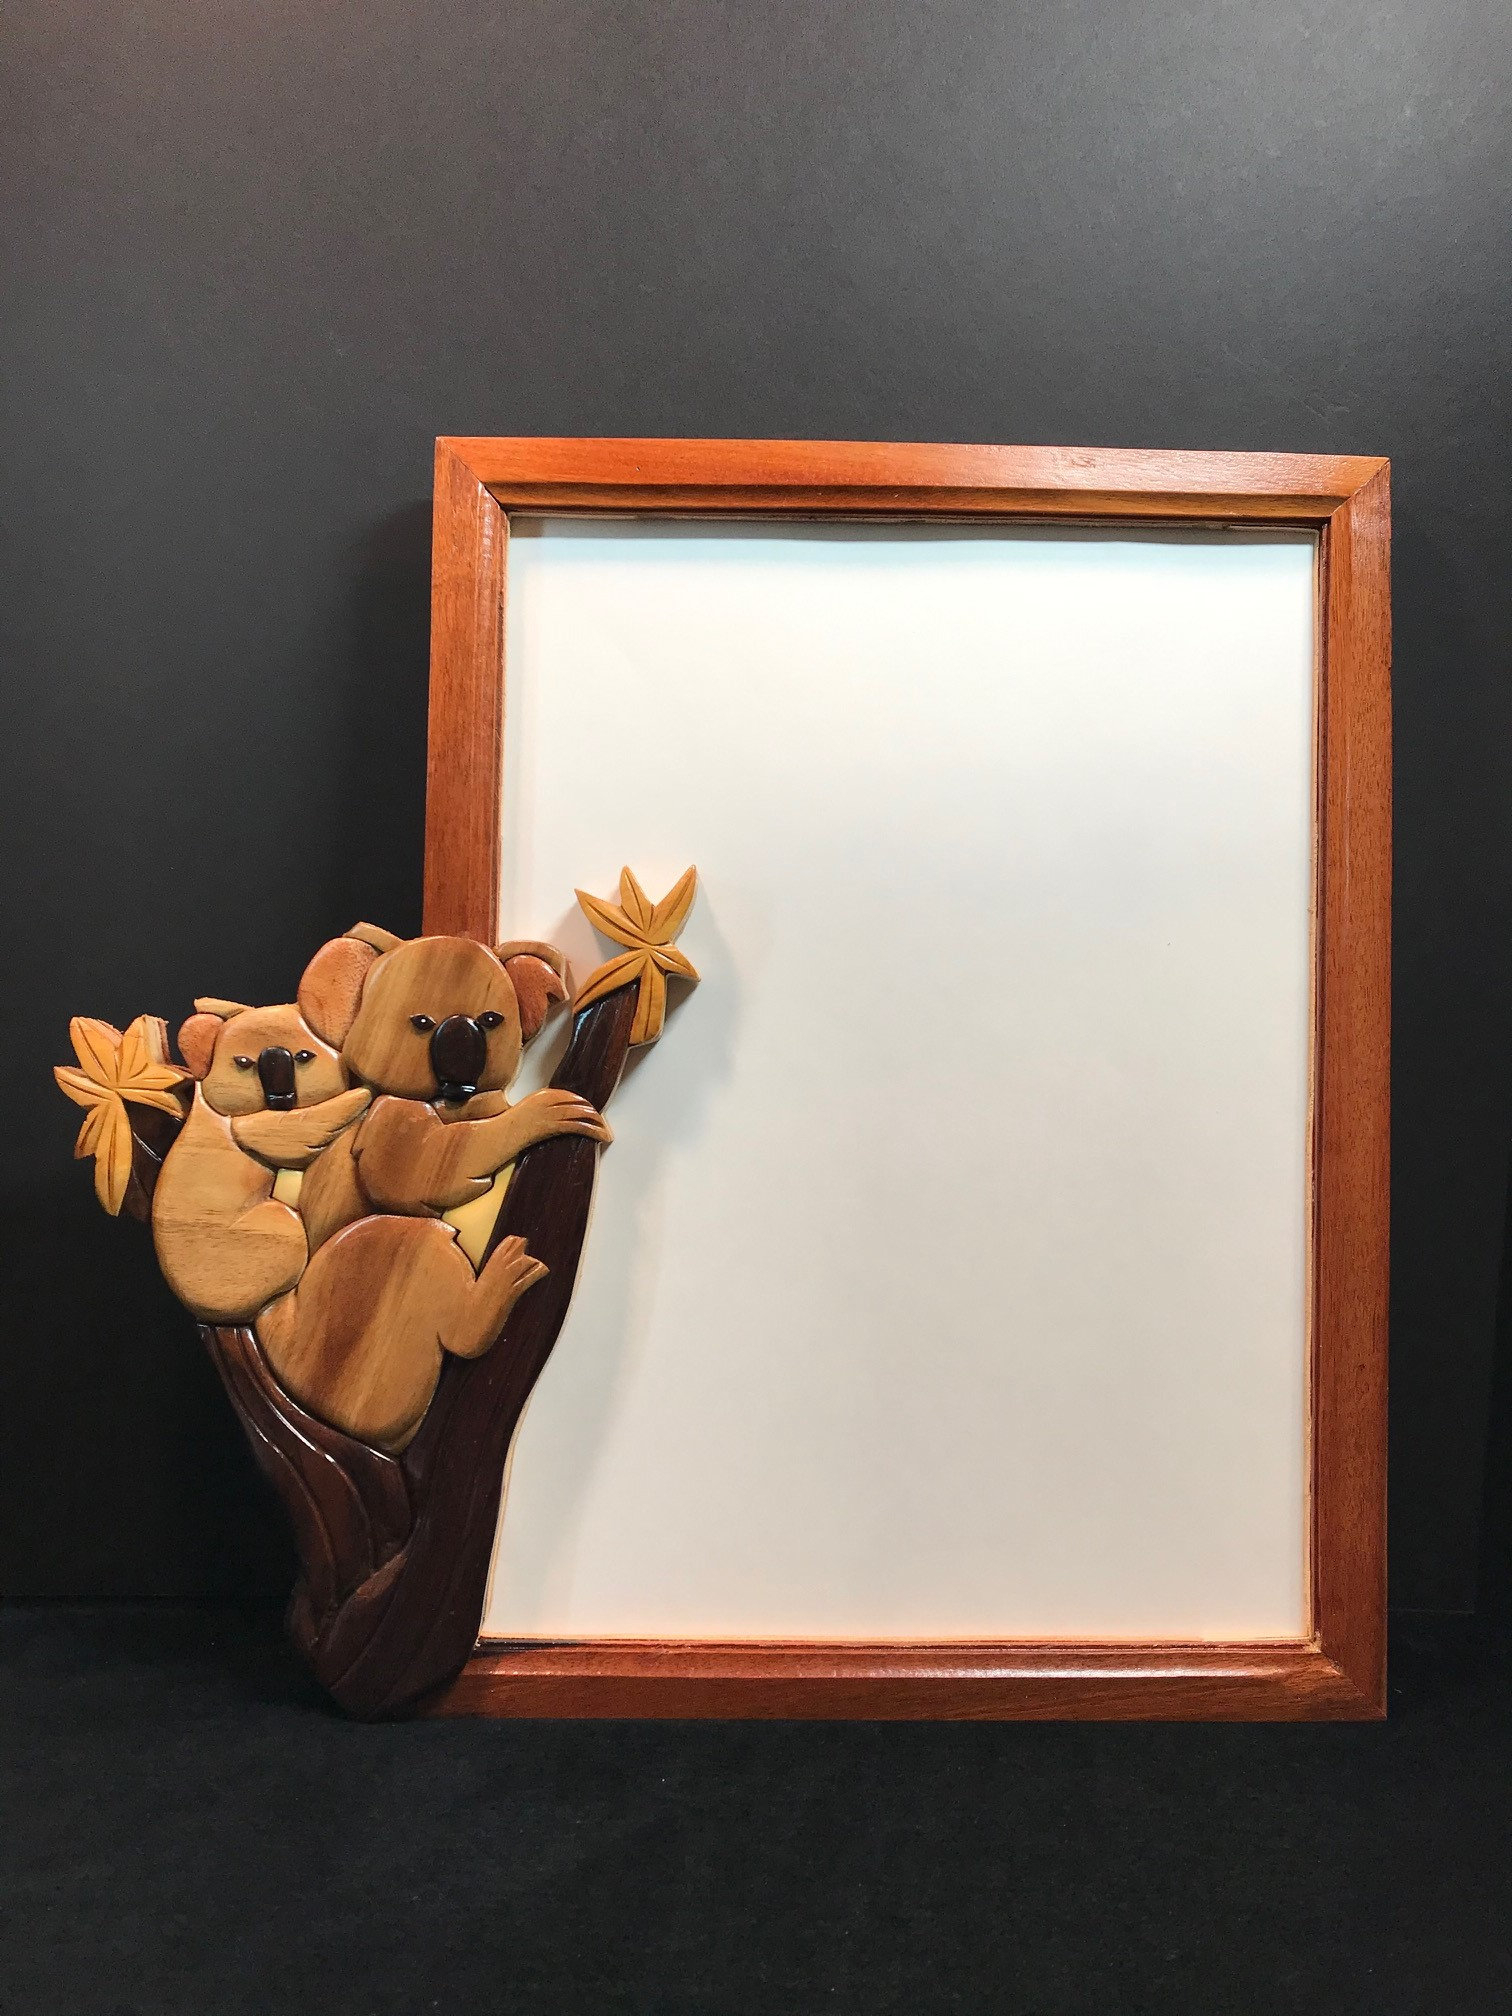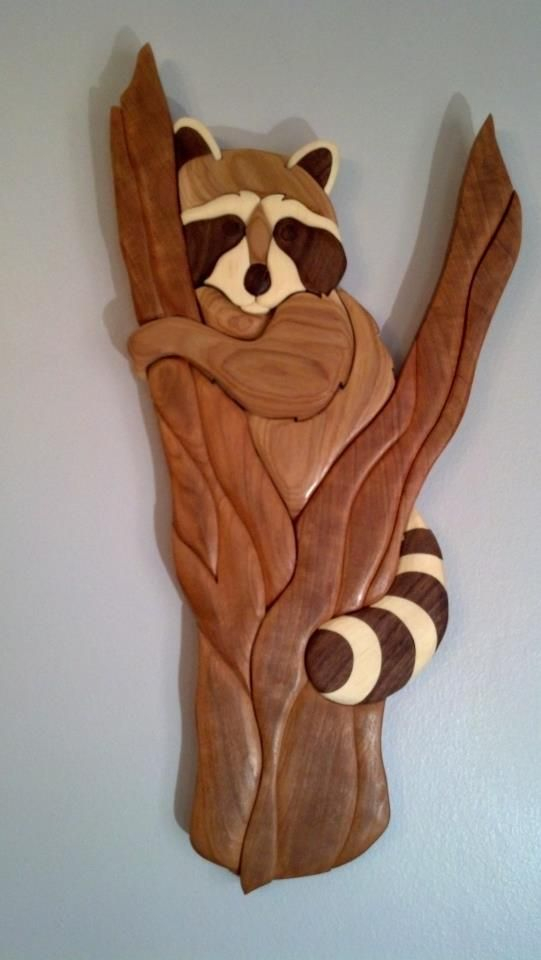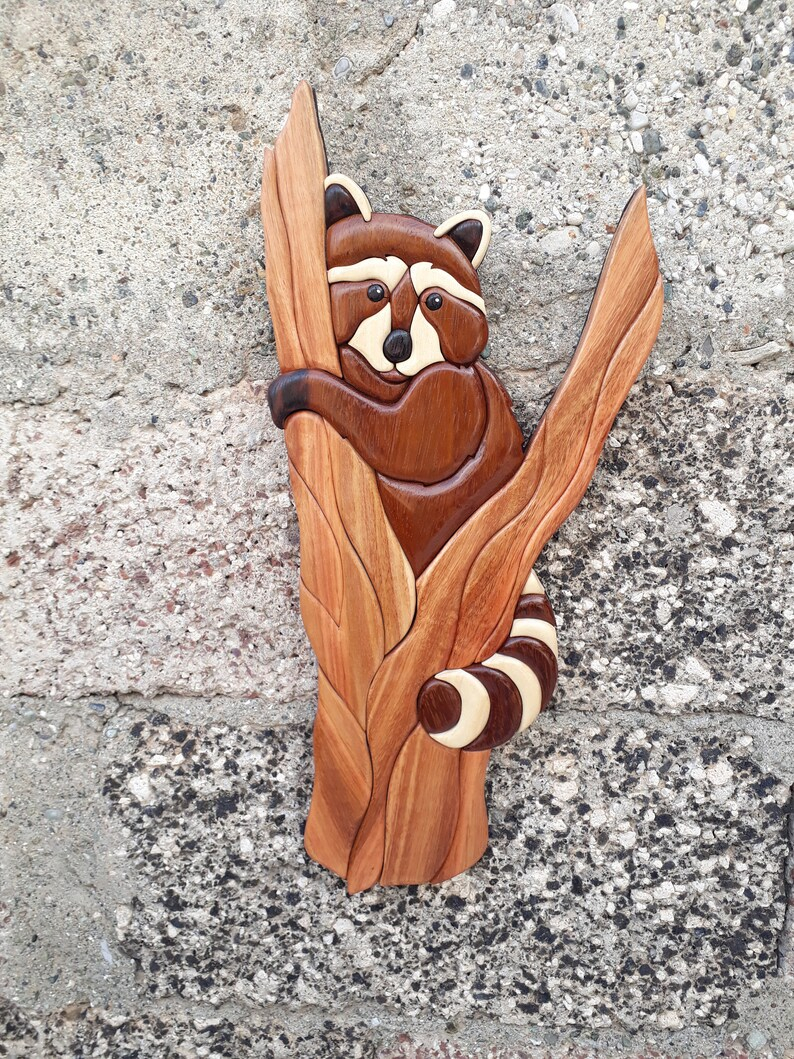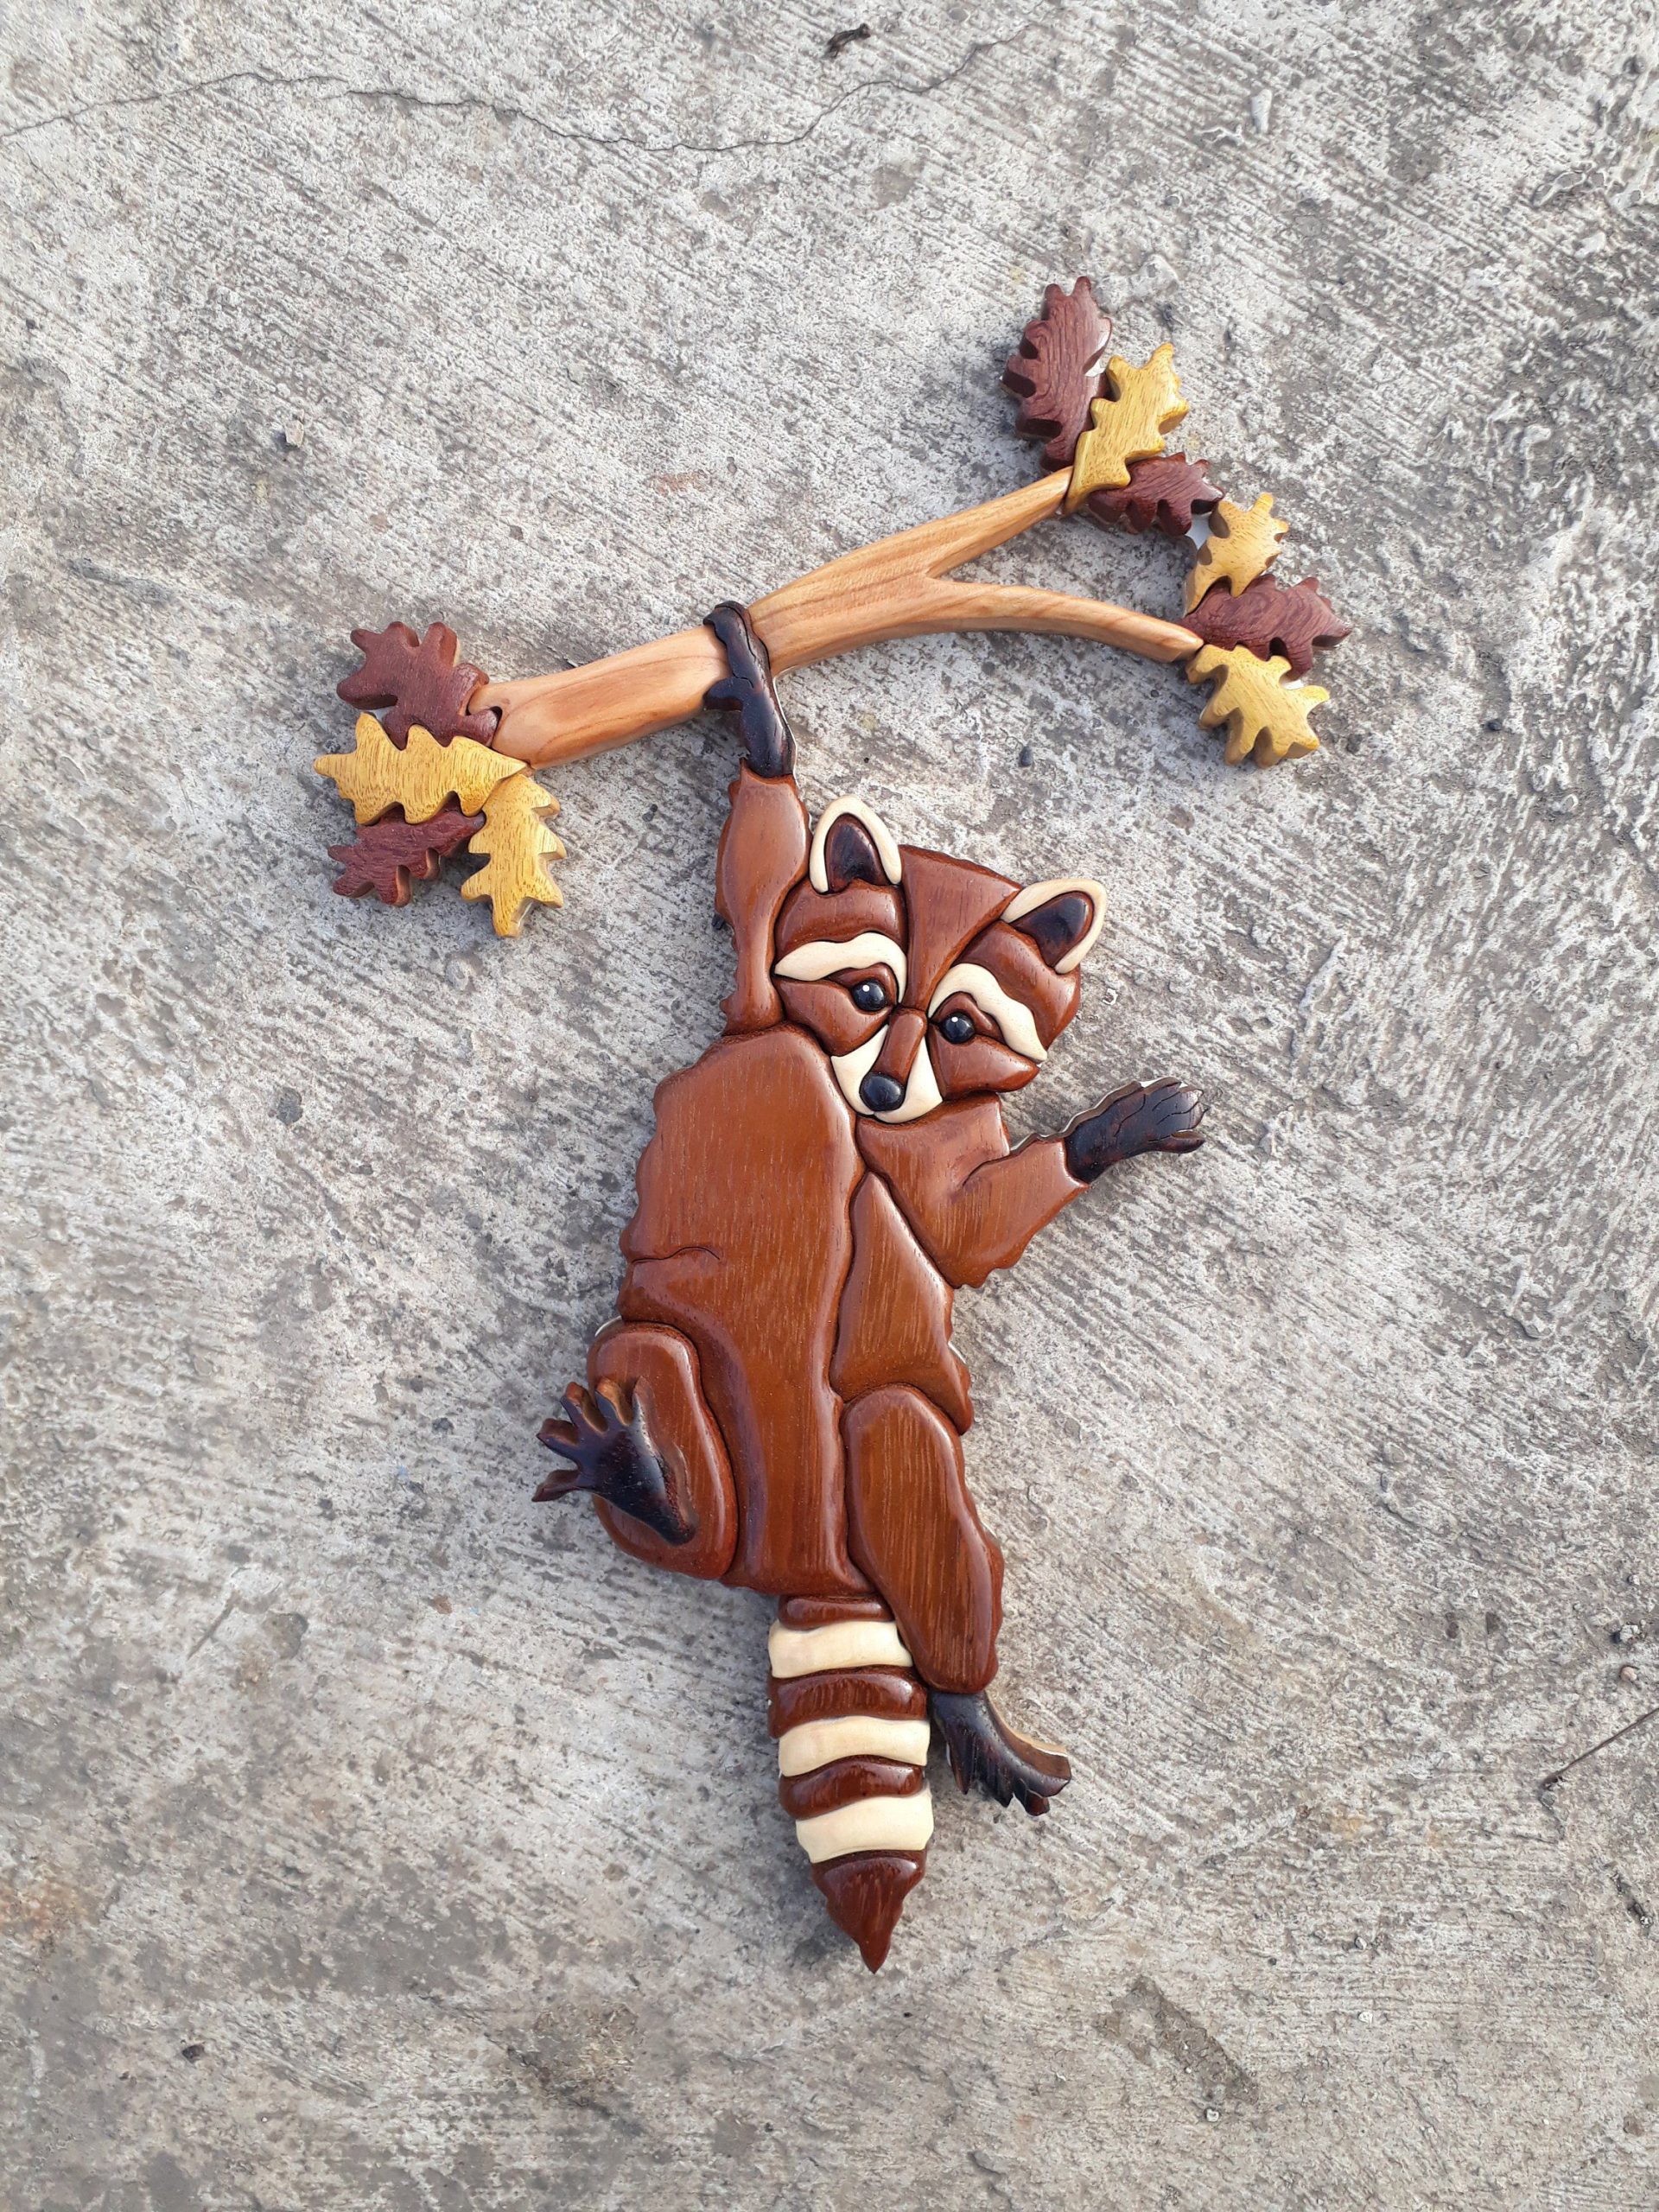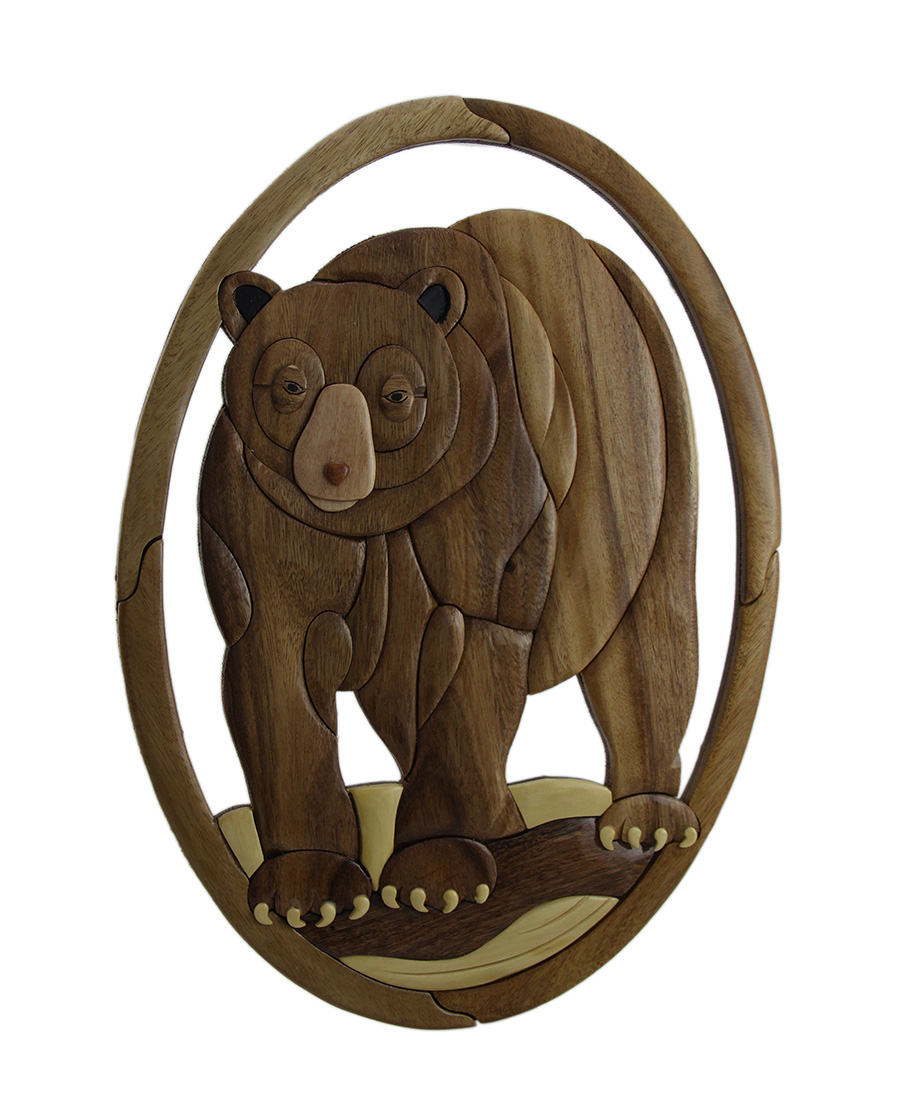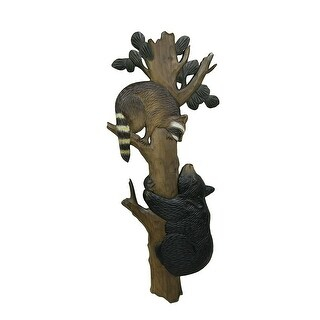
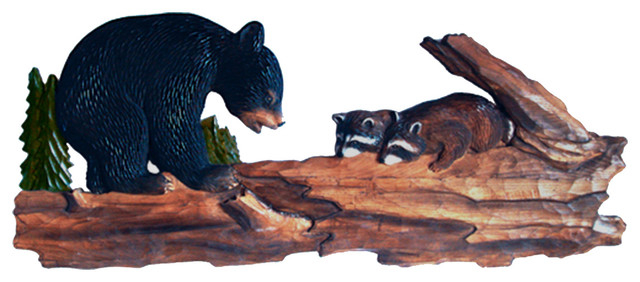
Hello, friends. Welcome back to my workshop and our shared passion for intarsia. Today, we’re going to get our hands dirty, or rather, our hands woodsy, as we journey into the creation of a captivating piece: the Bear and Raccoon Tree Wall Hanging. This isn’t just about gluing pieces of wood together; it’s about crafting a story, capturing texture, and developing a piece of art that will certainly brighten up any room. I’m so excited to share my knowledge and love for this craft with you all. I’m going to break down the process, the tools, and the techniques needed to make your own version of this adorable project. This is going to be fun, I promise.
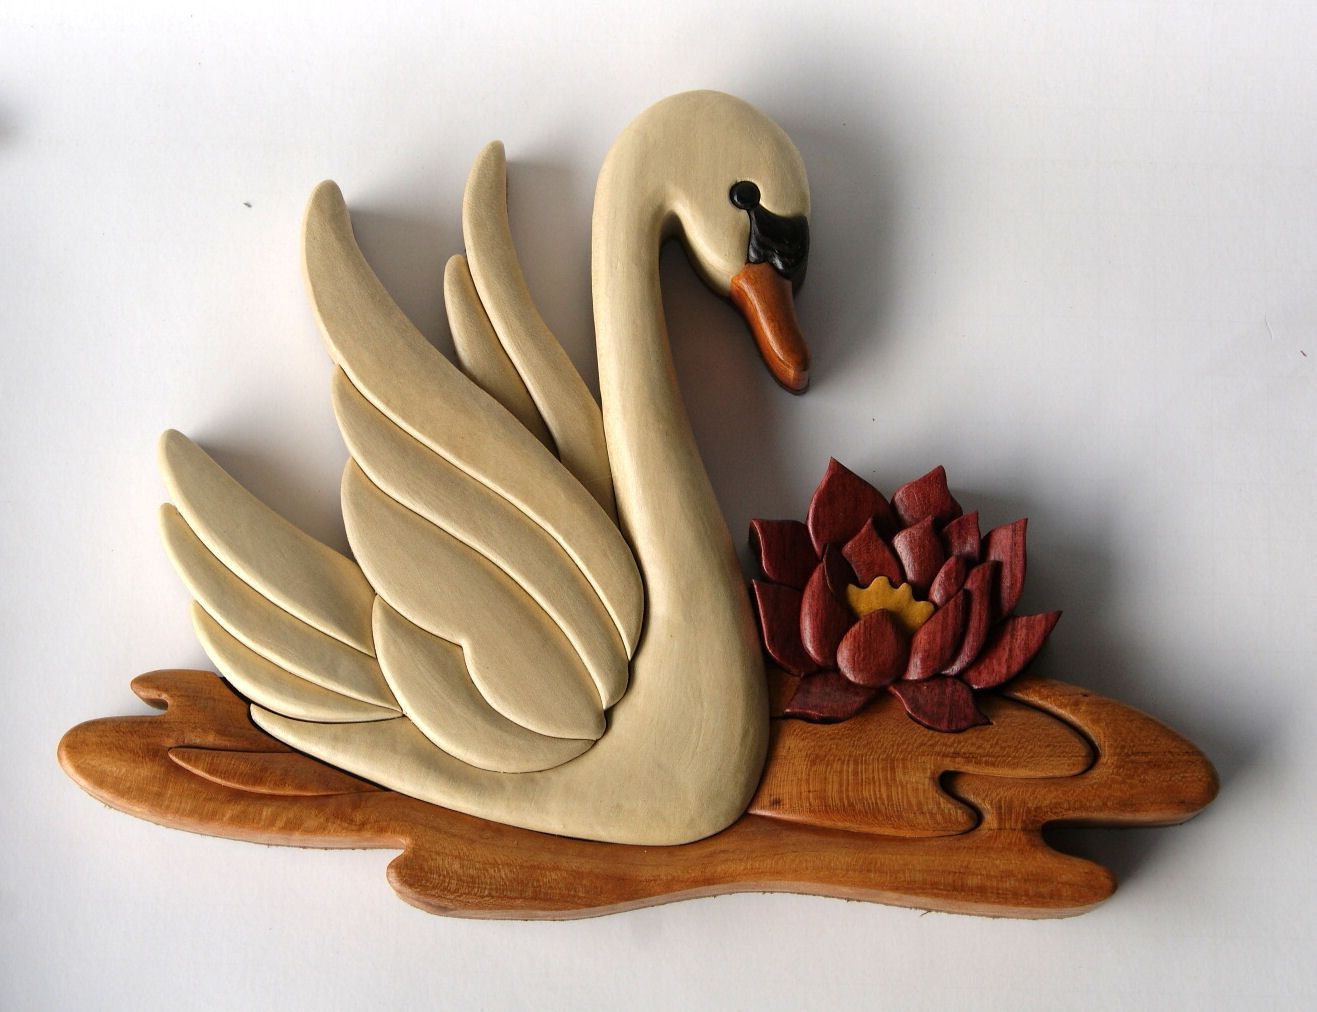
Intarsia is a very old technique, and it’s really cool. I mean, imagine taking different types of wood and cutting them into specific shapes to form a picture or a design. It’s like a wooden puzzle, except each piece is carefully chosen for its color, grain, and texture, contributing to the overall image. The Bear and Raccoon Tree project provides a wonderful opportunity to explore this art form, combining the charm of woodland critters with the warmth of natural wood.
Before we dive in, let’s get the basics sorted. This project, like all intarsia projects, requires a bit of patience, precision, and a love for the craft. Don’t worry if you’re a beginner; I’ll guide you every step of the way. We’ll cover the tools, the wood selection, and the important design considerations. Prepare to be amazed at what you can create, even if you are new to this.
First, let’s talk about what you will need to start. This is a list of the things you’ll need to get started. Things such as a scroll saw, a band saw (optional, but helpful), various types of wood, like walnut, maple, cherry, and maybe some exotic species for the bear and raccoon’s fur. You’ll also need patterns (which you can find online or design yourself – more on that later), wood glue, sandpaper, a finishing product (like varnish or oil), and a few essential hand tools such as a coping saw, a carving knife, and a block plane. We’ll delve deeper into each of these in the sections below. And don’t forget safety glasses, a dust mask, and a well-ventilated workspace. Safety first, always. And remember, we are here to have fun and learn. And it’s going to be a fun ride, I can already tell.
Choosing Your Woods: A Palette of Possibilities
The heart of any intarsia project lies in the wood selection. The variety of colors, grains, and textures is what gives intarsia its unique depth and appeal. For the Bear and Raccoon Tree, consider these options:
- For the Tree: Maple or birch work well. Their light color provides a great base for the bark details. You could also opt for a darker wood, such as walnut, to create a more dramatic effect.
- For the Bear: Walnut, cherry, or a darker species like wenge can give the bear a rich, furry appearance. Consider using a lighter wood for the bear’s snout and chest.
- For the Raccoon: Use a combination of woods. For example, use a grey-toned wood for the body and a darker wood for the bandit mask and tail rings. White maple or a lighter wood can be used for the face and belly.
- For the Background: The background can be made from a contrasting wood to allow the design to pop. Consider using a dark wood such as walnut, or a lighter wood such as maple.
Remember, the beauty of intarsia is in the contrast. Experiment with different combinations to see what you like. Think about the grain patterns. A tight, straight grain will give a clean look, while a more figured grain adds character and visual interest. It really is all about your taste, and the possibilities are endless. Just have fun, and don’t be afraid to try new things.
The Patterns: Your Blueprint for Success
Patterns are your roadmap in intarsia. They guide your cuts and help you visualize the final piece. You can find pre-made patterns online, in woodworking magazines, or design your own.
Here are some tips for choosing or creating your pattern:
- Complexity: Start with a pattern that suits your skill level. The Bear and Raccoon Tree is a great intermediate project. It has enough detail to be challenging, but not so much that it becomes overwhelming.
- Detail: Pay attention to the level of detail in the pattern. Finer details require more precise cuts and can be more time-consuming.
- Size: Consider the size of the finished piece. Ensure the pattern is the right scale for the space you have in mind.
- Adaptability: Don’t be afraid to modify a pattern. Change the wood choices, add details, or adjust the design to your liking.
Once you have your pattern, you’ll need to transfer it to your wood. There are a few methods, including using carbon paper, printing the pattern directly onto adhesive paper and sticking it to the wood, or using a spray adhesive. The method you choose will depend on the pattern, your wood, and personal preference. I tend to use a spray adhesive, because it’s quick and easy.
Cutting and Shaping: Bringing the Pieces to Life
This is where the magic happens. Using your scroll saw (or band saw, if you have one), carefully cut out each piece of the pattern. The key is to follow the lines accurately.
Here are some tips for cutting:
- Blade Selection: Use the right blade for the job. A fine-tooth blade is ideal for intricate cuts. Change your blade often, as a dull blade will make your cuts harder, and may affect your accuracy.
- Speed and Feed: Don’t force the wood through the blade. Let the saw do the work. Adjust the speed and feed rate to achieve clean cuts.
- Backer Board: Use a backer board to support the wood and prevent tear-out, especially on the back side of the piece.
- Accuracy: Take your time. Measure twice, cut once. The more accurate your cuts, the better your finished piece will look.
- Beveling: Consider adding a slight bevel to the edges of your pieces. This can create a more three-dimensional effect and help the pieces fit together more smoothly. This is where you can use your block plane or a sanding block.
After cutting, you may need to refine the shapes. Use a sanding block, carving knife, or a small rasp to fine-tune the edges and ensure a snug fit. This step takes time, but it’s critical to the final outcome.
Assembly and Gluing: Putting the Puzzle Together
Once all the pieces are cut and shaped, it’s time to assemble the intarsia. Dry-fit the pieces first to make sure everything fits correctly. Make any minor adjustments needed before you begin gluing.
Here’s the gluing process:
- Glue: Use wood glue. Apply a thin, even layer to the mating surfaces of the pieces.
- Clamping: Use clamps to hold the pieces together while the glue dries. The amount of clamps needed will depend on the complexity of the design. Use enough to ensure a tight bond. Be careful not to over-clamp, as this can squeeze out the glue and distort the pieces.
- Drying Time: Allow the glue to dry completely before moving on to the next step. Follow the manufacturer’s instructions for drying times.
- Surface Prep: Once the glue is dry, sand the surface of the piece to create a smooth, even finish. Start with a coarser grit sandpaper and work your way up to a finer grit. This will also ensure that all the pieces are level with each other.
This is where the artwork starts to take shape. Seeing the pieces come together and the image taking form is one of the most rewarding parts of intarsia.
Finishing Touches: Enhancing the Beauty
The finishing touches are what bring your intarsia piece to life. The finish you choose will protect the wood and enhance its natural beauty.
Here are some options:
- Varnish: Varnish provides a durable, glossy finish. Apply several thin coats, sanding lightly between coats.
- Oil: Oil finishes, such as tung oil or linseed oil, penetrate the wood and enhance the grain. They provide a more natural look and feel. Apply several coats, allowing each coat to dry completely.
- Wax: Wax provides a protective layer and adds a soft sheen. Apply a coat of wax after the oil finish has completely dried.
- Coloring: You can add color to your intarsia using stains, dyes, or paints. This can be used to highlight specific areas, or to add more detail. However, be careful. Overdoing it will ruin the natural beauty of the wood.
Before applying your finish, make sure the surface is clean and free of any dust or debris. Always follow the manufacturer’s instructions for the finish you choose. And remember, the finish is what protects your hard work, so take your time and do it right.
Display and Enjoy: Sharing Your Creation
Congratulations, you’ve finished your Bear and Raccoon Tree wall hanging. Now it’s time to display your masterpiece.
Here are some ideas:
- Hanging: Attach a picture hanger to the back of your piece. Make sure the hanger is sized for the weight of your intarsia. Make sure it is mounted securely.
- Placement: Hang your intarsia in a prominent location where it can be admired. Consider the lighting and the overall decor of the space.
- Sharing: Share your work with others. Post photos on social media, or give it as a gift to a loved one.
Intarsia is a rewarding craft. It combines artistry, patience, and skill, and the results are really awesome. I hope this tutorial has inspired you to try your hand at intarsia. Remember to have fun, be patient, and enjoy the process. The joy you get from creating something with your own hands, from start to finish, is something that will last a lifetime. Happy woodworking, friends. And until next time, keep creating.
Creating the Bear and Raccoon Tree Wall Hanging is more than just a woodworking project; it’s an exploration of texture, color, and the beauty of natural materials. As you embark on your intarsia journey, remember that each piece is a learning experience. Don’t be afraid to experiment, make mistakes, and most importantly, enjoy the process. The satisfaction of creating something beautiful with your own hands is truly unmatched. I can not wait to see what you create. Keep practicing, keep learning, and keep sharing your wonderful creations with the world. Happy crafting.
[sps_html tag=”img” src=”https://cdn.theartssection.com/wp-content/uploads/2025/05/pin-on-figuras-disenos-en-madera-throughout-intarsia-mastery-a-deep-dive-into-the-bear-and-raccoon-tree-wall-hanging-scaled.jpg” alt=”Pin On Figuras & Diseños En Madera throughout Intarsia Mastery A Deep Dive into the Bear and Raccoon Tree Wall Hanging” style=”width: 100%; height: auto;”]
[sps_html tag=”img” src=”https://cdn.theartssection.com/wp-content/uploads/2025/05/mountain-sunset-bohemian-tapestry-wall-hanging-tree-forest-nature-for-bear-and-raccoon-in-tree-hand-crafted-intarsia-wood-art-wall-hanging-11-x-34-x.jpeg” alt=”Mountain Sunset Bohemian Tapestry Wall Hanging, Tree Forest Nature … for Bear And Raccoon In Tree Hand Crafted Intarsia Wood Art Wall Hanging 11 X 34 X” style=”width: 100%; height: auto;”]
[sps_html tag=”img” src=”https://cdn.theartssection.com/wp-content/uploads/2025/05/bear-and-raccoon-in-a-tree-hand-crafted-intarsia-wood-art-wall-hanging-for-bear-and-raccoon-in-tree-hand-crafted-intarsia-wood-art-wall-hanging-11-x-34-x.jpg” alt=”Bear And Raccoon In A Tree Hand Crafted Intarsia Wood Art Wall Hanging … for Bear And Raccoon In Tree Hand Crafted Intarsia Wood Art Wall Hanging 11 X 34 X” style=”width: 100%; height: auto;”]
[sps_html tag=”img” src=”https://cdn.theartssection.com/wp-content/uploads/2025/05/pin-on-pendrive-intended-for-bear-and-raccoon-in-tree-hand-crafted-intarsia-wood-art-wall-hanging-11-x-34-x.jpg” alt=”Pin On Pendrive intended for Bear And Raccoon In Tree Hand Crafted Intarsia Wood Art Wall Hanging 11 X 34 X” style=”width: 100%; height: auto;”]
[sps_html tag=”img” src=”https://cdn.theartssection.com/wp-content/uploads/2025/05/beautifully-hand-crafted-3-dimensional-intarsia-wood-art-koala-etsy-uk-throughout-intarsia-mastery-a-deep-dive-into-the-bear-and-raccoon-tree-wall-hanging.jpg” alt=”Beautifully Hand Crafted 3 Dimensional Intarsia Wood Art Koala - Etsy Uk throughout Intarsia Mastery A Deep Dive into the Bear and Raccoon Tree Wall Hanging” style=”width: 100%; height: auto;”]