
Have you ever looked at a blank wall and wondered what could be done with all that empty space? What if we told you that you could turn those bare surfaces into organized, functional areas that actually enhance your home’s beauty? This isn’t just about hanging pictures anymore – it’s about strategic planning that makes the most of every inch of wall space using wood as your primary material.
When it comes to making the most of our living spaces, one often-overlooked area is the wall itself. Walls aren’t just boundaries – they’re potential storage zones, display areas, and organizational hubs. Wooden hanging installations offer a unique combination of functionality, aesthetics, and durability that makes them ideal for maximizing wall space. Whether you’re dealing with a small apartment or a spacious home, strategic wooden installations can completely change how you interact with your environment. The right approach can transform a boring wall into a statement piece while solving real storage problems. Think about it – how many times have you found yourself looking for a place to put something, only to realize there’s no room anywhere else? That’s where thoughtful wooden wall installations come in.
Understanding Your Wall Space Potential
Before diving into installation specifics, it’s crucial to understand what your walls can actually support. Every wall has different load-bearing capabilities depending on its construction. Drywall can typically handle lightweight items, while solid brick or concrete walls can support much heavier loads. Consider the weight of what you plan to hang – books, plants, art pieces, or kitchen utensils all require different considerations.
The first step is measuring your available wall space carefully. Are you planning to install shelves across an entire wall or just a section? Do you want to create a gallery wall or organize items by category? These decisions will determine both the size and placement of your wooden installations.
Many people make the mistake of underestimating how much space they actually have. A 12-foot wall might seem like a lot, but when you factor in doorways, windows, and furniture placement, you might find you have fewer usable square feet than expected. This is where strategic thinking becomes essential.
Choosing the Right Wood Materials
Not all woods are created equal, especially when it comes to wall installations. The choice between pine, oak, maple, or bamboo can significantly impact both the look and function of your project.
Pine is popular for beginners due to its affordability and ease of working with. It’s softer and may dent more easily, but it gives a rustic charm that works well in casual settings. Oak offers excellent strength and durability, making it great for heavier items. Maple provides a clean, modern look with good resistance to wear.
Bamboo has gained popularity recently for its sustainability and strength. It’s particularly good for humid environments and offers a unique texture that adds character. However, bamboo can be more expensive than traditional hardwoods.
Consider also the finish options. Natural wood tones can blend seamlessly with existing decor, while stained or painted finishes allow for more creative expression. The grain pattern and color of your wood will influence how it interacts with lighting in the room, so test samples in your space before committing.
Planning Your Installation Layout
A successful wooden wall installation starts with careful planning. You don’t want to rush into drilling holes and hanging items without a clear vision of what you’re creating. Here are some key considerations:
• Height placement – Generally, the center of hanging items should be around 57-60 inches from the floor for optimal viewing
• Spacing consistency – Maintain even gaps between shelves or hanging items
• Visual balance – Larger items should be placed higher, smaller items lower
• Functional zones – Group similar items together for easy access
Consider the room’s purpose and traffic flow. In a kitchen, you might want easy access to frequently used items, while a bedroom might benefit from more decorative displays. Sketch out your ideas before making any cuts or drilling.
Many people overlook the importance of considering the entire wall as a unit rather than individual elements. A cohesive design approach creates better visual impact and ensures your installation looks intentional rather than haphazard.
Essential Tools and Safety Considerations
Getting the right tools makes all the difference in creating professional-looking installations. You’ll need a stud finder, level, drill bits appropriate for your wall type, and proper screws for your wood selection. A tape measure and pencil are fundamental, but don’t underestimate the importance of having quality tools.
Safety should never be compromised. Always check that your wall anchors can support the intended weight. If you’re unsure about load capacity, err on the side of caution and use additional support brackets. Never assume a wall can hold more than it was designed for.
For those new to DIY projects, consider starting with lighter installations to build confidence. Even experienced installers sometimes struggle with unexpected wall conditions, so always prepare for surprises. A few extra screws or brackets can save you from future headaches.
Installation Techniques and Best Practices
There are several approaches to mounting wooden installations, each with their own advantages. The most common methods include:
• Direct wall mounting – Simple and effective for lighter loads, requires finding studs
• Bracket systems – Provide extra support and allow for adjustable positioning
• Floating shelf designs – Create a modern look with minimal visible hardware
The key to success lies in preparation. Clean the wall surface thoroughly before installing anything. Use a level to ensure everything is straight, and double-check measurements before drilling. Some people prefer to pre-drill pilot holes to prevent wood splitting.
Consider the spacing between your mounting points. Too close together and you’ll have limited flexibility in what you can hang. Too far apart and your installation may sag over time. A general rule of thumb is to space mounting points every 16-24 inches for standard shelves.
Creative Design Ideas for Different Rooms
Different rooms call for different approaches to wall installations. A kitchen might benefit from a series of floating shelves for spices, cookbooks, and decorative items. These installations can be designed to follow the shape of cabinets or create visual interest along a backsplash.
In a living room, consider creating a media console with built-in shelving that incorporates the wall space effectively. You could install a mix of open and closed storage units to accommodate both display items and hidden clutter.
Bedrooms often benefit from tall, narrow installations that maximize vertical space without overwhelming the room. These can include clothing storage, bookshelves, or decorative elements that add personality.
Home offices can utilize wall installations for filing systems, display areas for inspirational quotes, or even standing desks that incorporate built-in storage. The key is matching the design to the room’s function while maintaining aesthetic appeal.
Maintenance and Longevity Tips
Once installed, your wooden wall systems require ongoing care to maintain their appearance and structural integrity. Regular dusting prevents buildup that can dull the wood’s finish. For deeper cleaning, use appropriate wood cleaners and avoid harsh chemicals that could damage the surface.
Check mounting hardware periodically for signs of loosening. Wood naturally expands and contracts with temperature and humidity changes, which can affect fasteners over time. Tightening screws once or twice a year keeps everything secure.
Consider the environmental conditions in your space. High humidity areas might require special finishes or treatments to protect the wood from warping. In very dry climates, wood might need additional moisture protection.
Replace worn hardware or damaged sections promptly to maintain both safety and appearance. A single loose shelf can become a hazard, and unsightly damage can detract from your carefully planned installation.
Maximizing wall space through strategic wooden hanging installations isn’t just about adding storage – it’s about transforming how you experience your living environment. When thoughtfully planned and properly executed, these installations can serve multiple purposes while enhancing the overall aesthetic of any room. The key is starting with clear intentions, choosing appropriate materials, and paying attention to detail throughout the process.
Whether you’re tackling a simple shelf project or designing a complex storage system, remember that good wall installations are built on careful consideration of function, form, and longevity. They should complement your lifestyle rather than complicate it. With the right approach, your walls can become the star feature of your home, providing both practical benefits and visual appeal. The investment in time and effort pays dividends in organization, beauty, and daily enjoyment. Sometimes the best improvements come from simply making better use of what’s already there – your walls, that is.
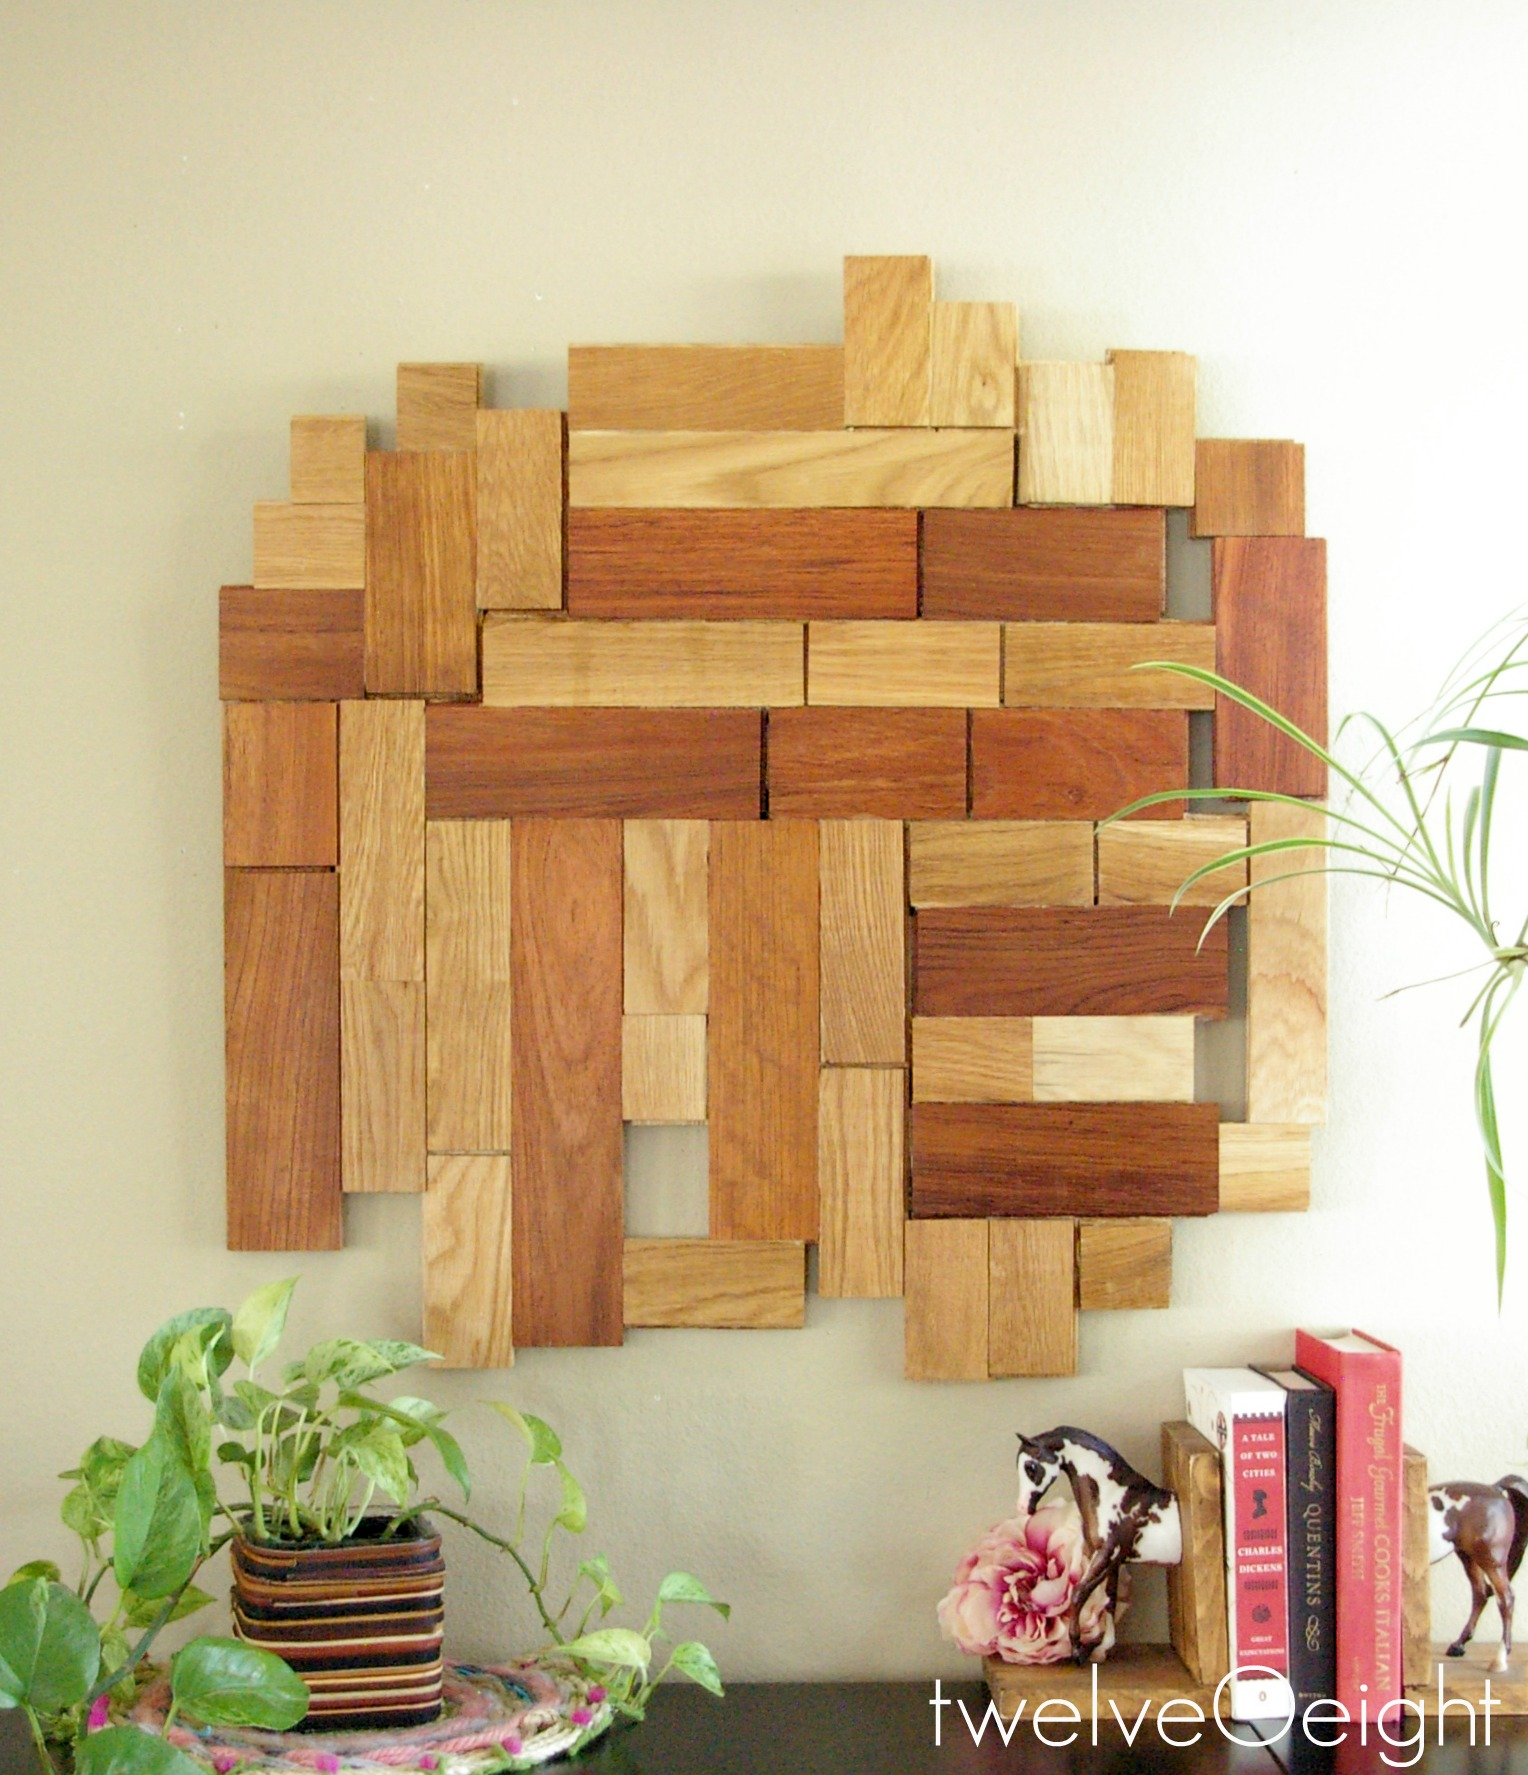
[sps_html tag=”img” src=”https://cdn.theartssection.com/wp-content/uploads/2025/11/50-wooden-wall-decor-art-finds-to-help-you-add-rustic-beauty-to-your-room-pertaining-to-understanding-the-artistry-behind-wooden-wall-hanging-sets.jpg” alt=”50 Wooden Wall Decor Art Finds To Help You Add Rustic Beauty To Your Room pertaining to Understanding the Artistry Behind Wooden Wall Hanging Sets” style=”width: 100%; height: auto;”]
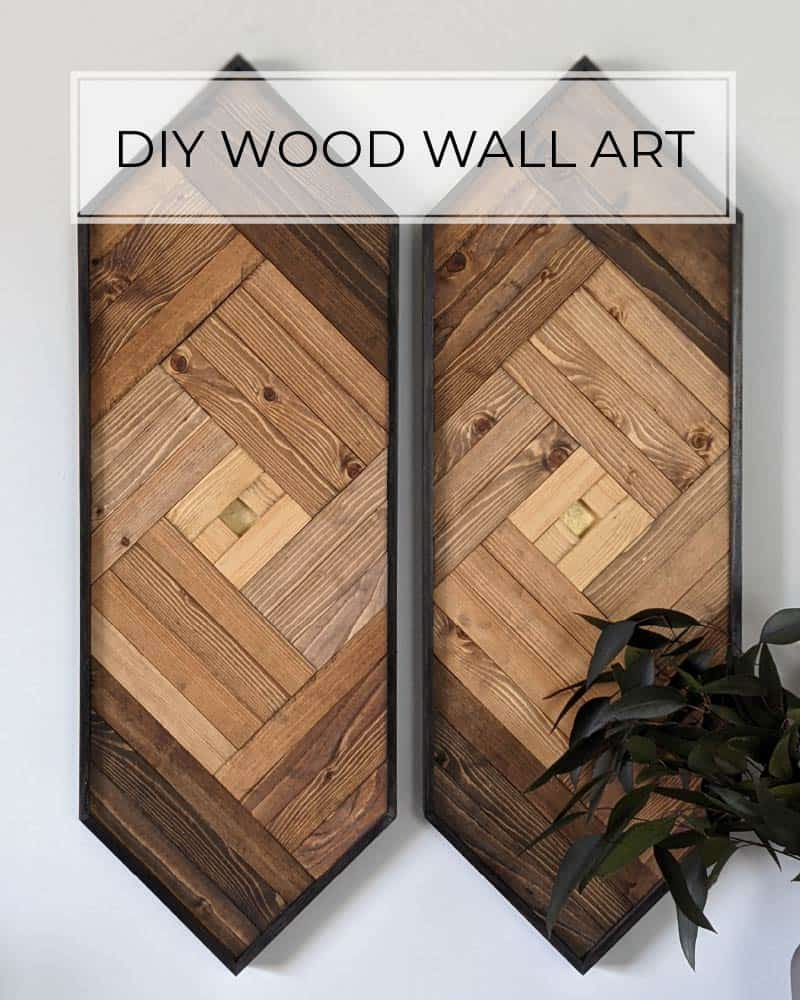
[sps_html tag=”img” src=”https://cdn.theartssection.com/wp-content/uploads/2025/11/find-the-best-modern-wooden-wall-decor-ideas-for-home-interior-design-within-wall-hanging-2-piece-set-16h-18-75h-wood.jpg” alt=”Find The Best & Modern Wooden Wall Decor Ideas For Home Interior Design … within Wall Hanging 2-Piece Set, 16"H, 18.75"H Wood” style=”width: 100%; height: auto;”]
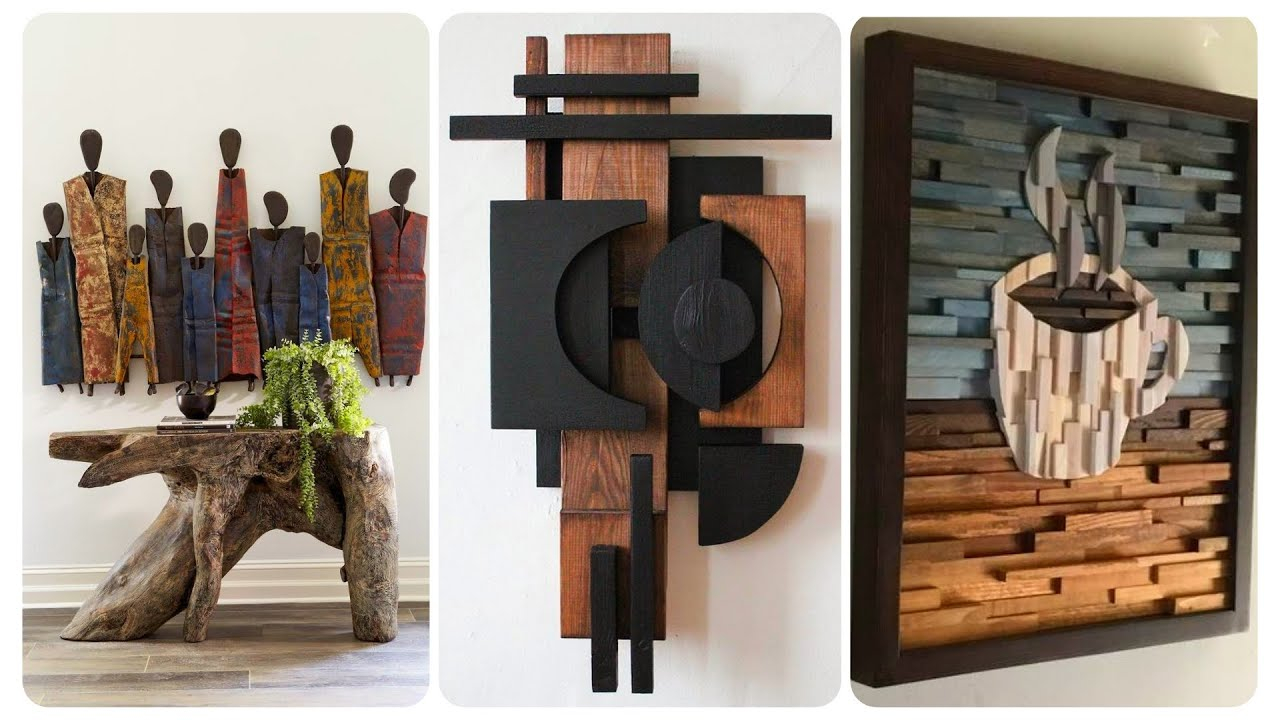
[sps_html tag=”img” src=”https://cdn.theartssection.com/wp-content/uploads/2025/11/how-to-make-wood-wall-art-for-wall-hanging-2-piece-set-16h-18-75h-wood.jpg” alt=”How To Make Wood Wall Art for Wall Hanging 2-Piece Set, 16"H, 18.75"H Wood” style=”width: 100%; height: auto;”]
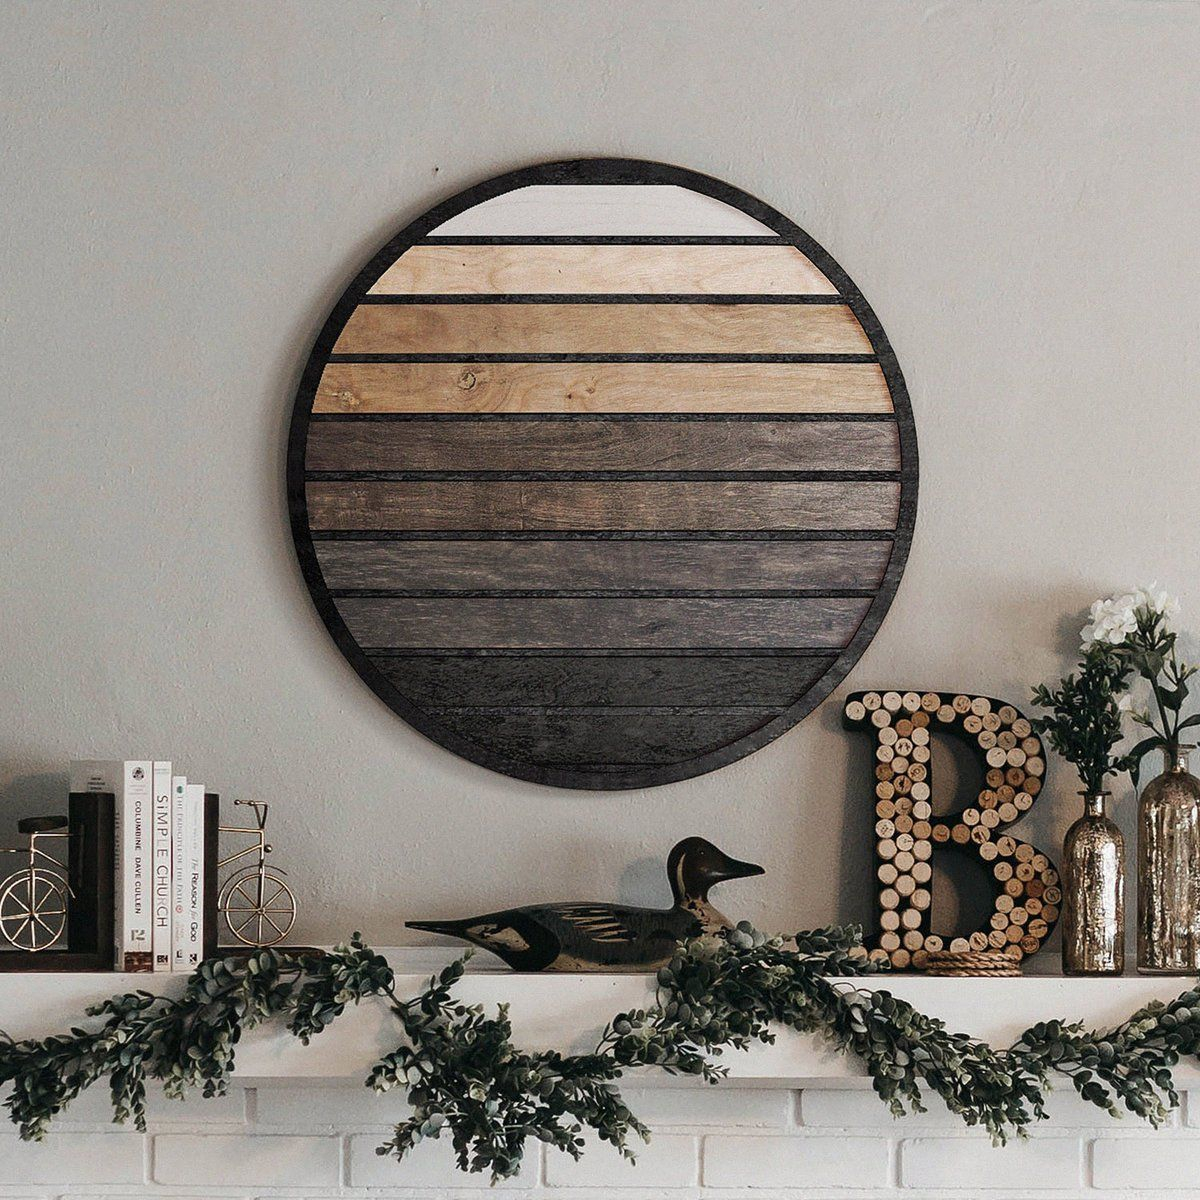
[sps_html tag=”img” src=”https://cdn.theartssection.com/wp-content/uploads/2025/11/48-wood-wall-hanging-art-pictures-blog-wurld-home-design-info-inside-wall-hanging-2-piece-set-16h-18-75h-wood.jpg” alt=”48+ Wood Wall Hanging Art Pictures - Blog Wurld Home Design Info inside Wall Hanging 2-Piece Set, 16"H, 18.75"H Wood” style=”width: 100%; height: auto;”]
[sps_html tag=”img” src=”https://cdn.theartssection.com/wp-content/uploads/2025/11/dark-wood-wall-hanging-at-jason-criner-blog-with-regard-to-understanding-the-artistry-behind-wooden-wall-hanging-sets.jpg” alt=”Dark Wood Wall Hanging At Jason Criner Blog with regard to Understanding the Artistry Behind Wooden Wall Hanging Sets” style=”width: 100%; height: auto;”]