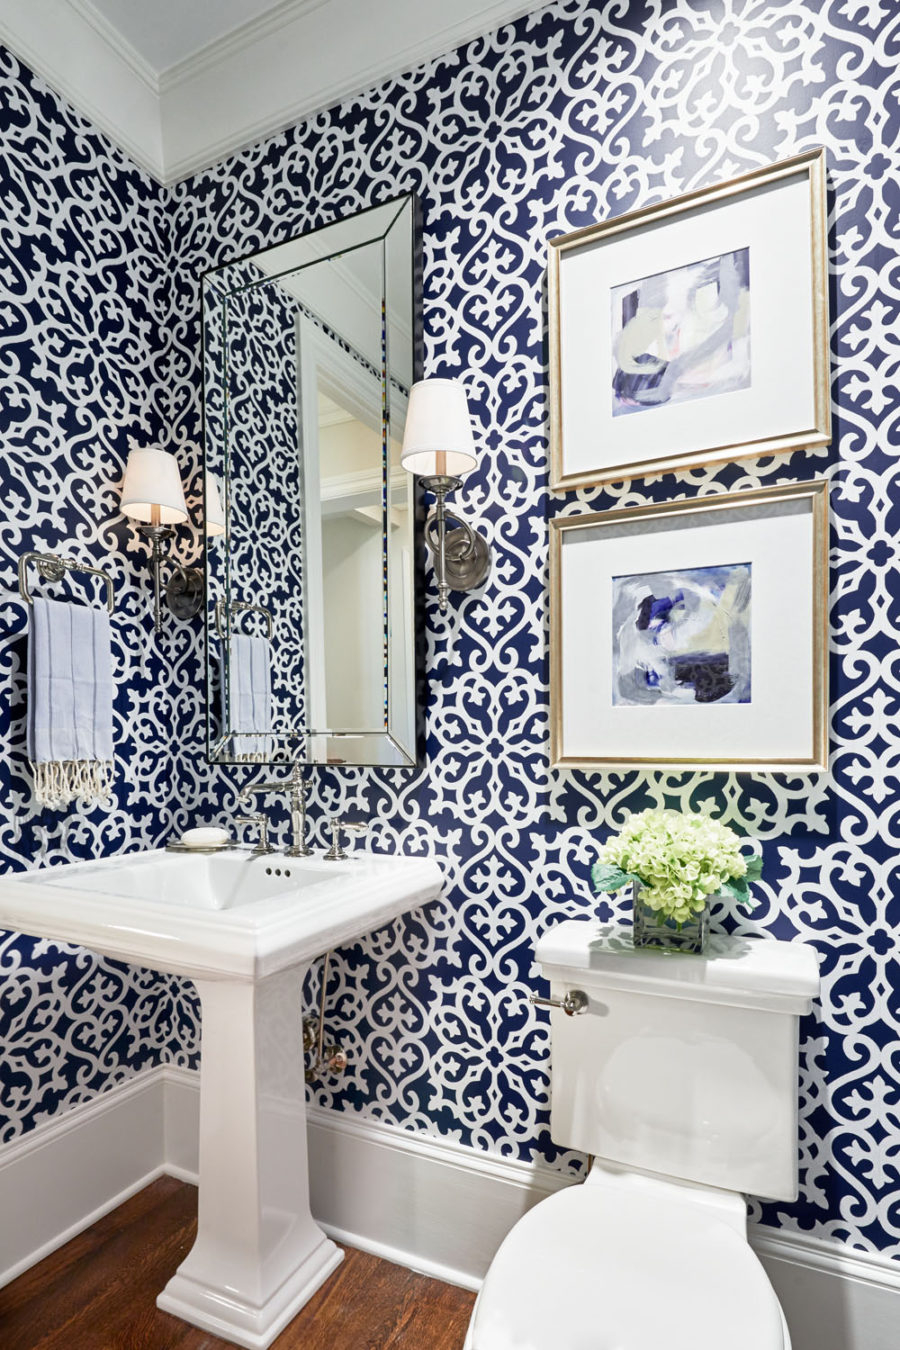

Wallpaper can completely change the look of a room, adding personality and flair. But, it can also be a tricky job to get right, so many people find it intimidating. Don’t worry, though. With a little planning, the right tools, and the right knowledge, you can absolutely achieve professional-looking results. This guide, drawn from years of experience and a passion for interior design, will walk you through every step of the wallpapering process. We’ll cover everything from choosing the perfect wallpaper to dealing with tricky corners and patterns. Get ready to transform your space and unleash your inner designer. And, we’ll also sprinkle in a few insider secrets that’ll make the whole process a lot easier and more enjoyable. Ready to get started and make your home look great?
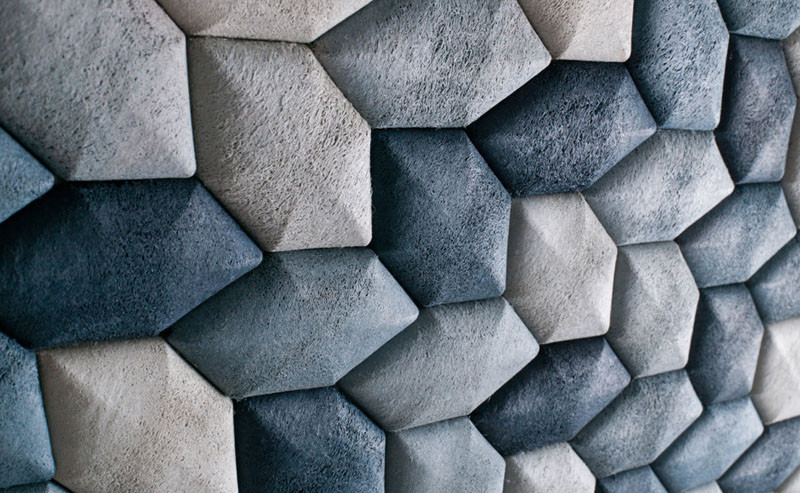
Wallpaper, once considered a relic of the past, is experiencing a huge resurgence. It’s no longer just about floral patterns and outdated designs. Today’s wallpaper comes in an amazing variety of styles, textures, and materials. From bold geometric prints to subtle, textured finishes, there’s a wallpaper out there to suit every taste and every room. Why is it so popular? Well, wallpaper offers a way to add depth, character, and personality to a space that paint simply can’t match. It can create a cozy feel in a bedroom, a dramatic statement in a living room, or a touch of elegance in a dining area. Plus, with modern advancements in wallpaper technology, installation is easier than ever before. Let’s dive in to see how.
Preparation is Key: The Foundation for Success
Before you even think about unrolling that beautiful wallpaper, you need to prep the walls. This phase is super important, and it’s where many amateur projects fall apart. Here’s the lowdown:
- Surface Check: Inspect your walls for any imperfections. Fill any holes, cracks, or dents with spackle and let it dry completely. Sand the areas smooth, and then dust them off. The surface needs to be smooth or the wallpaper will show all the flaws.
- Cleaning: Clean the walls to remove any dirt, grease, or dust. Use a mild detergent and water, then rinse with clean water and let them dry thoroughly. This is very important.
- Priming: Prime the walls with a wallpaper primer. This creates a surface that the wallpaper can grip to, and it helps prevent the wallpaper from absorbing moisture from the adhesive. Primer also helps with future removal of the wallpaper. It’s a must-have.
- Measuring and Planning: Measure the height and width of each wall. Calculate how much wallpaper you’ll need, accounting for pattern repeats. It’s better to have extra than to run out mid-project. It’s also wise to have extra just in case there are some mistakes. Plan your pattern layout to minimize waste and ensure a visually appealing result.
Think of prep work as building the foundation of a house; without it, the whole structure is at risk.
Choosing Your Weapon: The Right Tools for the Job
Having the right tools makes all the difference. Here’s what you’ll need:
- Wallpaper Paste: Choose the right type of paste for your wallpaper. Pre-pasted, unpasted, and paste-the-wall options are the main types. Follow the wallpaper’s instructions.
- Paste Tray and Brush or Roller: For applying paste to unpasted wallpaper.
- Smoothing Brush or Squeegee: To smooth out air bubbles and ensure a good bond.
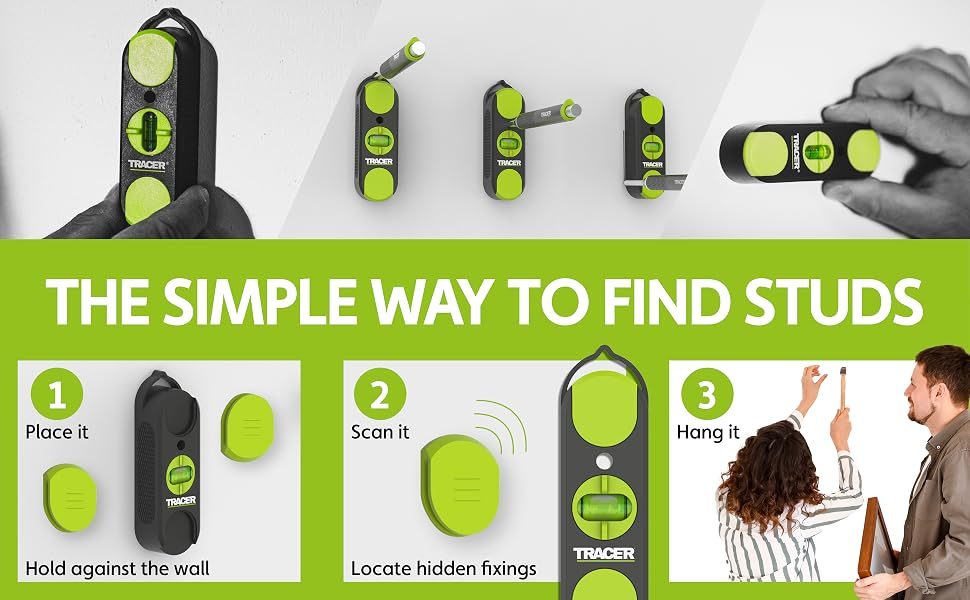
- Measuring Tape and Level: For accurate measurements and ensuring vertical alignment.
- Utility Knife or Razor Blade: For trimming excess wallpaper.
- Seam Roller: To press the seams flat and secure.
- Plumb Bob (Optional): To determine a perfectly vertical line.
- Drop Cloths: To protect your floor.
- Sponge and Clean Water: For cleaning up any paste spills immediately.
Investing in quality tools will make the entire process much smoother and more efficient. You don’t need to break the bank, but don’t skimp on the essentials.
Hanging with Confidence: Step-by-Step Wallpaper Application
Now for the fun part. Here’s how to hang wallpaper like a pro:
- Prepare the First Strip: Cut your first strip of wallpaper, adding a few extra inches at the top and bottom for trimming. If it’s patterned, match the pattern before cutting.
- Apply the Paste (if needed): Follow the wallpaper’s instructions. For unpasted paper, apply an even layer of paste to the back of the paper, making sure to cover the edges. Fold the pasted paper onto itself (called ‘booking’) and let it sit for the recommended time to allow the paste to activate.
- Position the First Strip: Using a level or plumb bob, mark a vertical line on the wall to guide your first strip. Align the top edge of the wallpaper with the ceiling and carefully smooth it onto the wall, working from the top down. Use your smoothing brush or squeegee to remove air bubbles.
- Trim the Excess: Use your utility knife and a straight edge to trim the excess paper at the top and bottom. Be careful not to cut into the wall.
- Hang Subsequent Strips: Overlap or butt the edges of the next strip to the first, matching the pattern. Smooth it out and trim any excess. Use a seam roller to secure the seams.
- Handle Corners: For inside corners, wrap the wallpaper around the corner, leaving a small overlap. For outside corners, apply the wallpaper to one side, then use a separate piece of wallpaper to cover the other side, overlapping slightly.
- Wipe Away Excess Paste: Clean any paste spills immediately with a damp sponge.
Take your time, be patient, and don’t be afraid to reposition a strip if needed. The key is to work systematically and pay attention to detail.
Tackling Tricky Situations: Corners, Windows, and Doors
Corners, windows, and doors can present challenges, but with a little know-how, you can conquer them.
- Inside Corners: Measure the distance from the last full strip of wallpaper to the corner. Add about an inch and cut your next piece of wallpaper to that width. Hang this piece in the corner, overlapping onto the adjacent wall. Then, hang the next piece on the adjacent wall, butting it up to the overlapped piece. You can also wrap the paper around the corner, but it can be tricky and may cause the wallpaper to pull away from the wall.
- Outside Corners: Apply the wallpaper to one side of the corner, wrapping it slightly around. Then, apply a new piece of wallpaper to the adjacent wall, butting it up to the wrapped edge. Trim any excess.
- Windows and Doors: When you reach a window or door, allow the wallpaper to extend past the opening. Then, carefully trim the excess paper around the frame using a utility knife and straight edge. If your pattern has a large repeat, you might need to adjust the placement of the wallpaper to ensure the pattern aligns properly around the opening.
- Electrical Outlets and Light Switches: Turn off the power to the area you’re working in. Loosen the outlet or switch plate screws and remove the cover plate. Apply the wallpaper over the outlet or switch. Then, carefully cut around the opening with your utility knife. Replace the cover plate.
These situations often require a bit of extra attention and precision, but the results are well worth the effort.
Pattern Play: Mastering the Art of Matching
Working with patterned wallpaper requires a bit more planning and care. Here’s how to achieve a seamless look:
- Understand the Pattern Repeat: Know the pattern repeat (the distance between identical points in the pattern). This will determine how much wallpaper you need to cut for each strip.
- Match the Pattern: Before cutting each strip, align the pattern with the previously hung strip. This may require some waste to ensure the pattern lines up correctly.
- Cut and Book the Strips: Cut several strips at once, matching the pattern. Then, book the strips (fold them pasted sides together) to allow the paste to activate. This also makes it easier to handle the paper.
- Plan the Layout: Start with a full strip in a prominent position (like above a fireplace or in the center of a wall). Adjust the starting point if necessary to minimize pattern waste or to center a key design element.
- Be Patient: Pattern matching takes time and patience. Don’t rush the process. Check the pattern carefully and adjust as needed. You might need to make some adjustments as you go. It’s all part of the game.
Proper pattern matching can elevate the look of your room and make your wallpapering project a true work of art.
Finishing Touches and Troubleshooting
Once your wallpaper is up, it’s time for the finishing touches and to address any problems that might pop up.
- Inspect for Imperfections: Once the wallpaper has dried, inspect your work for any air bubbles, loose seams, or other imperfections. Use a seam roller to secure any loose seams. If there are air bubbles, you can often smooth them out with a smoothing brush or a needle, being careful not to tear the paper.
- Clean Up: Wipe down the wallpaper with a clean, damp sponge to remove any remaining paste residue. Clean up any spills or drips immediately.
- Let it Dry: Allow the wallpaper to dry completely before replacing furniture or accessories. This can take a day or two.
- Troubleshooting Common Issues:
- Bubbles: If bubbles appear, use a smoothing brush to work them out. For stubborn bubbles, use a needle to prick the bubble and release the air.
- Seams Peeling: Use a seam roller to press the seams firmly. You can also apply a small amount of wallpaper seam adhesive.
- Pattern Misalignment: If the pattern is slightly off, don’t panic. You can often adjust the placement of the next strip to compensate.
- Wallpaper Shrinking: Some wallpapers may shrink slightly as they dry. If this happens, you may need to gently stretch the paper to close any gaps, but only if the manufacturer says it’s okay.
With a keen eye for detail and a little patience, you can address any issues and achieve a professional-looking finish.
Wallpapering is a rewarding project that can transform your home and boost your confidence. By following these tips, you can avoid common pitfalls and achieve stunning results. Remember, preparation is key, and taking your time is essential. Don’t be afraid to experiment with different patterns and textures to create a space that truly reflects your personal style. So, gather your tools, choose your wallpaper, and get ready to embark on a creative adventure. With a little effort, you can conquer the canvas and create a beautiful, inviting home. Happy wallpapering. And, most importantly, have fun. It’s meant to be an enjoyable experience. After all, your house is your kingdom.
[sps_html tag=”img” src=”https://cdn.theartssection.com/wp-content/uploads/2025/06/conquer-wallpaper-by-quotefancy-intended-for.jpg” alt=”“Conquer.” Wallpaper By Quotefancy intended for” style=”width: 100%; height: auto;”]
[sps_html tag=”img” src=”https://cdn.theartssection.com/wp-content/uploads/2025/06/demystifying-ai-a-practical-case-by-dilitrust-dilitrust-with-regard-to.png” alt=”Demystifying Ai: A Practical Case By Dilitrust - Dilitrust with regard to” style=”width: 100%; height: auto;”]
[sps_html tag=”img” src=”https://cdn.theartssection.com/wp-content/uploads/2025/06/f09f94a5-40-conquering-wallpapers-wallpapersafari-for.jpg” alt=”🔥 [40+] Conquering Wallpapers | Wallpapersafari for” style=”width: 100%; height: auto;”]
[sps_html tag=”img” src=”https://cdn.theartssection.com/wp-content/uploads/2025/06/guide-on-how-to-write-a-ph-d-thesis-jaro-education-regarding.jpg” alt=”Guide On How To Write A Ph.d. Thesis | Jaro Education regarding” style=”width: 100%; height: auto;”]
[sps_html tag=”img” src=”https://cdn.theartssection.com/wp-content/uploads/2025/06/demystifying-ai-ml-a-practical-guide-for-businesses-by-tarscope-regarding-conquering-wallpaper-demystifying-the-process-with-practical-tips.jpeg” alt=”Demystifying Ai/Ml: A Practical Guide For Businesses | By Tarscope … regarding Conquering Wallpaper Demystifying the Process with Practical Tips” style=”width: 100%; height: auto;”]