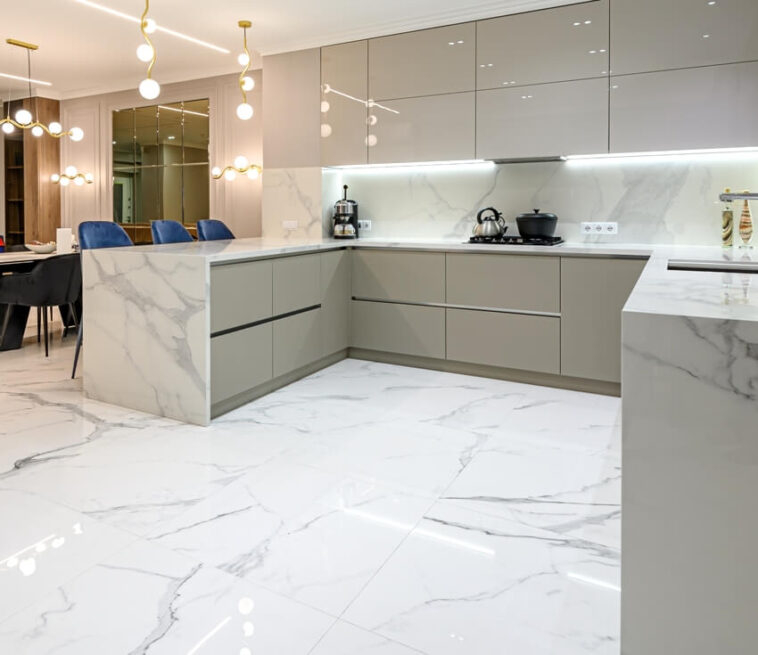
Imagine walking into a room where the floor looks like expensive marble, but you didn’t spend thousands on installation. That’s exactly what peel and stick marble tiles can do for your home. These handy products have revolutionized DIY home improvement, offering the luxury look without the heavy lifting. Whether you’re updating a kitchen backsplash, renovating a bathroom, or giving your living room a sophisticated upgrade, these tiles are changing the game.
Marble effect peel and stick tiles have become increasingly popular among homeowners who want that elegant, high-end look without the hassle and expense of traditional tiling. The beauty of these tiles lies in their simplicity – they’re designed to be user-friendly, requiring no special skills or expensive tools. You might wonder if they can really deliver on that marble appearance, and honestly, they often do. They’re particularly great for those who aren’t confident in their tiling abilities but still crave that sophisticated aesthetic. From small bathrooms to large kitchens, these tiles offer a versatile solution for almost any space. The key is understanding how to properly prepare surfaces and apply them correctly.
Understanding Marble Effect Peel and Stick Tiles
Before diving into installation, it’s important to know what you’re working with. These tiles are typically made from vinyl or PVC materials that mimic the veining and texture of real marble. They come in various sizes, from small 4×4 inch squares to larger 12×12 inch formats. The adhesive backing is usually quite strong, designed to hold up under normal household conditions. However, they do have limitations – they’re best suited for dry areas like bathrooms and kitchens, not spaces with high moisture or heavy foot traffic. The quality varies significantly between brands, so investing in good-quality tiles is crucial for long-term success. Some tiles even feature a matte finish that reduces fingerprints and water marks, which is helpful for busy households.
Essential Preparation Steps
Proper preparation makes all the difference in your tile installation project. Start by thoroughly cleaning the surface you’ll be working on. Remove any grease, dirt, or old adhesive residue. Use a degreaser for stubborn spots and let everything dry completely before proceeding. If the surface isn’t perfectly smooth, consider using a primer or leveling compound to create an even base. For walls, make sure they’re clean and free from loose paint or peeling material. When measuring your space, account for cutting around fixtures and obstacles. It’s better to measure twice and cut once, rather than end up with misaligned tiles. Consider using a chalk line to mark straight guides for alignment purposes. Also, check if the surface temperature will affect adhesion – cold surfaces can reduce the effectiveness of the adhesive.
Choosing the Right Tools and Materials
You don’t need a full toolbox for this project, but having the right items will make things much easier. A utility knife or tile cutter is essential for trimming edges and fitting around obstacles. Measuring tape and a pencil help with marking placement lines. A notched trowel can be useful for pressing tiles firmly into place. A damp cloth keeps the surface clean during installation. For cutting tiles precisely, consider investing in a small tile cutter or even a jigsaw for more complex shapes. The tiles themselves should come with detailed installation instructions. Having extra tiles on hand is smart – you never know when you might need to replace one or two. A level helps ensure your first row is perfectly straight. Don’t forget to wear safety glasses when cutting tiles. Sometimes a small amount of silicone caulk can help seal gaps along edges.
Step-by-Step Installation Process
Begin with laying out all your tiles to plan the pattern and identify where cuts will be needed. This helps avoid mistakes later. Start with the center of the wall or floor area and work outward. Press each tile firmly into place, starting from one corner. Work carefully to avoid air bubbles or wrinkles. Use a roller or squeegee to remove any trapped air. Check that tiles are aligned properly and adjust as needed before the adhesive fully sets. Pay attention to the direction of the marble pattern – try to keep it consistent across rows. If you’re installing on a wall, start at the bottom and work upward. For floors, begin from the back of the room and move toward the entrance. Apply gentle pressure for several minutes to ensure proper adhesion. Remember that some tiles may need time to fully bond, so don’t rush the process. Take breaks if needed to avoid fatigue.
Common Challenges and Solutions
Even experienced DIYers face issues when installing these tiles. Air bubbles are probably the most common problem. If you notice one, gently lift the edge and press it down again. Uneven surfaces can cause tiles to not lay flat properly. In such cases, consider using a thin layer of leveling compound. Some tiles may not adhere well to certain surfaces like painted drywall. Testing a small area first can prevent bigger problems. Overlapping edges can happen if you’re not careful with measurements. Use a straight edge to check alignment regularly. If tiles don’t fit perfectly, don’t panic – you can usually trim them with a sharp utility knife. Temperature changes can affect how well the adhesive works. Try to work in moderate temperatures for best results. Sometimes the pattern doesn’t align perfectly due to irregularities in the wall surface.
Finishing Touches and Maintenance Tips
Once all tiles are installed, allow the adhesive to cure according to manufacturer instructions, usually 24-48 hours. Clean up any excess adhesive with a damp cloth while it’s still wet. For the final look, you might want to seal the edges with caulk if there are gaps. Check that all tiles are flush with each other and that there are no loose edges. Test the tiles’ durability by walking on them carefully. Regular maintenance keeps your marble effect tiles looking fresh. Wipe up spills immediately to prevent staining. Use mild soap and water for routine cleaning. Avoid harsh chemicals that could damage the surface. If you notice any tiles coming loose, address them quickly before they become a bigger issue. Consider resealing the tiles every few years to maintain their appearance. Remember that these tiles are not indestructible, so avoid dragging heavy furniture across them.
Installing marble effect peel and stick tiles is definitely achievable for most homeowners, provided you take the time to prepare properly and follow the steps carefully. The key is patience and attention to detail. While they may not last forever like traditional marble, they offer excellent value and a stunning visual impact. These tiles can transform any space quickly and affordably. Many people find that the satisfaction of completing the project themselves makes the investment worthwhile. Whether you’re doing a small bathroom renovation or a larger kitchen update, these tiles provide a practical solution that delivers impressive results. The learning curve is manageable, and with practice, anyone can master the technique. So why not give it a try? Your space deserves that elegant marble look, and now you have the tools to make it happen.
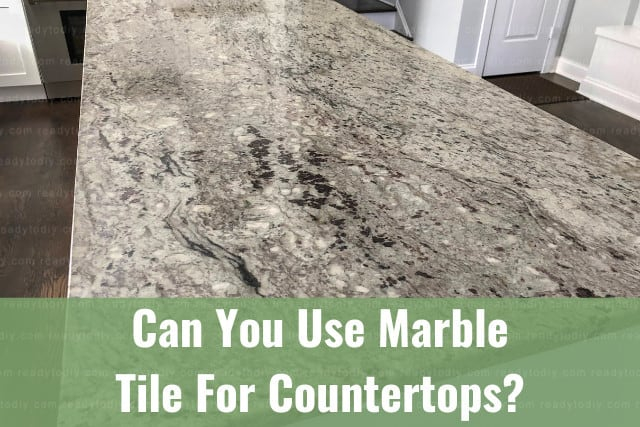
[sps_html tag=”img” src=”https://cdn.theartssection.com/wp-content/uploads/2025/10/can-you-use-marble-tile-for-countertops-how-to-ready-to-diy-intended-for-quick-kitchen-makeover-with-easy-to-apply-marble-tiles.jpg” alt=”Can You Use Marble Tile For Countertops? (How To) - Ready To Diy intended for Quick kitchen makeover with easy to apply marble tiles” style=”width: 100%; height: auto;”]
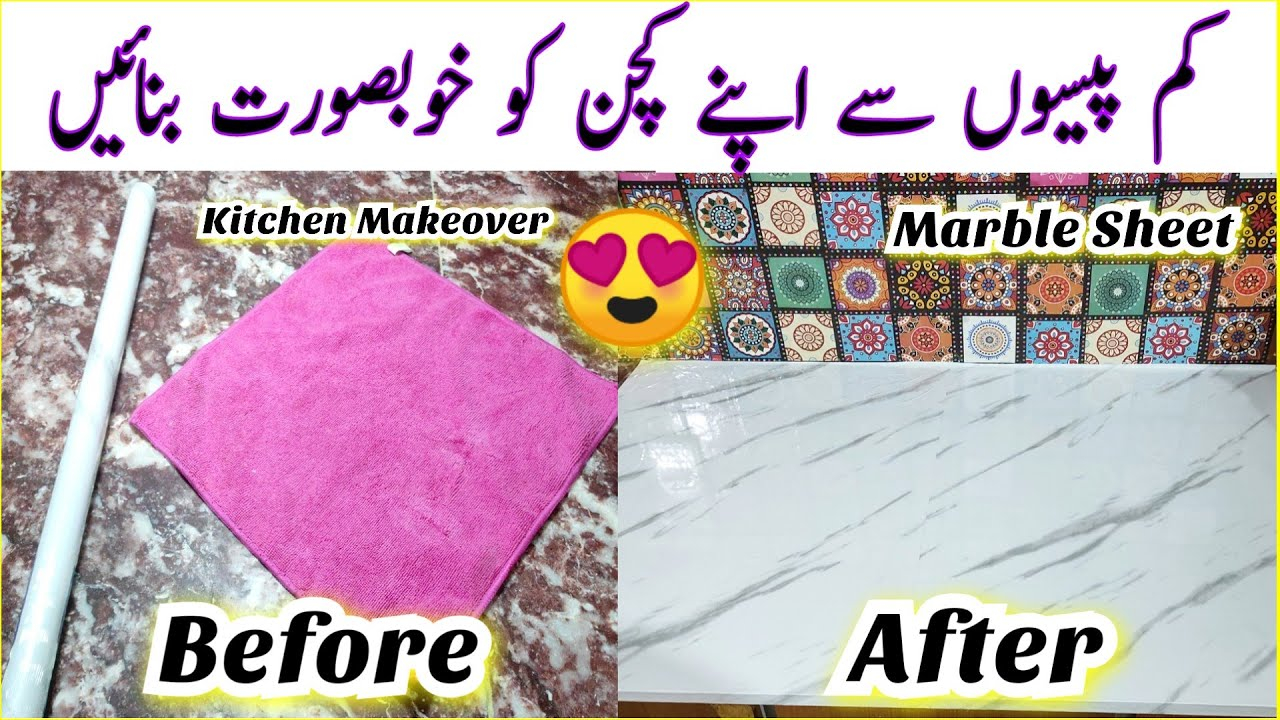
[sps_html tag=”img” src=”https://cdn.theartssection.com/wp-content/uploads/2025/10/kitchen-makeover-f09f988d-marble-sheet-for-kitchen-slab-f09f988d-how-to-apply-for-12×12-peel-and-stick-backsplash-kitchen-wall-tiles-in-marble-a17hz009.jpg” alt=”Kitchen Makeover 😍 Marble Sheet For Kitchen Slab 😍 How To Apply … for 12"X12" Peel And Stick Backsplash Kitchen Wall Tiles In Marble, A17Hz009″ style=”width: 100%; height: auto;”]
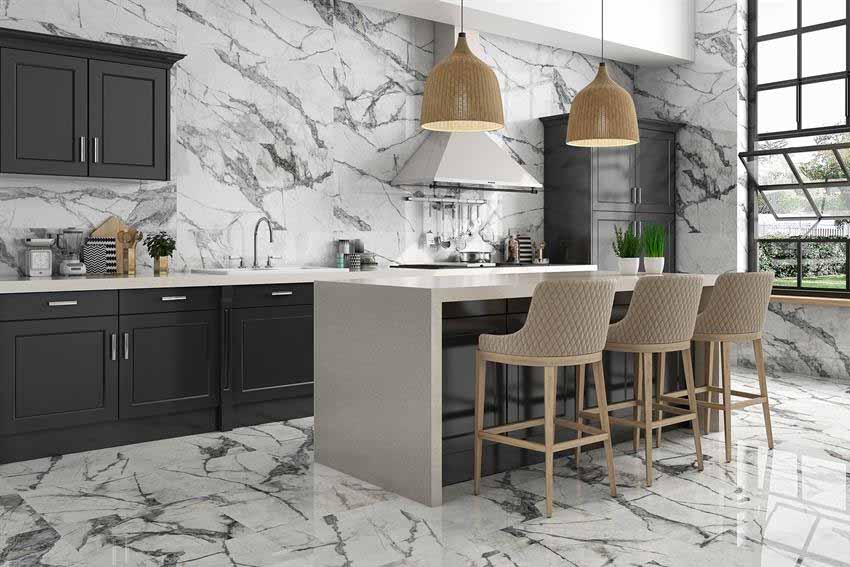
[sps_html tag=”img” src=”https://cdn.theartssection.com/wp-content/uploads/2025/10/15-kitchen-wall-tile-designs-decorpot-home-interiors-regarding-12×12-peel-and-stick-backsplash-kitchen-wall-tiles-in-marble-a17hz009.jpg” alt=”15 Kitchen Wall Tile Designs - Decorpot Home Interiors regarding 12"X12" Peel And Stick Backsplash Kitchen Wall Tiles In Marble, A17Hz009″ style=”width: 100%; height: auto;”]
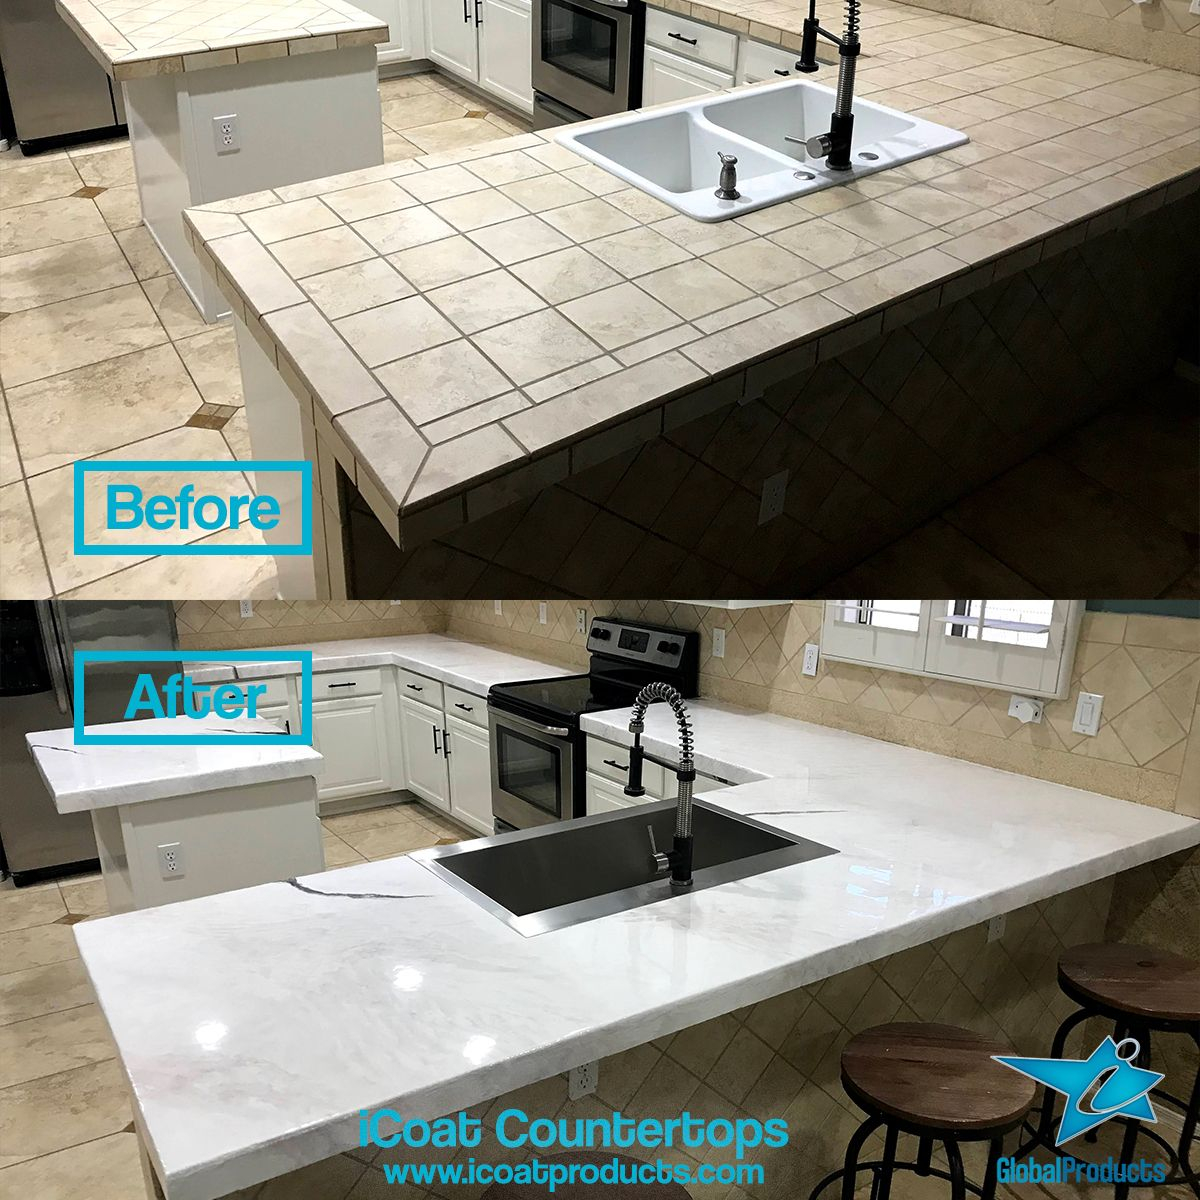
[sps_html tag=”img” src=”https://cdn.theartssection.com/wp-content/uploads/2025/10/white-marble-countertops-over-old-and-tired-tile-minimal-demo-quick-pertaining-to-12×12-peel-and-stick-backsplash-kitchen-wall-tiles-in-marble-a17hz009.jpg” alt=”White Marble Countertops Over Old And Tired Tile, Minimal Demo, Quick … pertaining to 12"X12" Peel And Stick Backsplash Kitchen Wall Tiles In Marble, A17Hz009″ style=”width: 100%; height: auto;”]
[sps_html tag=”img” src=”https://cdn.theartssection.com/wp-content/uploads/2025/10/marble-kitchen-floor-tiles-pros-cons-within-12×12-peel-and-stick-backsplash-kitchen-wall-tiles-in-marble-a17hz009.jpg” alt=”Marble Kitchen Floor Tiles (Pros & Cons) within 12"X12" Peel And Stick Backsplash Kitchen Wall Tiles In Marble, A17Hz009″ style=”width: 100%; height: auto;”]