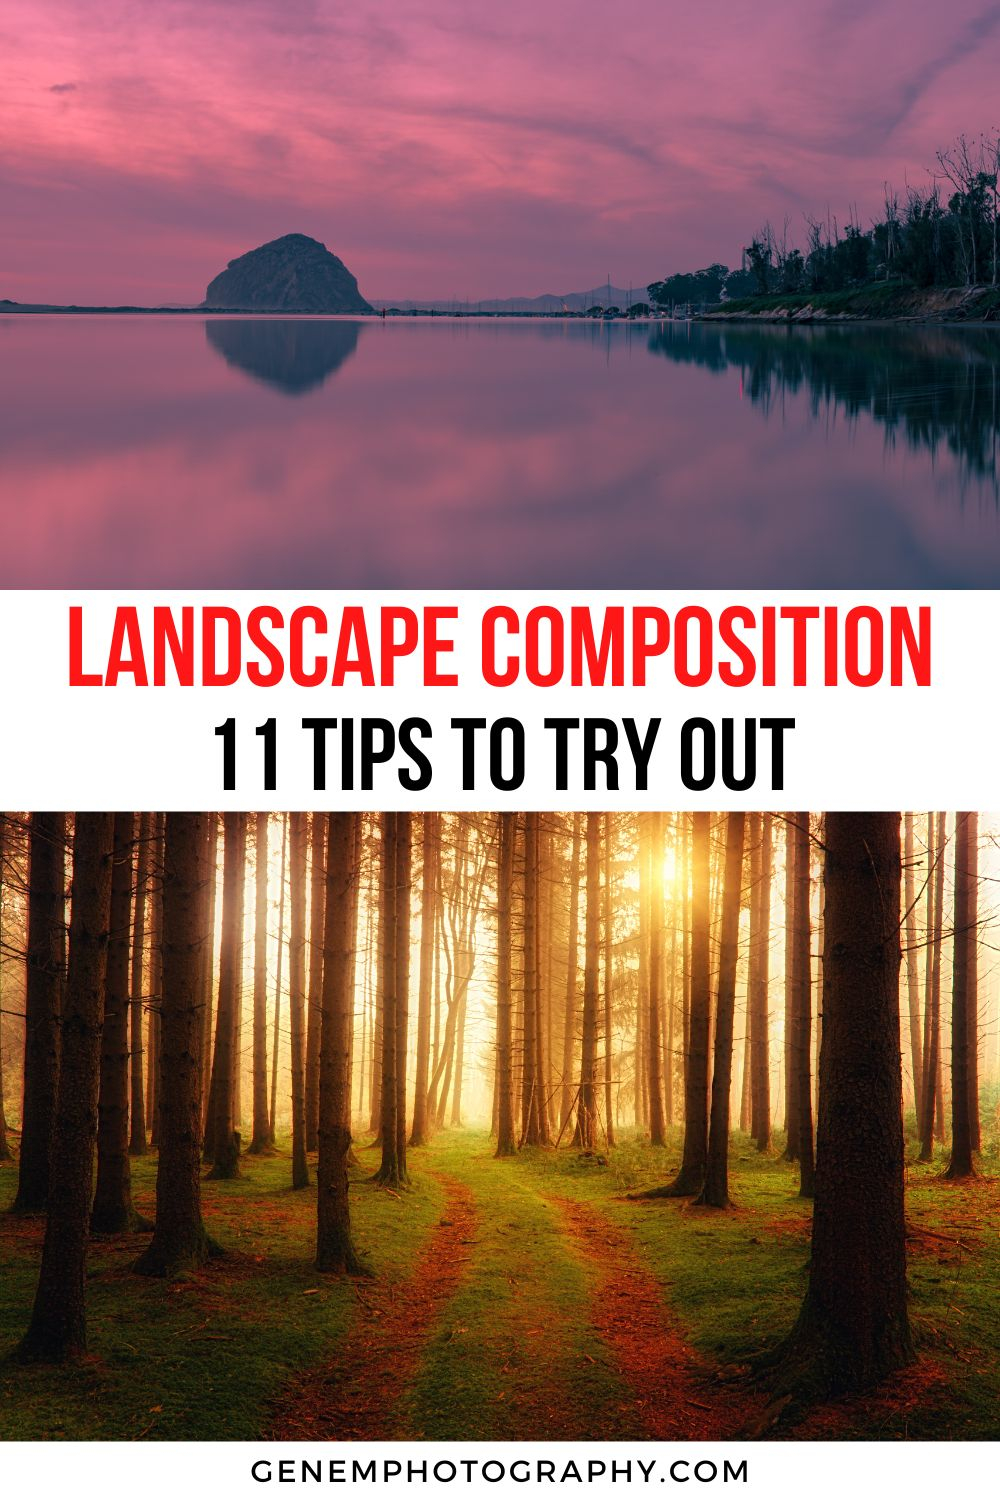
Every photographer dreams of capturing that perfect moment where the viewer can feel like they’re standing right there in the scene. But what makes some photos feel three-dimensional while others look flat and lifeless? It’s not just about composition or lighting – it’s about understanding how our eyes naturally perceive distance and depth. Atmospheric perspective is that invisible magic that transforms ordinary snapshots into compelling visual stories.
Have you ever looked at a landscape photo and felt like you could reach out and touch the mountains in the distance? Or perhaps you’ve seen a street photograph where the background seems to fade away into a dreamy haze? These effects aren’t just happenstance – they’re the result of mastering atmospheric perspective. This fundamental concept of photography helps us create depth that feels natural and convincing to viewers. Whether you’re shooting sweeping vistas or intimate portraits, understanding how air, light, and distance interact can completely transform your work. Think of atmospheric perspective as the secret ingredient that turns good photos into great ones.
What Is Atmospheric Perspective?
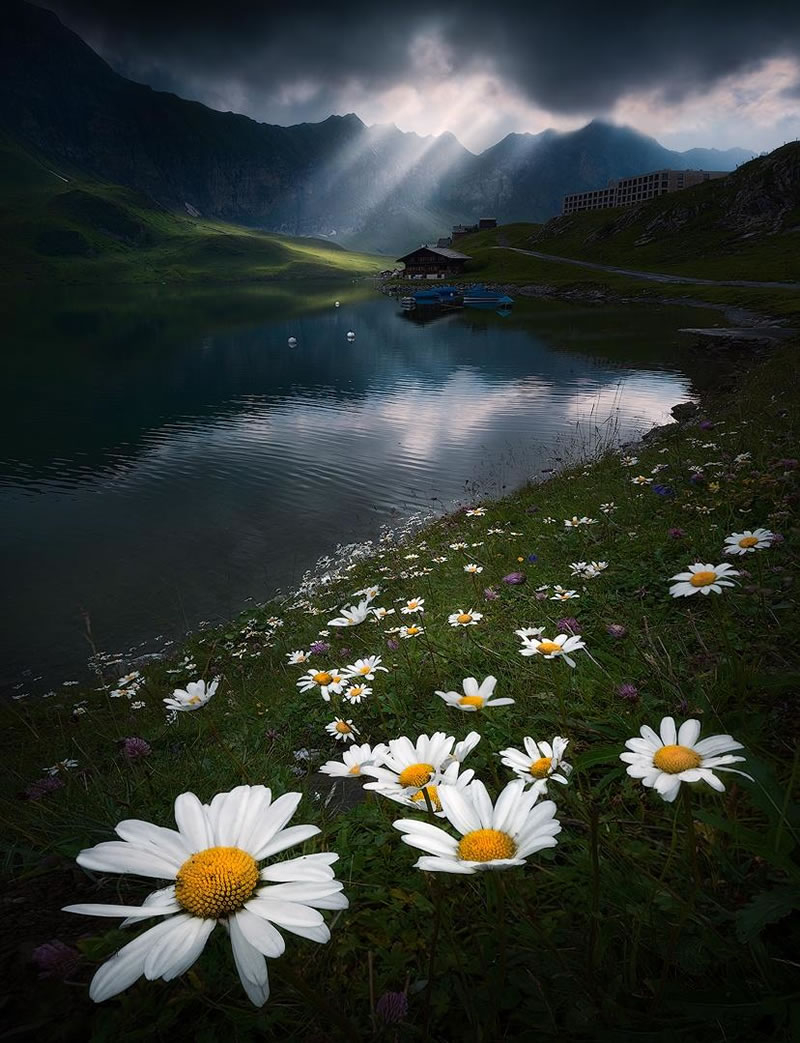
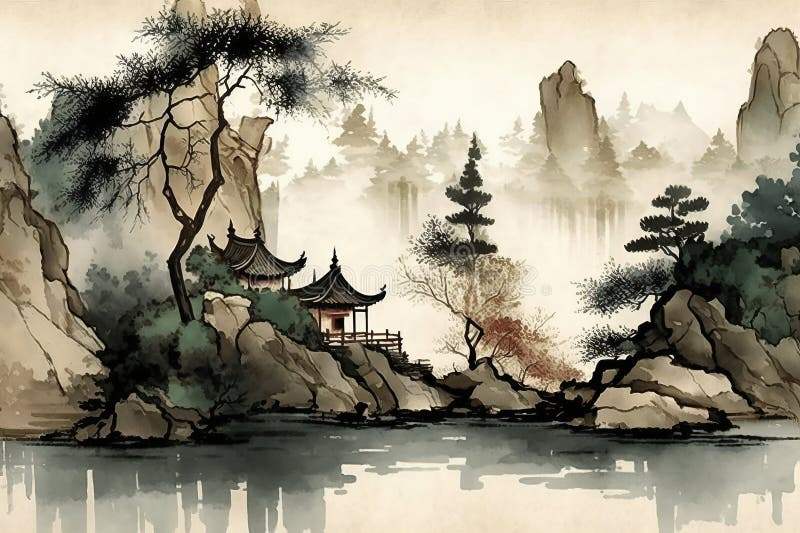
Atmospheric perspective is the optical phenomenon where distant objects appear less distinct due to the atmosphere between the viewer and the subject. It’s that soft, hazy quality we see in mountain ranges, or how buildings seem to disappear into mist on a foggy day. The science behind it is fascinating: light travels through air particles, dust, moisture, and pollutants that scatter and absorb wavelengths differently. This creates a natural fading effect where colors become bluer and contrast decreases as distance increases. It’s not just about making things blurry – it’s about creating believable depth that mimics how we actually see the world around us. When photographers master this technique, they’re essentially teaching their viewers’ eyes how to interpret space and distance in a realistic way.
The Science Behind the Magic
The physics of atmospheric perspective isn’t rocket science, but it’s important to understand why things look the way they do. When light travels from an object to our eyes, it passes through countless air molecules. These tiny particles scatter blue light more than red light, which is why distant skies often appear bluish. As distance increases, more air particles get in the way, making objects seem fainter and more blurred. This scattering effect is called Rayleigh scattering, named after John William Strutt, who studied it extensively. It explains why the sun appears red at sunset and blue during the day. In photography, we can harness this natural process to enhance our images. For example, when shooting a mountain range, the peaks might appear sharp and detailed while the distant hills gradually fade into a soft blue haze. This isn’t just about adding filters – it’s about understanding how light behaves in different conditions.
Key Visual Elements to Manipulate
Creating effective atmospheric perspective involves working with several key elements that your eye naturally processes:
• Color temperature changes
• Contrast reduction
• Sharpness variations
• Detail loss
• Fog and haze effects
These components work together to tell the story of distance in your frame. Colors tend to shift toward cooler tones as objects recede, which is why distant mountains often have a blue tint. Contrast drops off gradually, making faraway subjects appear softer and less defined. Sharpness naturally decreases with distance, though this can be enhanced by using different lenses or camera settings. Detail becomes lost in atmospheric interference, which is why we can’t distinguish individual leaves on a distant tree. Fog and haze act as natural filters, softening edges and reducing harsh lines. Understanding these elements allows you to either enhance or create artificial atmospheric effects in your work.
Practical Techniques for Beginners
Starting with atmospheric perspective doesn’t require expensive equipment or complex software. Here are some simple ways to begin experimenting:
• Shoot during golden hour when atmospheric conditions are naturally favorable
• Use wide-angle lenses to capture more of the environment
• Position yourself so that the foreground is clearly defined
• Take advantage of natural haze or mist in your location
• Pay attention to how colors change across your frame
• Experiment with different weather conditions
Begin with simple scenes like a road leading into the distance or a row of trees fading into the background. Notice how the closer elements appear crisp and colorful while distant ones soften and take on a blue tint. Try changing your position slightly – sometimes moving just a few feet can dramatically alter the atmospheric effect in your frame. Don’t forget that atmospheric perspective works both ways: you can create strong foreground elements that pull the viewer’s eye through the image, or you can let the background gently fade to draw attention to the main subject.
Advanced Methods for Professional Results
For those ready to take atmospheric perspective to the next level, consider these sophisticated approaches:
• Using graduated filters to control exposure in high-contrast situations
• Employing selective focus techniques to isolate subjects
• Working with different lens qualities and their inherent characteristics
• Post-processing color correction to enhance natural effects
• Understanding how humidity and pollution affect visibility
• Creating artificial haze with smoke or water vapor
Professional photographers often combine multiple techniques to achieve dramatic results. They might use a graduated filter to balance the exposure between bright foreground and darker background, or they might shoot with a polarizing filter to reduce glare and enhance atmospheric clarity. Some artists even create controlled atmospheric effects by using fog machines or spraying water mist in their scenes. The key is understanding that atmospheric perspective is not just a post-processing tool but a complete approach to how you compose and capture your images.
Common Mistakes and How to Avoid Them
Even experienced photographers can fall into traps when working with atmospheric perspective:
• Overusing haze effects that make everything unclear
• Ignoring natural lighting conditions
• Not considering the relationship between foreground and background
• Failing to account for weather and atmospheric conditions
• Trying to force perspective rather than letting it develop naturally
One common error is adding too much haze or blur, which can make your entire image appear muddy and uninteresting. Instead, aim for subtle transitions that guide the viewer’s eye naturally through the frame. Another mistake is ignoring how weather affects your shots – a foggy morning might provide perfect conditions for atmospheric perspective, while a clear day might not. Always pay attention to how different times of day and seasons affect the quality of light and air clarity. Remember that atmospheric perspective should enhance your story, not distract from it. Let the natural elements guide your decisions rather than forcing artificial effects.
Real-World Applications and Examples
Atmospheric perspective shows up everywhere in exceptional photography:
• Landscape photography where mountains fade into the sky
• Street photography where backgrounds soften to emphasize subjects
• Portrait work where the environment supports the person
• Architectural shots showing depth within buildings
• Wildlife photography where animals blend into their surroundings
Consider Ansel Adams’ famous Yosemite photographs, where he masterfully used atmospheric perspective to create drama and scale. Or think about the work of contemporary photographers like Michael Kenna, whose minimalist landscapes rely heavily on the soft, ethereal quality of distant elements. Even in urban settings, photographers like Henri Cartier-Bresson captured the essence of city life through careful attention to how elements of the scene interacted in space. These examples show how atmospheric perspective can be both subtle and powerful, whether you’re shooting vast expanses or intimate moments.
Tools and Equipment That Help
While atmospheric perspective is largely about perception and technique, certain tools can assist:
• Polarizing filters to reduce glare and enhance contrast
• Graduated neutral density filters for exposure control
• Wide-angle lenses to capture broader perspectives
• Tripods for consistent positioning and long exposures
• Filters for creating artificial atmospheric effects
A good polarizing filter can dramatically improve your ability to capture atmospheric clarity by reducing reflections on water or wet surfaces. Graduated ND filters help manage exposure differences between foreground and background elements. Wide-angle lenses offer more flexibility in capturing expansive scenes where atmospheric effects are most apparent. A sturdy tripod ensures consistency in your compositions and allows for longer exposures that can enhance atmospheric movement. While these tools can help, remember that the most important equipment is your eye and understanding of how light and space work together.
Practice Exercises for Improvement
Here are some exercises to build your atmospheric perspective skills:
• Shoot the same location at different times of day
• Experiment with various weather conditions
• Practice composition with a clear foreground and distant background
• Try different lens focal lengths
• Work with both high-contrast and low-contrast scenes
• Study how different materials affect atmospheric clarity
Start simple with a single location and varying conditions. Take ten photos of the same scene during sunrise, midday, and sunset. Notice how the atmospheric effects change dramatically with light direction and quality. Practice moving your camera position to see how it affects the relationship between foreground and background. Challenge yourself to capture the same subject with different atmospheric conditions – maybe a tree in bright sunlight versus the same tree during overcast conditions. These exercises will train your eye to recognize and utilize atmospheric perspective naturally.
When to Emphasize and When to Minimize
Knowing when to use atmospheric perspective is as important as knowing how to apply it:
• Use it when you want to create depth and distance
• Consider minimizing it when you need sharp focus on details
• Apply it strategically in portraits to support the subject
• Use it to guide the viewer’s eye through the frame
• Be mindful of when it might distract from your message
Sometimes less is more. In portrait photography, you might want to minimize atmospheric effects to keep your subject sharply focused against a clean background. Other times, like in landscape work, atmospheric perspective can be the defining characteristic of your image. The key is understanding your intent. If you’re trying to show the vastness of a desert or the grandeur of a mountain range, then atmospheric perspective should be prominent. But if you’re documenting someone’s facial expression or capturing the texture of a building, you might prefer to minimize the haze effect. Every photograph should serve its purpose, and atmospheric perspective is just one tool among many.
Building Your Own Style
Developing your unique approach to atmospheric perspective takes time and practice:
• Study photographers who inspire you
• Experiment with different approaches and techniques
• Learn from both successes and failures
• Develop personal preferences and habits
• Refine your vision through consistent practice
Every photographer develops their own relationship with atmospheric perspective based on their interests and aesthetic preferences. Some favor the soft, romantic quality of distant scenes, while others prefer sharp, defined atmospheric effects. The best way to find your voice is to experiment consistently and pay attention to what resonates with you. Look at work from photographers you admire, but don’t copy them directly. Instead, learn from their techniques and adapt them to your own vision. Remember that mastering atmospheric perspective isn’t about copying nature exactly – it’s about understanding how to use it to express your unique perspective on the world.
Atmospheric perspective isn’t just another technical skill to add to your repertoire – it’s a way of seeing the world that can elevate your photography from good to extraordinary. By understanding how light, air, and distance interact to create depth, you’re giving your viewers a more immersive experience. Whether you’re capturing a simple street scene or a sweeping landscape, the principles remain the same: observe how the world naturally fades into the distance, and learn to enhance that effect through your choices. Remember, the most powerful atmospheric perspective comes not from adding artificial effects, but from understanding and respecting the natural behavior of light and air. Start small, practice regularly, and soon you’ll find yourself seeing the world differently. Every shot becomes an opportunity to explore how space and depth can tell your story, making your photographs not just pictures, but experiences.
[sps_html tag=”img” src=”https://cdn.theartssection.com/wp-content/uploads/2025/11/20-inspiring-landscape-photographers-you-should-follow-with-creating-emotional-impact-through-landscape-photo-composition.jpg” alt=”20 Inspiring Landscape Photographers You Should Follow with Creating Emotional Impact Through Landscape Photo Composition” style=”width: 100%; height: auto;”]
[sps_html tag=”img” src=”https://cdn.theartssection.com/wp-content/uploads/2025/11/emotion-in-photography-youtube-with-regard-to-yellow-sunlight-and-fiery-clouds-landscape-photo-wall-art.jpg” alt=”Emotion In Photography - Youtube with regard to "Yellow Sunlight And Fiery Clouds" Landscape Photo Wall Art” style=”width: 100%; height: auto;”]
[sps_html tag=”img” src=”https://cdn.theartssection.com/wp-content/uploads/2025/11/premium-photo-vintage-paper-collage-with-landscape-emotional-impact-for-yellow-sunlight-and-fiery-clouds-landscape-photo-wall-art.jpg” alt=”Premium Photo | Vintage Paper Collage With Landscape Emotional Impact … for "Yellow Sunlight And Fiery Clouds" Landscape Photo Wall Art” style=”width: 100%; height: auto;”]
[sps_html tag=”img” src=”https://cdn.theartssection.com/wp-content/uploads/2025/11/composition-in-landscape-photography-the-essential-guide-nature-ttl-throughout-creating-emotional-impact-through-landscape-photo-composition.jpg” alt=”Composition In Landscape Photography: The Essential Guide | Nature Ttl throughout Creating Emotional Impact Through Landscape Photo Composition” style=”width: 100%; height: auto;”]
[sps_html tag=”img” src=”https://cdn.theartssection.com/wp-content/uploads/2025/11/landscape-composition-11-simple-tips-for-better-photography-genem-regarding-creating-emotional-impact-through-landscape-photo-composition.jpg” alt=”Landscape Composition: 11 Simple Tips For Better Photography - Genem … regarding Creating Emotional Impact Through Landscape Photo Composition” style=”width: 100%; height: auto;”]