There’s something magical about watching a wooden model aircraft take on the gleaming, reflective surface of real metal. The way light dances across its surface, creating subtle highlights and deep shadows, makes every piece come alive. This transformation isn’t just about paint—it’s about understanding how metals behave and how to mimic those properties using wood and traditional finishing techniques.
Model aircraft enthusiasts know that the difference between a good model and a great one often lies in the details. While many focus on the engine, wings, or cockpit, the finish can make all the difference in how a piece looks when displayed. Wooden blocks used for model aircraft often benefit from metallic finishes that capture the essence of real aircraft materials. These techniques go beyond simple color application—they involve understanding the physics of light reflection, surface texture, and material behavior. Whether you’re working on a vintage fighter plane or a modern commercial aircraft, achieving that authentic metallic appearance requires both skill and patience.
Understanding Metallic Surfaces
Before diving into the techniques, it helps to understand what makes metallic surfaces look metallic. Metals reflect light differently than non-metallic materials because of their crystalline structure and electron configuration. When light hits a metal surface, it bounces back in a more organized manner compared to diffuse materials. This creates the characteristic shine and gloss that we associate with metal.
The key to successful metallic finishes lies in mimicking these optical properties rather than simply painting over wood. Real metal surfaces have tiny imperfections, scratches, and wear patterns that affect how light reflects. These elements create the subtle variations that make metal look authentic rather than plastic or painted.
Preparation and Base Coating
Proper preparation sets the foundation for any good finish. Start with clean, smooth wooden blocks that have been sanded thoroughly. Remove any dust or debris that might interfere with adhesion. The surface needs to be completely dry before beginning any coating process.
Apply a primer coat that will serve as the base layer for your metallic finish. This is crucial because it ensures even coverage and provides a uniform surface for subsequent layers. A good primer also helps seal the wood grain, preventing it from showing through the final finish.
Consider using a gray or silver primer as a base, as these colors help create better contrast for metallic effects. The primer should be allowed to cure fully according to manufacturer instructions before proceeding to the next step.
Base Color Application
The base color determines how your metallic finish will appear under different lighting conditions. Many modelers start with a thin layer of aluminum or silver paint as their foundation. This doesn’t mean using actual metal powder—it’s about choosing pigments that reflect light similarly to metal.
Apply the base coat in thin, even layers. Multiple thin coats work better than one thick coat because they allow each layer to dry properly and reduce the chance of runs or uneven coverage. Allow each coat to dry completely before applying the next one.
Some artists prefer to use metallic paints specifically designed for model work. These often contain fine metal flakes or particles that create the initial metallic effect. Others opt for regular paints mixed with metallic pigments to achieve custom colors.
Adding Texture and Depth
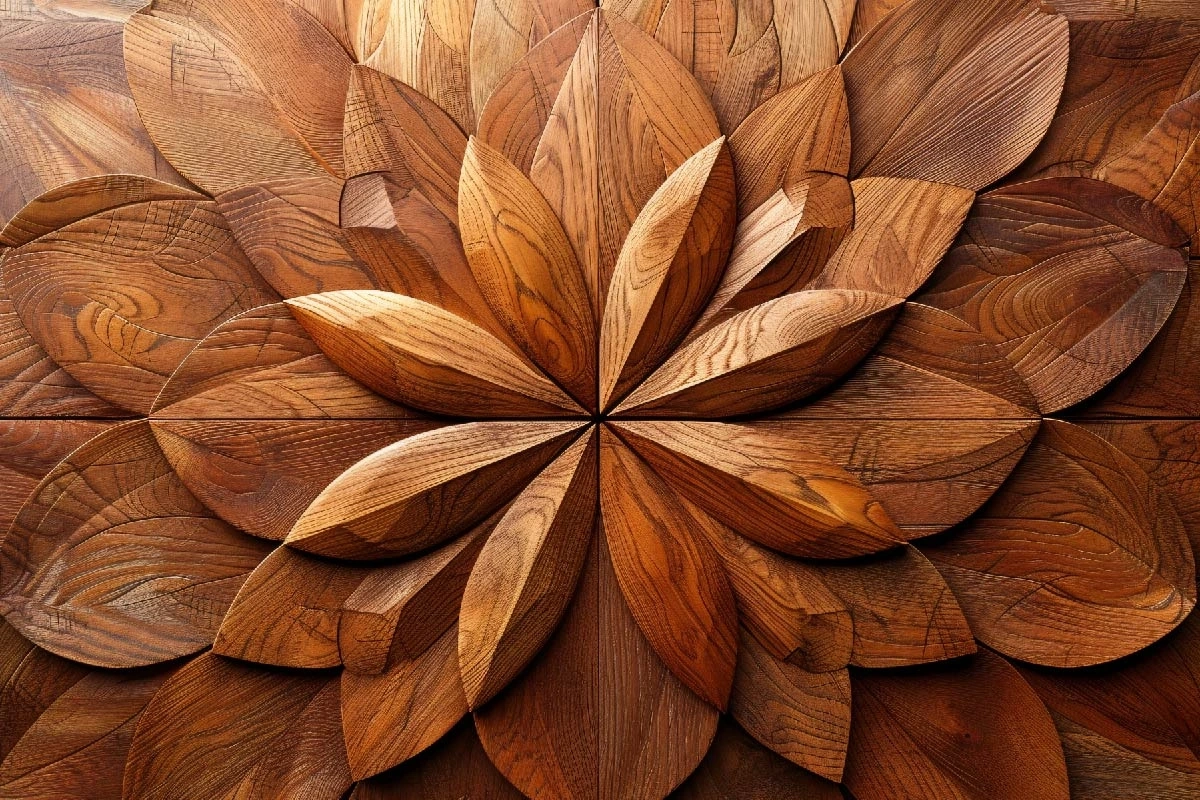
Real metallic surfaces aren’t perfectly smooth. They have micro-scratches, tool marks, and wear patterns that affect how light reflects off them. To replicate this, modelers often add texture to their finishes.
One common technique involves lightly sanding areas where wear would naturally occur. This creates subtle variations in the surface that catch and reflect light differently. You can also use a fine brush to create tiny scratches or tool marks that mimic the appearance of machining.
Another approach is to apply a second coat of metallic paint, but this time using a slightly different angle or technique. This creates overlapping reflections that enhance the three-dimensional appearance of the finish.
Highlight and Shadow Techniques
Lighting plays a crucial role in how metallic finishes appear. The way you apply highlights and shadows can make or break the realism of your work. Think about where light sources would naturally hit your model and where shadows would fall.
Use a small brush to apply lighter tones in areas where direct light would hit the surface. These might be the high points of raised features or edges that catch the light. Darker tones should be applied in recessed areas or where light wouldn’t reach directly.
A popular method involves using a dry brush technique. Dip a clean brush in a dark metallic paint and remove most of the paint by dabbing it on a paper towel. Then gently brush across the surface to create subtle shadow lines.
Consider the overall lighting environment of your display. A bright, sunny setting will require different highlighting than a dimly lit room with ambient lighting.
Final Polish and Protection
Once all the metallic layers are in place, the final step is to protect your work and enhance the finish. This typically involves applying a clear protective coating that preserves the metallic appearance while protecting against damage.
Choose a clear coat that matches the desired level of gloss. Some modelers prefer a high-gloss finish that mirrors the reflective quality of real metal. Others opt for a satin or matte finish to simulate weathered or painted metal surfaces.
Apply the clear coat in thin, even layers to avoid streaks or bubbles. Allow each layer to dry completely before handling or moving the piece. Multiple thin coats often produce better results than fewer thick applications.
The final result should have a professional appearance with consistent metallic sheen and appropriate highlights and shadows that respond realistically to light.
Troubleshooting Common Issues
Even experienced modelers encounter problems when working with metallic finishes. Here are some common issues and solutions:
• Uneven coverage: This often happens when applying thick coats or working in poor lighting conditions. Thin, multiple coats work better than single thick applications.
• Dull appearance: If your finish lacks shine, it could be due to insufficient light exposure during drying or using low-quality materials. Ensure proper ventilation and use high-quality paints.
• Bubbling or peeling: These issues typically stem from inadequate surface preparation or incompatible paint types. Always clean surfaces thoroughly and test compatibility before full application.
• Color shifts: Sometimes metallic finishes change appearance under different lighting. This is normal and expected, but can be minimized by testing your finish under various light sources before finalizing.
Advanced Techniques and Tips
For those looking to push their skills further, there are several advanced approaches worth exploring:
• Layered metallic effects: Try combining different metallic colors in layered applications to create complex, multi-tonal finishes.
• Weathering techniques: Add realistic wear patterns using dry brushing, washes, or even controlled fading to simulate aging.
• Custom color mixing: Experiment with blending different metallic paints to create unique hues that match specific aircraft specifications.
• Brushing techniques: Different brush strokes can create varying textures and surface effects that enhance the metallic appearance.
Remember that practice makes perfect. Don’t get discouraged if your first attempts don’t turn out exactly as planned. Each project teaches something new about how metals behave and how to best capture that behavior in wood.
Creating metallic finishes on wooden model aircraft blocks is both an art and a science. It combines technical knowledge of how materials interact with the artistic sense of visual composition. The journey from a plain wooden block to a realistic metallic surface takes time, patience, and practice. But when you finally see that perfect reflection dance across your finished piece, all the effort becomes worthwhile.
Whether you’re building a detailed military aircraft or a civilian transport plane, mastering these techniques will elevate your models from simple crafts to impressive displays. The key is to start simple, learn from each project, and gradually build up to more complex effects. Every modeler starts somewhere, and with dedication and attention to detail, anyone can achieve stunning metallic finishes that make their wooden blocks truly shine.
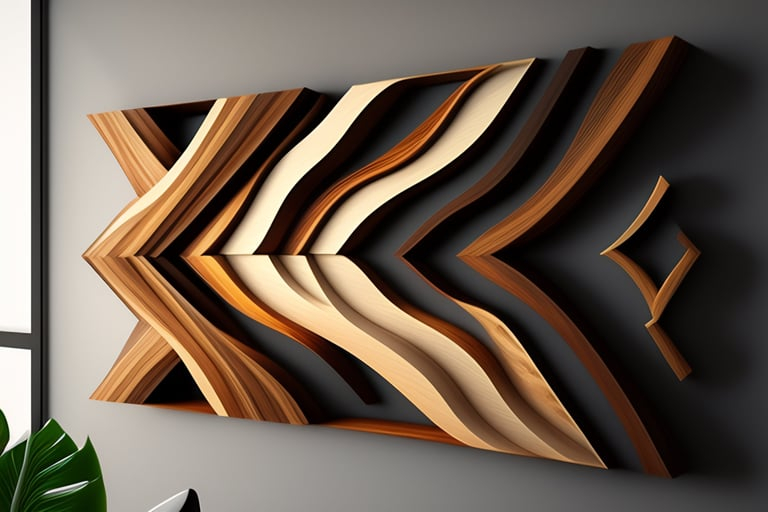
[sps_html tag=”img” src=”https://cdn.theartssection.com/wp-content/uploads/2025/12/lexica-wood-panel-intended-for-model-airplane-metallic-handed-painted-rugged-wooden-blocks-wall-art.jpg” alt=”Lexica - Wood Panel intended for "Model Airplane" Metallic Handed Painted Rugged Wooden Blocks Wall Art” style=”width: 100%; height: auto;”]
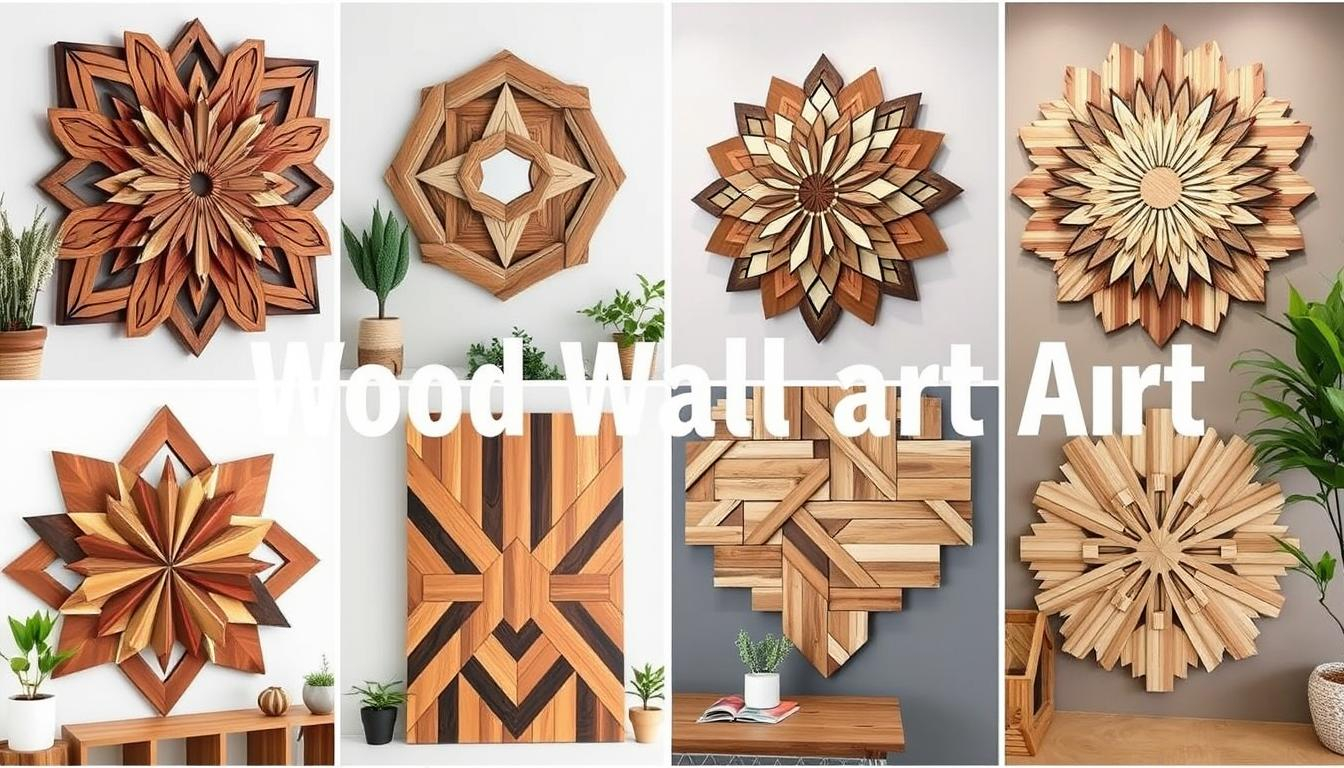
[sps_html tag=”img” src=”https://cdn.theartssection.com/wp-content/uploads/2025/12/wooden-wall-art-decor-with-model-airplane-metallic-handed-painted-rugged-wooden-blocks-wall-art-scaled.jpg” alt=”Wooden Wall Art Decor with "Model Airplane" Metallic Handed Painted Rugged Wooden Blocks Wall Art” style=”width: 100%; height: auto;”]
[sps_html tag=”img” src=”https://cdn.theartssection.com/wp-content/uploads/2025/12/diy-wood-wall-art-projects-creative-ideas-for-your-home-in-model-airplane-metallic-handed-painted-rugged-wooden-blocks-wall-art.jpg” alt=”Diy Wood Wall Art Projects: Creative Ideas For Your Home in "Model Airplane" Metallic Handed Painted Rugged Wooden Blocks Wall Art” style=”width: 100%; height: auto;”]
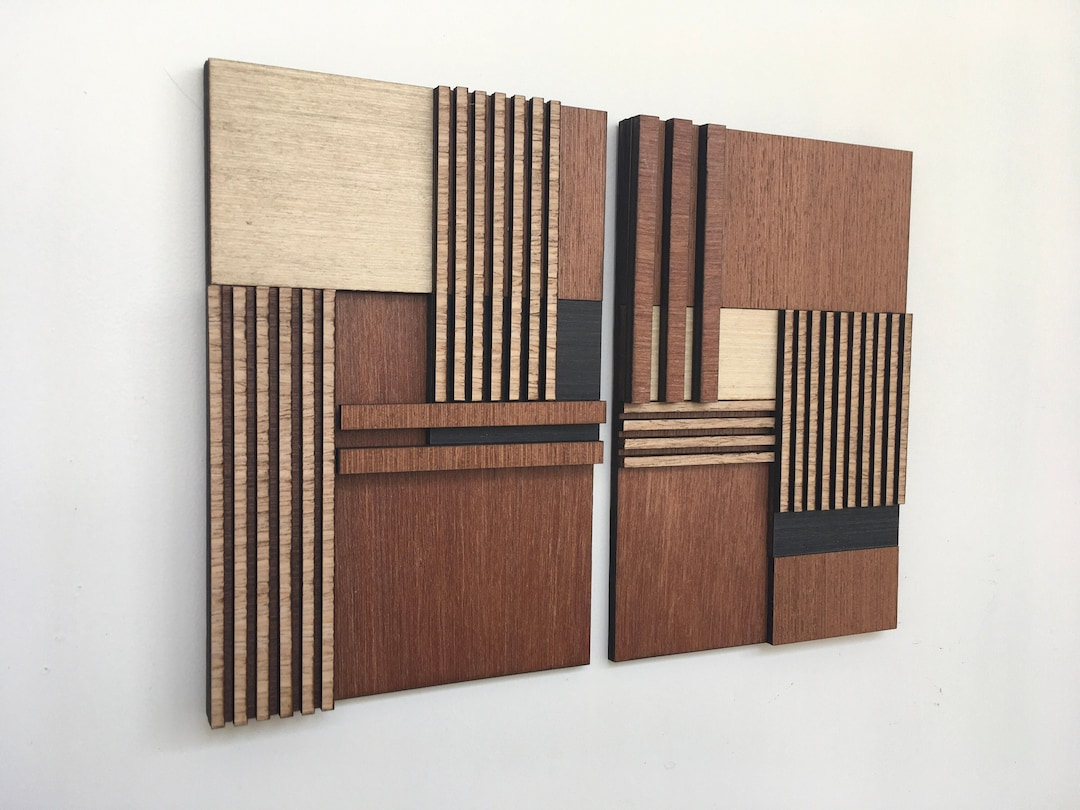
[sps_html tag=”img” src=”https://cdn.theartssection.com/wp-content/uploads/2025/12/geometric-wood-wall-art-set-of-2-modern-wood-art-minimal-flutes-within-model-airplane-metallic-handed-painted-rugged-wooden-blocks-wall-art.jpg” alt=”Geometric Wood Wall Art (Set Of 2) - Modern Wood Art - Minimal - Flutes … within "Model Airplane" Metallic Handed Painted Rugged Wooden Blocks Wall Art” style=”width: 100%; height: auto;”]
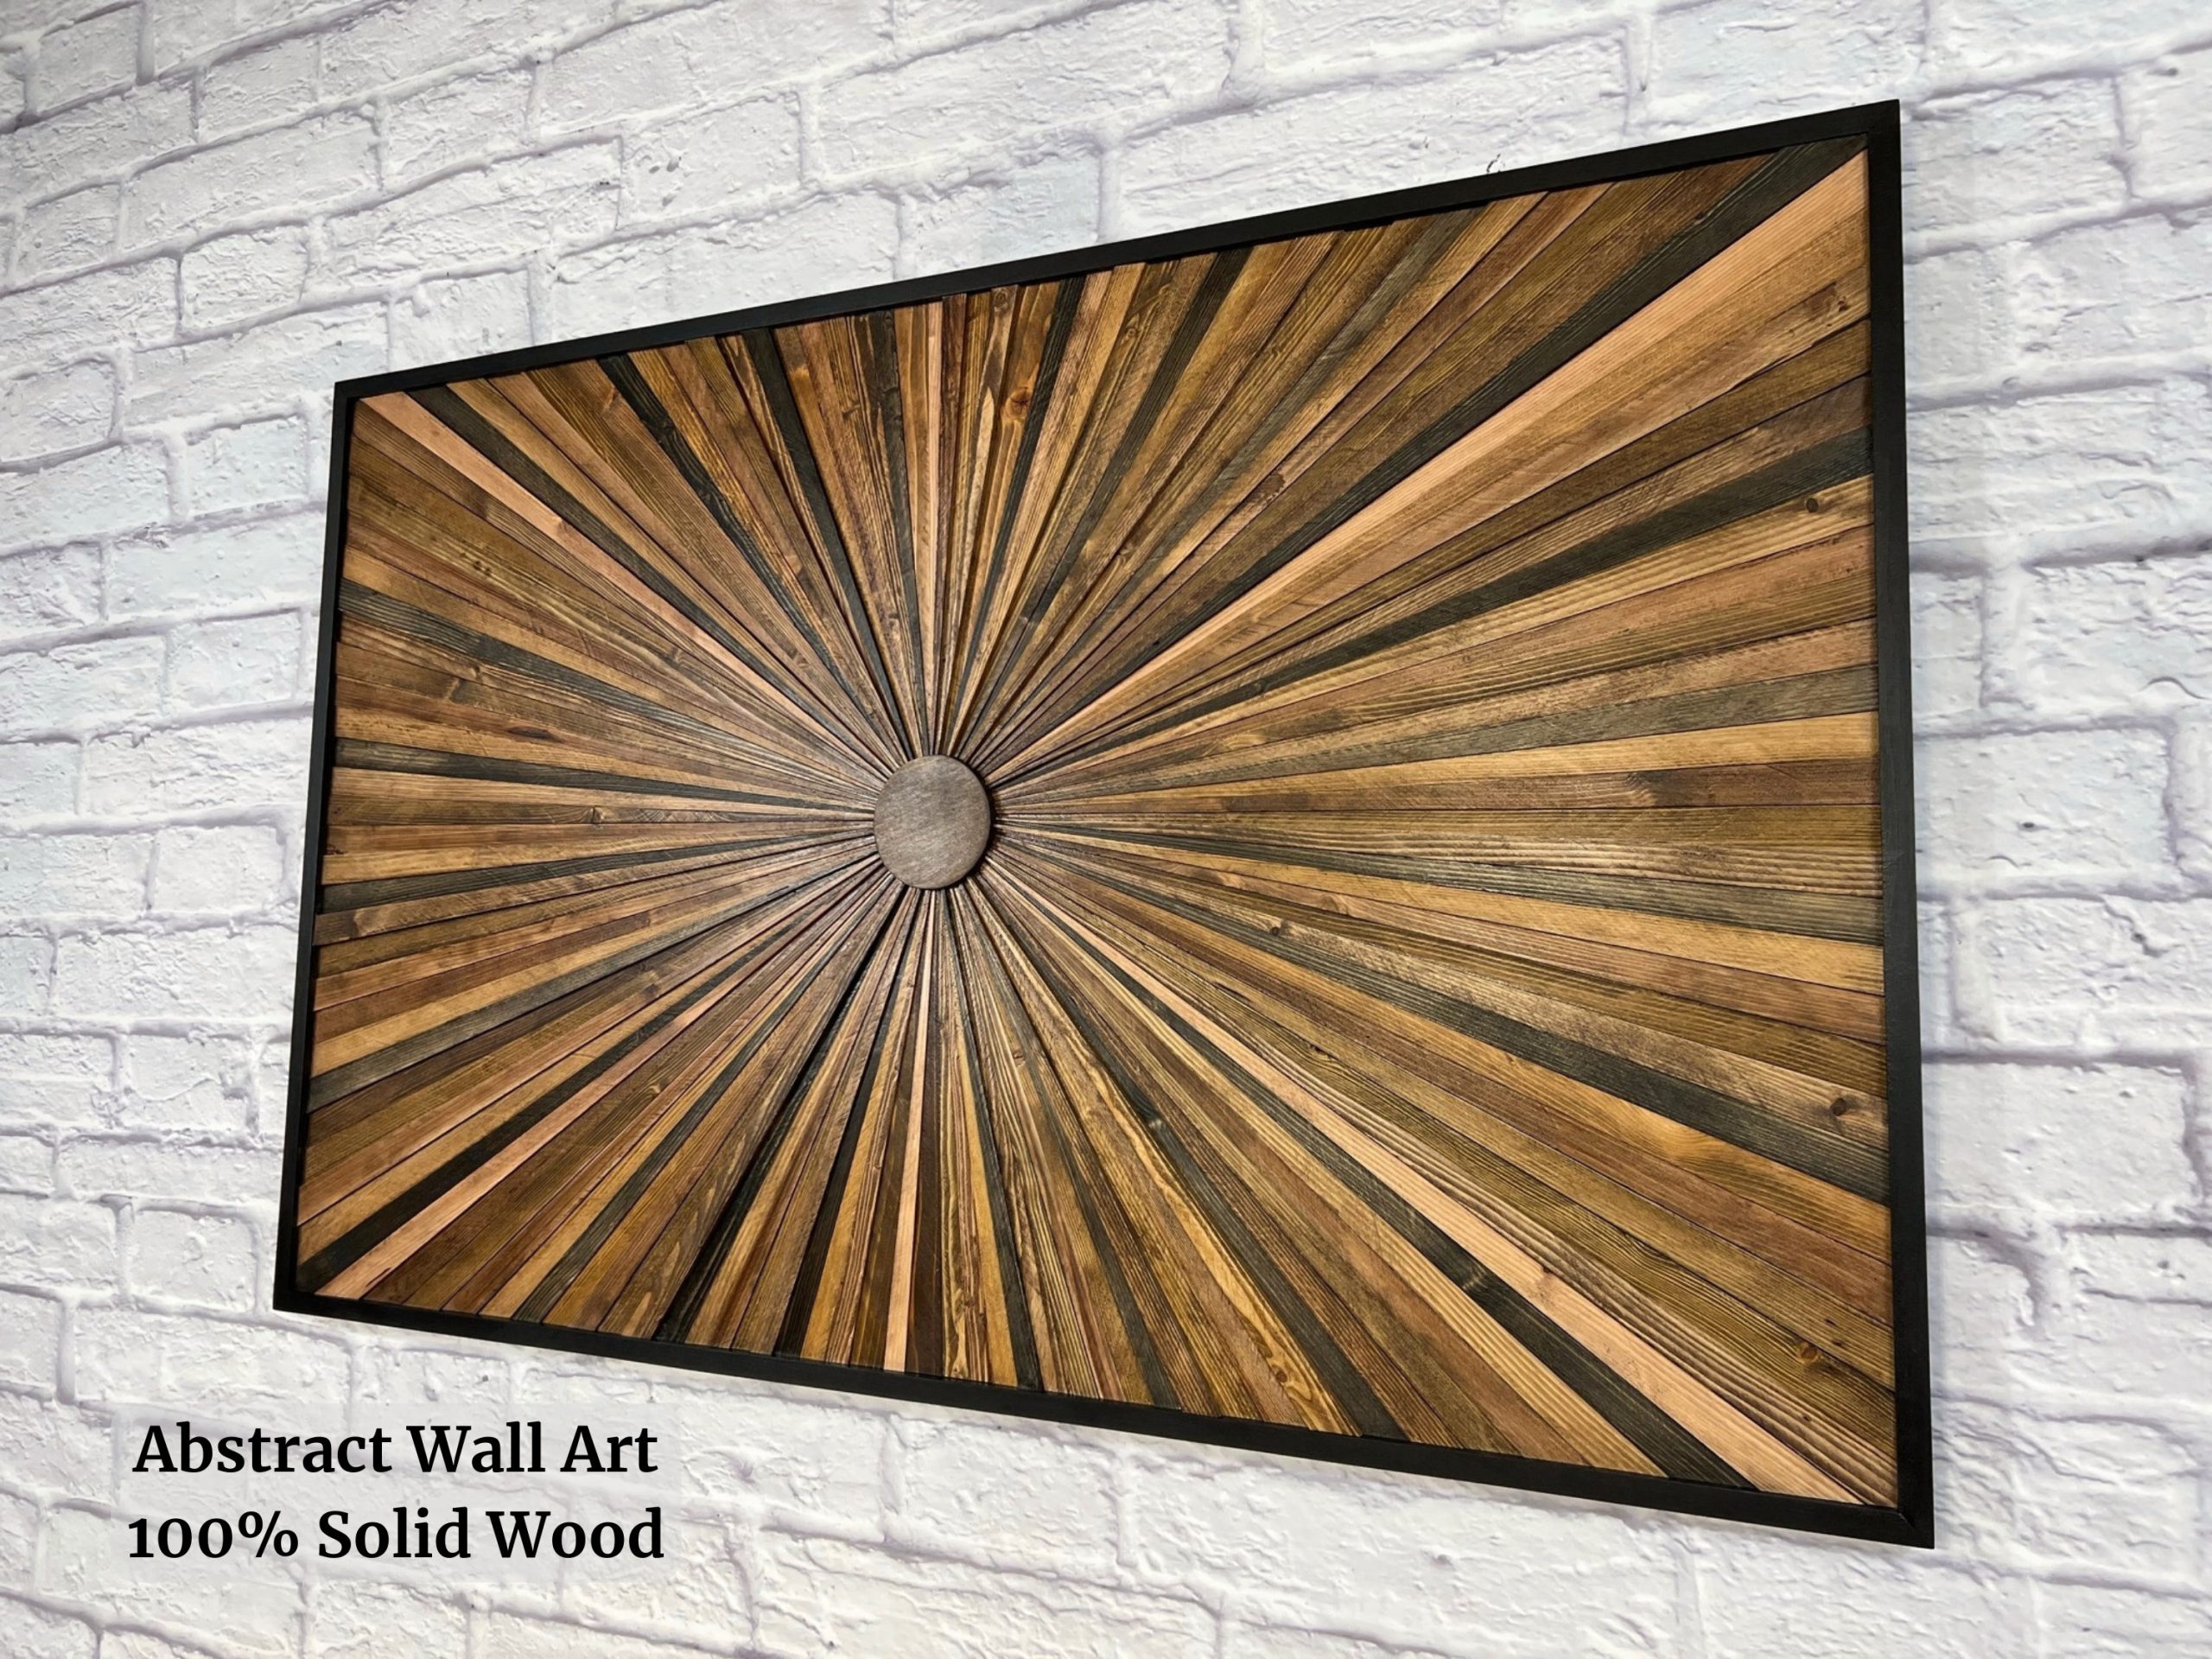
[sps_html tag=”img” src=”https://cdn.theartssection.com/wp-content/uploads/2025/12/wall-art-pertaining-to-model-airplane-metallic-handed-painted-rugged-wooden-blocks-wall-art.webp” alt=”Wall Art pertaining to "Model Airplane" Metallic Handed Painted Rugged Wooden Blocks Wall Art” style=”width: 100%; height: auto;”]