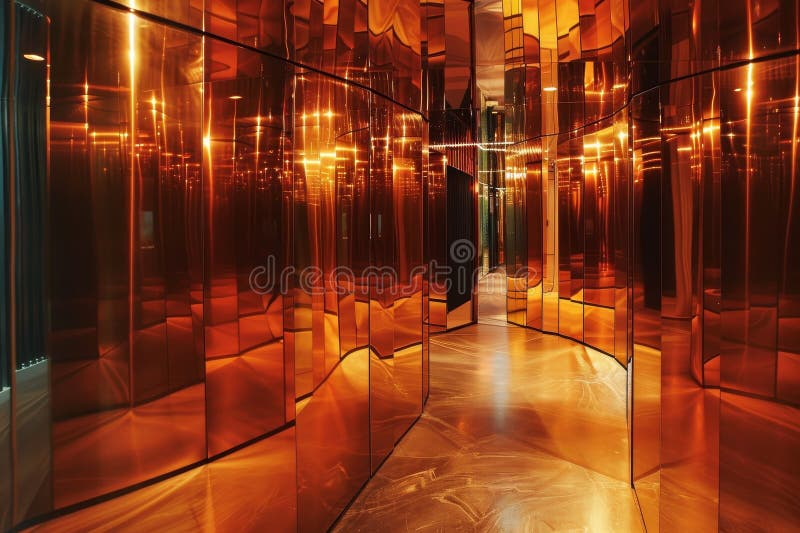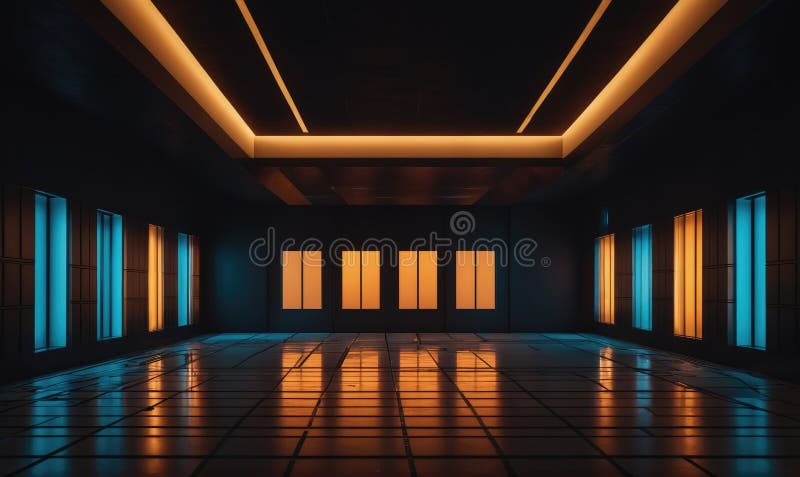

The afternoon sun cuts sharply through a newly framed living room window, casting a harsh, unforgiving glare across a freshly skim-coated blank wall. To an untrained eye, the expanse of white plaster looks finished. To a decorative artisan, it is a demanding canvas. A blank wall surface—often referred to in the trade as a blanche wall—does not merely wait for color; it challenges the applicator to breathe depth, shadow, and tactical complexity into an otherwise flat plane. When you walk into a high-end architectural space, the walls rarely feature a single, uniform roll of flat paint. Instead, they catch the light with subtle warmth, shifting undertones, and a tactile richness that feels almost geological. Achieving this look requires moving far beyond basic painting contractor methods into the specialized discipline of multi-layered decorative texturing.
The shift toward tactile, multi-chromatic wall treatments represents a major departure from the sterile minimalism that dominated interior design over the past decade. Homeowners, architects, and interior designers are increasingly rejecting flat, plasticized latex in favor of surfaces that engage multiple senses. Yet, executing a multi-layered multicolor finish on a blanche wall is notoriously unforgiving. If your base coat lacks proper suction control, your glazes will dry patchily. If your trowel angles fluctuate by even five degrees, you risk tearing through delicate translucent veining. It is a meticulous interplay of chemistry, physical mechanics, and visual composition.
Understanding this craft means looking past the surface glamour and examining the structural realities of wall preparation, aggregate choice, and pigment chemistry. Whether you are dealing with traditional lime plaster, synthetic micro-cements, or modern acrylic stuccos, the fundamental principles of building a three-dimensional color field remain consistent. This guide breaks down the science, the sequential application methods, and the field-tested strategies required to transform a stark blanche wall into a sophisticated masterpiece of layered texture and color.
The Anatomy of a Blanche Wall and Architectural Substrate Preparation
Every successful multi-layered finish begins long before the first trowel touches the plaster. A blanche wall—whether composed of newly hung gypsum board, cured traditional lime render, or a smooth cementitious skim coat—presents unique challenges in porosity and surface tension. If you apply a translucent, multi-colored glaze system directly to raw drywall mud or untreated plaster, the substrate will absorb the moisture and binder unevenly. This phenomenon, known as flashing or tiger-striping, ruins the illusion of natural depth because the eye immediately detects where the drywall tape joints sit beneath the finish.
Surface preparation starts with meticulous sealing and priming using specialized mineral or acrylic primers designed to create a uniform suction profile. Unlike standard PVA primers that seal the wall completely shut, decorative plaster grounds often require primers with a specific micro-porosity to ensure mechanical adhesion for subsequent layers. Furthermore, the tactile quality of your finished wall depends entirely on the flatness and micro-texture of the substrate. Any ridges, humps, or hollows left by the drywall finisher will be brutally magnified once you start dragging metallic waxes, pigmented stuccos, or color-washed glazes across the surface.
Beyond simple flatness, atmospheric conditions during the preparation phase dictate how your materials will cure. Relative humidity, ambient temperature, and air movement across the blanche wall dictate the open time of your glazes and the carbonation rate of lime-based products. Working in a space that is too dry causes acrylic binders to skin over prematurely, trapping brush marks and creating unsightly lap lines. Conversely, excessive moisture prevents proper solvent evaporation and curing, leaving soft spots that will blister or delaminate when subjected to the weight of subsequent layers. Treating the substrate as an active participant in the chemical and physical bonding process is the first and most critical step toward professional-grade execution.
Material Chemistry and the Selection of Compatible Color Vehicles
Once the substrate is properly conditioned, the focus shifts to the chemistry of the finishes themselves. Layering multicolor textures is not simply a matter of mixing random acrylic paints together; it requires an intimate understanding of how different mediums—such as metallic pigments, translucent mineral glazes, chalk-based washes, and polymer-modified stuccos—interact with one another optically and physically. If you trap a fast-drying solvent-based product under a slow-curing water-based glaze, internal stresses will cause the top layer to craze, crack, or peel away from the wall entirely.
The optical illusion of depth in a multi-layered wall relies on transparency and refraction. Light must be allowed to penetrate the top layers of color, bounce off a reflective or contrasting middle strata, and scatter back out to the viewer’s eye. This is why opaque house paints fail to create true texture; they block light rather than filtering it. Artisans rely on a tiered vehicle system where the base coat provides high opacity and a foundational hue, the middle texture coat introduces physical topography and secondary color highlights, and the final glaze or wax layers provide tonal modulation and protective sheen.
Pigment selection also demands careful consideration of lightfastness and chemical compatibility. Organic pigments can shift or fade when exposed to the alkaline environment of fresh lime plasters, while certain synthetic metallic powders can oxidize prematurely if mixed directly into water-heavy mediums without a passivation agent. Curating your palette requires balancing warm and cool undertones across different levels of the application. For instance, laying a cool, muted slate-gray glaze over a warm, sandy textured base creates an immediate visual tension that mimics aged stone or time-weathered stucco, providing a richness that flat color palettes can never achieve.
Sequential Methodologies for Layering Physical Texture and Color
Executing a multi-layered finish requires a disciplined, step-by-step workflow where each phase must dry and cure fully before the next is introduced. Attempting to rush this process leads to muddying, where distinct color values bleed together into an indistinguishable, flat mess. The following operational methodology outlines the exact sequence required to build a sophisticated multicolor textured surface on a prepared blanche wall.
- Step 1 (The Foundation Ground Coat): Apply a high-adhesion, tinted matte primer or fine mineral base coat across the entire blanche wall using a low-nap microfiber roller. Ensure the color of this base closely matches the deepest undertone you want visible in the final finish, maintaining a consistent, non-flashing matte sheen to establish controlled surface suction.
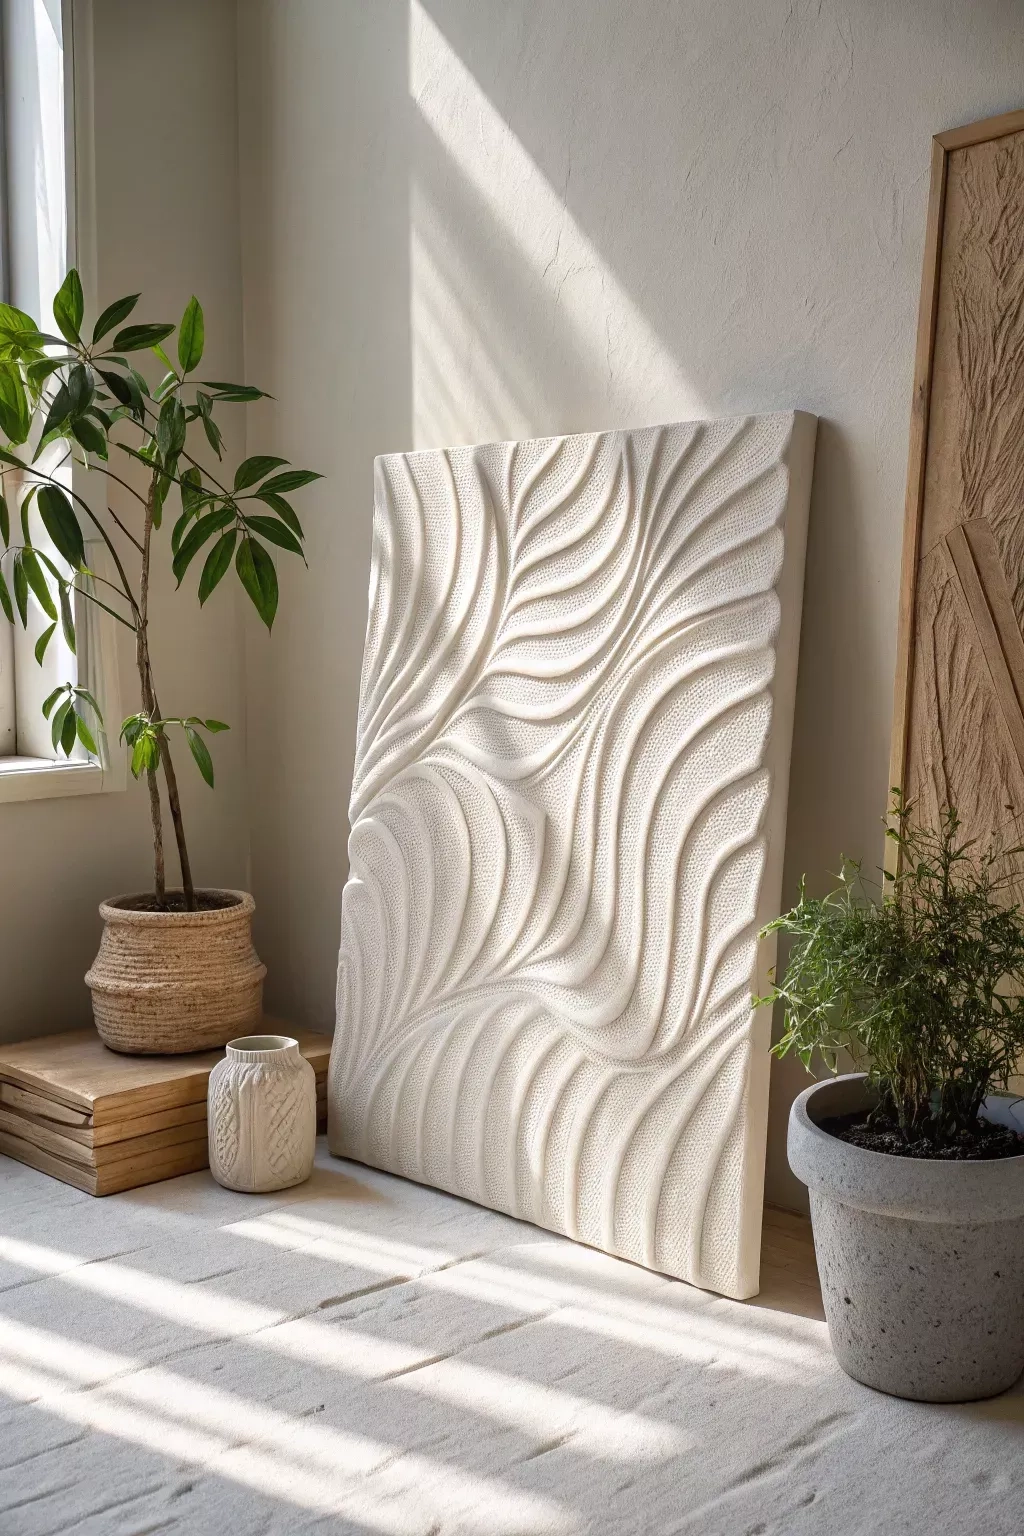
- Step 2 (The Primary Texture Application): Using a flexible Japanese stainless steel trowel or a rigid plastic spatula, apply a thin, undulating layer of acrylic or lime-based textured plaster. Feather the edges and leave subtle ridges, trowel marks, and microscopic voids across the surface to catch subsequent glazes and create immediate three-dimensional topography.
- Step 3 (The Secondary Color Wash or Strie Layer): Once the texture coat has fully cured, mix a translucent glaze using a secondary, contrasting pigment mixed with a transparent extender medium. Apply this wash using a block brush, sponge, or rag-rolling technique, immediately working it into the recesses of the texture while wiping it away from the raised high points to establish chromatic contrast.
- Step 4 (The Tertiary Accent and Detailing): Introduce a third accent color—often a metallic wax, iridescent powder, or highly diluted antiquing patina—using dry-brushing or specialized feathering tools. Lightly graze the instrument over the highest ridges of the physical texture, depositing minute quantities of color to create highlights that shift as ambient light moves across the room.
- Step 5 (The Protective Sealing and Buffing Topcoat): Protect the intricate multi-layer system with a breathable, non-yellowing matte or satin sealer, such as an acrylic-polyurethane dispersion or traditional potassium silicate fixative. Once dry, lightly buff the surface with a lint-free cloth or fine abrasive pad to eliminate stray burrs and unify the final sheen level.
Avoiding Common Execution Pitfalls and Field-Tested Workarounds
Even experienced painters and decorators frequently run into frustrating roadblocks when attempting complex multi-layered wall finishes. The most common failure points usually stem from improper tool handling, misjudged drying times, or a lack of systematic control over color saturation. Recognizing these vulnerabilities before they ruin a project saves both material costs and valuable labor hours.
- Pitfall 1 (Lap Lines and Edge Marks): Allowing wet glazes to dry unevenly at the edges while working across a large wall creates harsh, dark intersecting lines. Workaround: Always maintain a wet edge by working in manageable sections, using natural architectural breaks or painter’s tape boundaries, and having a second person mist the edges with water to slow down drying times during hot or dry weather.
- Pitfall 2 (Muddying of Colors): Applying a translucent glaze over a semi-wet or reactive base coat causes the layers to blend together into an ugly, neutral gray-brown sludge. Workaround: Strictly adhere to manufacturer cure times, use a hair dryer or industrial fan to accelerate drying between distinct coats, and test your system on a large sample board before touching the actual wall.
- Pitfall 3 (Over-Texturing and Heavy-Handed Trowel Marks): Piling on too much physical plaster creates an aggressive, industrial look that dominates a room rather than elevating it. Workaround: Keep your trowel flat to the wall at a 15-to-30-degree angle, use feather-light pressure, and remember that texture should be suggested through subtle shadow play rather than sharp, jagged ridges.
- Pitfall 4 (Inconsistent Sheen and Hot Spots): Certain areas of the wall absorb glaze faster than others, resulting in shiny patches next to dull, chalky zones. Workaround: Apply a dedicated pore-blocking or uniform sealer prior to glazing, and ensure your glaze formulation includes an adequate open-time extender to allow for even wiping and smoothing.
- Pitfall 5 (Color Drift Between Batches): Running out of custom-tinted glaze halfway through a wall and failing to match the new batch precisely. Workaround: Always mix significantly more material than you calculate you will need for the entire surface area in a single large container, and log the exact weight or volume measurements of every tint added.
The Broader Design Value and Longevity of Handcrafted Wall Finishes
Choosing to finish a blanche wall with layered multicolor textures is an investment in both aesthetic endurance and environmental sustainability. In an era dominated by fast interior trends, disposable wallpaper, and petroleum-derived vinyl wallcoverings, authentic mineral and plaster finishes offer a remarkable lifecycle. Unlike wallpaper that peels or flat paint that scuffs and requires frequent repainting, a properly sealed, multi-layered textured wall becomes harder and more durable over time—particularly when utilizing traditional lime formulations that continually absorb carbon dioxide from the air to reharden.
From an interior design perspective, these surfaces possess a unique ability to bridge contemporary and historical architectures. A multi-layered textured wall in a minimalist penthouse softens the hard geometry of steel and glass, while the same finish in a traditional home complements antique timbers and natural stone. This versatility stems from the way handcrafted surfaces interact with light. Flat walls remain static throughout the day, but a textured, multi-chromatic wall shifts personality from morning sunlight to evening artificial lighting, creating a dynamic, living environment that feels deeply rooted and authentic.
Furthermore, the economic value of artisanal wall treatments is shifting. As automated construction and digital fabrication standardize our built environments, human-touched craftsmanship commands a distinct premium. Clients are willing to invest in surfaces that tell a story of human labor, patience, and skill. When executed correctly, layering multicolor texture on a blank wall is not merely a decorating choice; it is a permanent architectural upgrade that elevates the psychological comfort and market value of the entire property.
Strategic Recommendations for Achieving Professional Results
Success in decorative wall finishing relies on establishing rigorous operational habits and mastering the physical ergonomics of your tools. Amateurs often struggle because they treat wall finishing like standard painting, holding their brushes too tightly and rushing through the critical middle stages of color development. Adopting a professional mindset requires treating every square foot of the wall as a distinct canvas while maintaining strict uniformity across the entire room.
- Build Comprehensive Sample Boards: Never experiment directly on the client’s wall. Create at least two 2×2 foot sample boards that replicate the exact substrate, primer, and multi-layer sequence to secure client sign-off and test drying behaviors.
- Invest in Professional-Grade Japanese Trowels: Cheap, stiff putty knives will scratch your plaster and leave uneven gouges. Use flexible, rounded-edge Japanese stainless steel trowels that allow you to glide smoothly over aggregate particles.
- Control Your Environment: Shut off forced-air heating and air conditioning vents while applying glazes to prevent premature skinning, and use diffused, raking job-site lights to constantly check your surface for flaws as you work.
- Embrace Subtlety Over Drama: The most common beginner mistake is making the color contrast too stark. Aim for tonal harmony where secondary and tertiary colors whisper rather than shout against the base ground.
The transformation of a stark blanche wall into a rich, multi-layered tapestry of color and texture is one of the most rewarding disciplines in modern interior craft. It bridges the gap between the raw structural shell of a building and the nuanced artistry of human habitation. By respecting the chemistry of your materials, honoring the preparation phase, and applying physical texture with restraint and precision, you elevate a simple room into an experiential space.
As we look toward the future of interior architecture, the demand for tactile, sustainable, and soulful environments will only continue to accelerate. The days of treating walls as lifeless boundaries are fading, replaced by a renewed appreciation for surfaces that breathe, shift, and tell a visual story. Master this craft, respect the patience it demands, and let every wall you touch stand as a testament to the enduring power of skilled, human-driven design.