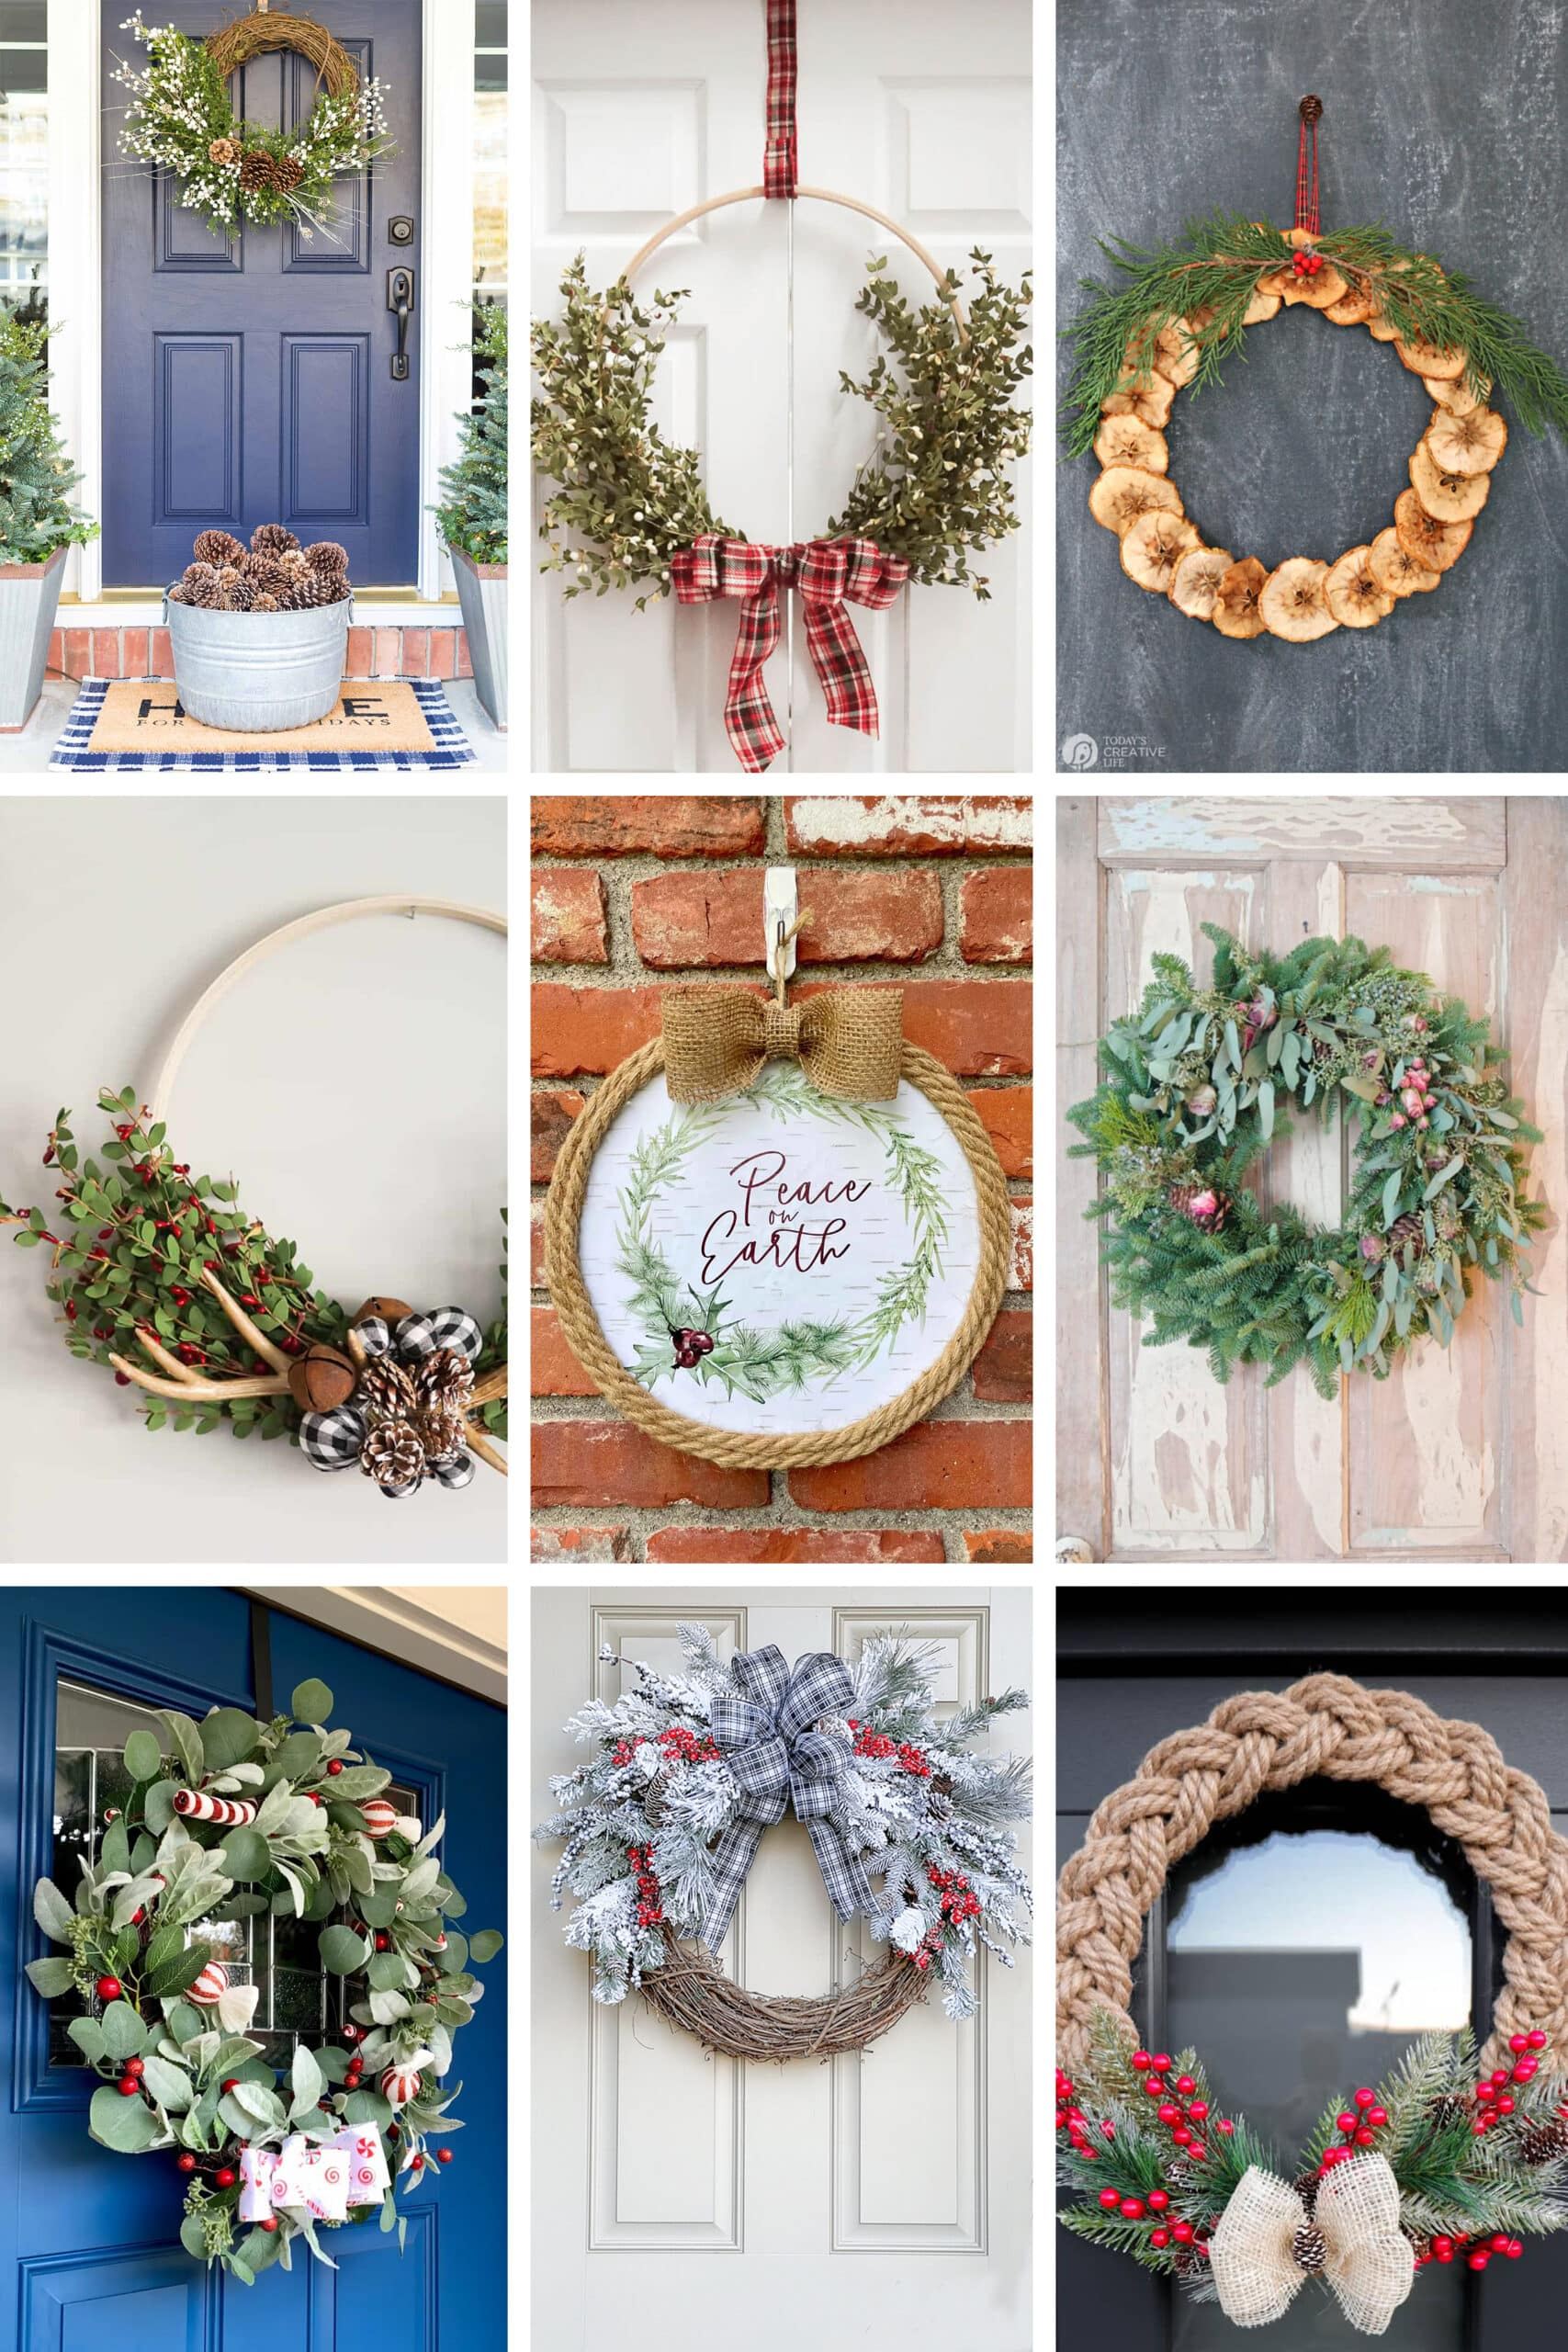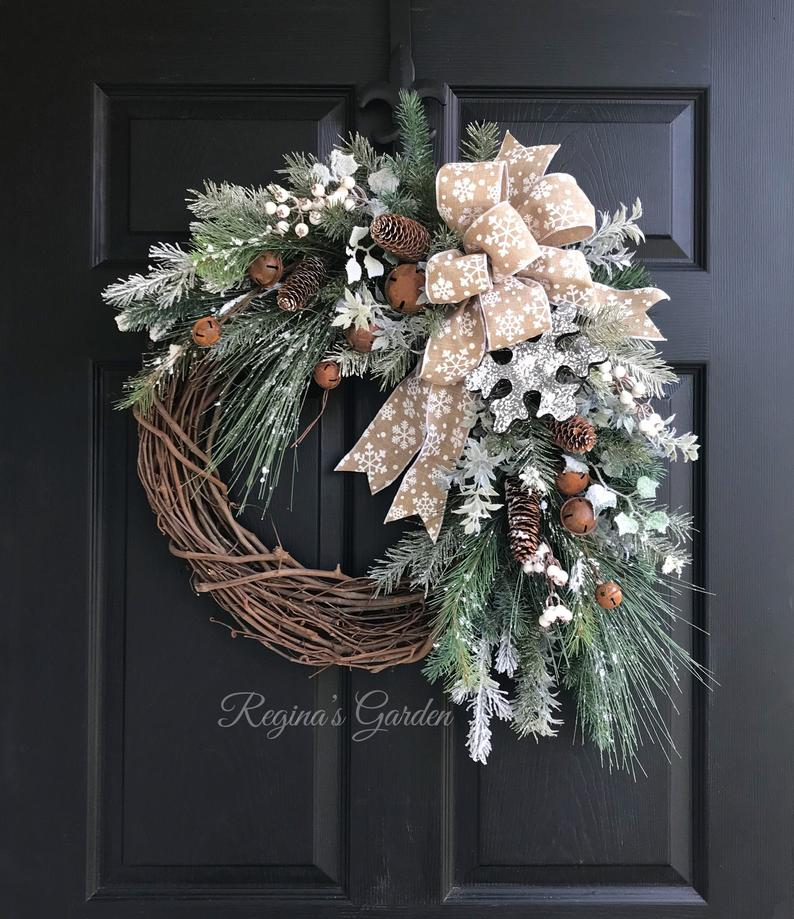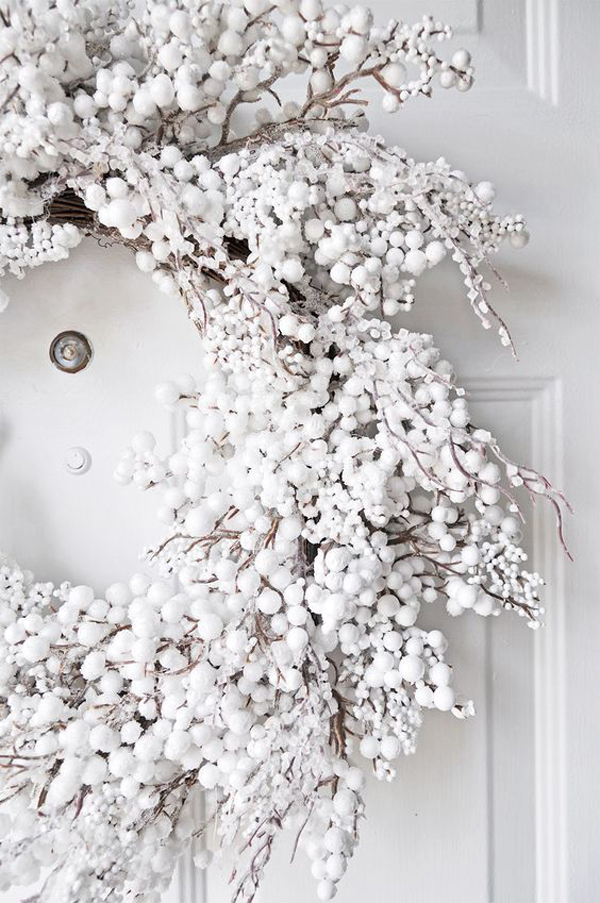
There’s something magical about a beautifully crafted wreath that has been made with care and tradition. These aren’t just decorations – they’re expressions of love, memory, and seasonal joy. Every strand of evergreen, every berry, every ribbon tells a story. Today, we’re diving into the heart of how these cherished holiday pieces are created using methods that have stood the test of time.
Christmas wreaths have been adorning doors for centuries, serving as welcoming symbols of the holiday season. While modern trends might suggest otherwise, there’s something deeply satisfying about a wreath made with traditional methods. These aren’t mass-produced items – they’re crafted with patience, skill, and respect for age-old techniques. Whether you’re a seasoned crafter or someone looking to learn the basics, understanding these foundational methods will transform your approach to wreath making. The magic lies not just in the final product, but in the process itself. You’re not just creating a decoration; you’re participating in a centuries-old craft that brings families together during the holidays.
The Foundation: Choosing Your Materials
Before you even think about weaving or arranging, you must first select the right materials. Traditional wreath makers understand that quality starts with the foundation. Fresh evergreens like pine, spruce, or fir work best because they retain their fragrance and shape well. Look for branches that are still flexible and haven’t lost their needles. The key is to choose materials that will last throughout the holiday season.
Consider the colors too. Deep greens complement the reds and golds that dominate Christmas themes. But don’t overlook the beauty of natural browns and grays. These earth tones add depth and authenticity to your creation.
Traditional materials often include:
• Fresh greenery such as pine, spruce, or holly
• Natural ribbons in wool or silk
• Decorative elements like berries, cones, or small ornaments
• Wire or floral tape for securing pieces
Remember, the most beautiful wreaths start with the best materials. Take time to source them properly – your guests will appreciate the effort.
The Basic Wreath Frame: From Wire to Foam
Every wreath needs a strong base. In traditional techniques, craftspeople often use wire frames, sometimes wrapped with floral wire or even old newspaper. This method creates a sturdy structure that can support heavier decorations. The wire frame is usually shaped into a circle and then covered with greenery.
Modern alternatives include foam bases, which are easier for beginners. However, traditionalists swear by wire frames because they allow for more creative flexibility. You can bend and reshape them as needed, and they hold their form better over time.
The process goes like this:
- Shape your wire into a circle
- Wrap with floral wire for stability
- Begin adding greenery to the frame
- Work around the entire circumference
Some artisans prefer to wrap the wire frame with a thin layer of burlap or linen first. This gives the wreath a more polished look and helps hide any rough edges. The result is a foundation that looks both handmade and professional.
Layering Greenery for Dimensional Beauty
Creating depth in a wreath isn’t just about adding more material – it’s about thoughtful placement. Traditional techniques emphasize layering different textures and heights to give the wreath dimension. Start with your largest branches and work toward smaller details.
Think of it like building a landscape. The background elements should be larger and more dominant, while the foreground elements provide detail and interest. This technique works especially well when using different types of evergreen branches.
Here’s how to do it effectively:
• Place thicker branches first for structure
• Add medium-sized branches for texture
• Fill gaps with finer twigs and sprigs
• Vary the angles to create visual movement
Many craftspeople use a technique called ‘overlapping’ where they place branches so that some overlap others. This creates shadows and depth that makes the wreath appear more three-dimensional. It’s a subtle trick that transforms a flat arrangement into something that catches the light and draws the eye.
Adding Decorative Elements with Purpose
Decorations are the finishing touches that bring personality to a wreath. But in traditional craftsmanship, every element has meaning and purpose. Berries, cones, and ornaments shouldn’t just be thrown on – they should enhance the overall design.
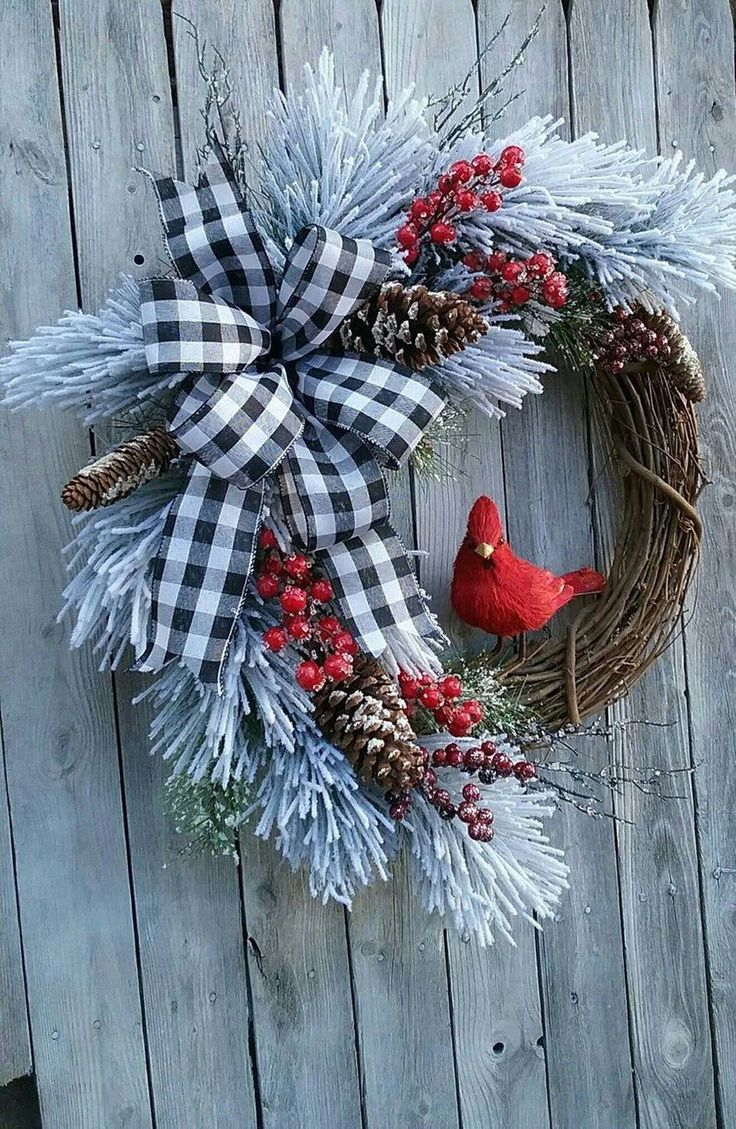
Red berries like cranberries or holly berries are classic choices because they contrast beautifully with greenery. They also symbolize the warmth and joy of the season. When adding these elements, consider their placement carefully. A single berry can be the focal point of a section, while clusters create visual interest.
Traditional approaches to decorative elements include:
• Using natural materials whenever possible
• Balancing bright colors with neutral tones
• Placing elements symmetrically or with intentional asymmetry
• Ensuring decorations don’t overwhelm the greenery
Some crafters prefer to make their own decorations rather than buy them. Handmade bows, for example, can be created from simple ribbon and wire. These personal touches make each wreath unique and special.
Securing Everything Properly
A well-made wreath should stay together for weeks, not days. Traditional techniques emphasize proper securing methods that will withstand handling and weather. This is where experience really shows – knowing how much pressure to apply and where to place fasteners.
Floral wire is the go-to choice for traditional craftspeople. It’s strong enough to hold everything in place while being thin enough to blend in with the greenery. Some artisans prefer to use hot glue for certain elements, especially delicate ones like small berries or ornaments.
Important securing tips:
• Always secure at multiple points
• Use wire that matches your color scheme
• Test the strength before hanging
• Check for loose elements after completing
One common mistake is over-tightening. This can damage delicate greenery or cause the frame to lose its shape. The key is finding the right balance between secure and gentle. Experienced crafters know that a little patience goes a long way in ensuring longevity.
Finishing Touches and Presentation
The final moments of wreath creation are often the most satisfying. These are the steps that turn a good wreath into a great one. Traditionally, artisans pay close attention to the presentation, making sure everything is perfectly aligned and balanced.
Start by stepping back and viewing your creation from different angles. Do all sides look balanced? Are there any areas that seem too heavy or too light? Adjust as needed before finalizing.
Traditional finishing techniques include:
• Adding a bow or ribbon tie at the top
• Checking that all elements are secure
• Making sure the wreath hangs evenly
• Adding a small tag or note if giving as a gift
Some crafters also brush their wreaths lightly with water to help the greenery stay fresh longer. Others prefer to mist them with a light spray of hairspray to preserve the colors. These small details make a big difference in how long your creation will last and how beautiful it appears.
Creating a beautiful Christmas door wreath using traditional techniques is more than just a craft – it’s a connection to heritage and craftsmanship. These methods, honed over generations, offer a deeper appreciation for the time and care that goes into each piece. Whether you’re making one for yourself or gifting it to someone else, the effort you put into learning these techniques pays off in the joy and warmth you bring to the holiday season. The wreath becomes more than just decoration; it becomes a symbol of tradition, love, and the simple pleasure of creating something beautiful with your own hands. So grab your materials, embrace the process, and let your creativity bloom with these timeless methods that have brought holiday cheer for centuries.
[sps_html tag=”img” src=”https://cdn.theartssection.com/wp-content/uploads/2025/11/easy-diy-snowy-christmas-wreath-an-alli-event-for-creating-the-perfect-snowy-christmas-door-wreath-for-your-holiday-season.jpg” alt=”Easy Diy Snowy Christmas Wreath - An Alli Event for Creating the Perfect Snowy Christmas Door Wreath for Your Holiday Season” style=”width: 100%; height: auto;”]
[sps_html tag=”img” src=”https://cdn.theartssection.com/wp-content/uploads/2025/11/christmas-door-wreath-winter-wreath-farmhouse-decor-french-country-regarding-creating-the-perfect-snowy-christmas-door-wreath-for-your-holiday-season.png” alt=”Christmas Door Wreath-Winter Wreath-Farmhouse Decor-French Country … regarding Creating the Perfect Snowy Christmas Door Wreath for Your Holiday Season” style=”width: 100%; height: auto;”]
[sps_html tag=”img” src=”https://cdn.theartssection.com/wp-content/uploads/2025/11/20-beautiful-ways-to-bring-snowy-into-your-christmas-decor-for-snowy-christmas-holiday-door-wreath-christmas-decor.jpg” alt=”20 Beautiful Ways To Bring Snowy Into Your Christmas Decor … for Snowy Christmas Holiday Door Wreath Christmas Decor” style=”width: 100%; height: auto;”]
[sps_html tag=”img” src=”https://cdn.theartssection.com/wp-content/uploads/2025/11/christmas-wreaths-for-front-door-diy-the-cake-boutique-pertaining-to-snowy-christmas-holiday-door-wreath-christmas-decor.jpg” alt=”Christmas Wreaths For Front Door Diy | The Cake Boutique pertaining to Snowy Christmas Holiday Door Wreath Christmas Decor” style=”width: 100%; height: auto;”]
[sps_html tag=”img” src=”https://cdn.theartssection.com/wp-content/uploads/2025/11/pictures-of-christmas-wreaths-regarding-snowy-christmas-holiday-door-wreath-christmas-decor.jpg” alt=”Pictures Of Christmas Wreaths regarding Snowy Christmas Holiday Door Wreath Christmas Decor” style=”width: 100%; height: auto;”]